Lamp repair can be a rewarding DIY project that not only saves you money but also allows you to restore a cherished or vintage piece to its former glory. However, it’s essential to approach lamp repair with caution and attention to detail to ensure safety and effectiveness. This comprehensive guide covers a wide range of essential considerations for lamp repair, from diagnosing issues to selecting the right tools and materials, to help you successfully restore your lamps while prioritizing safety and functionality.
1. Safety Precautions
Safety should always be the top priority when undertaking lamp repair to prevent electrical hazards and accidents. Follow these crucial safety precautions:
- Disconnect Power: Before starting any repair work, unplug the lamp from the power source to avoid the risk of electric shock.
- Wait for Cooling: Allow the lamp to cool down if it has been in use to prevent burns or injuries during the repair process.
- Work in a Well-Lit Area: Ensure you have adequate lighting in your workspace to see clearly and avoid potential accidents.
- Use Personal Protective Equipment: Wear gloves and safety glasses to protect your hands and eyes from sharp edges and debris.
2. Diagnosis of Issues
Before starting the repair process, it’s important to diagnose the specific issues affecting your lamp. Common lamp problems include:
- Faulty Wiring: Check for frayed or damaged wiring that may cause electrical shorts or malfunctions.
- Socket Issues: Inspect the lamp socket for signs of damage, corrosion, or loose connections.
- Switch Problems: Test the lamp switch to determine if it is functioning properly or needs replacement.
- Shade Damage: Assess the condition of the lampshade for tears, stains, or other cosmetic issues that may require repair or replacement.
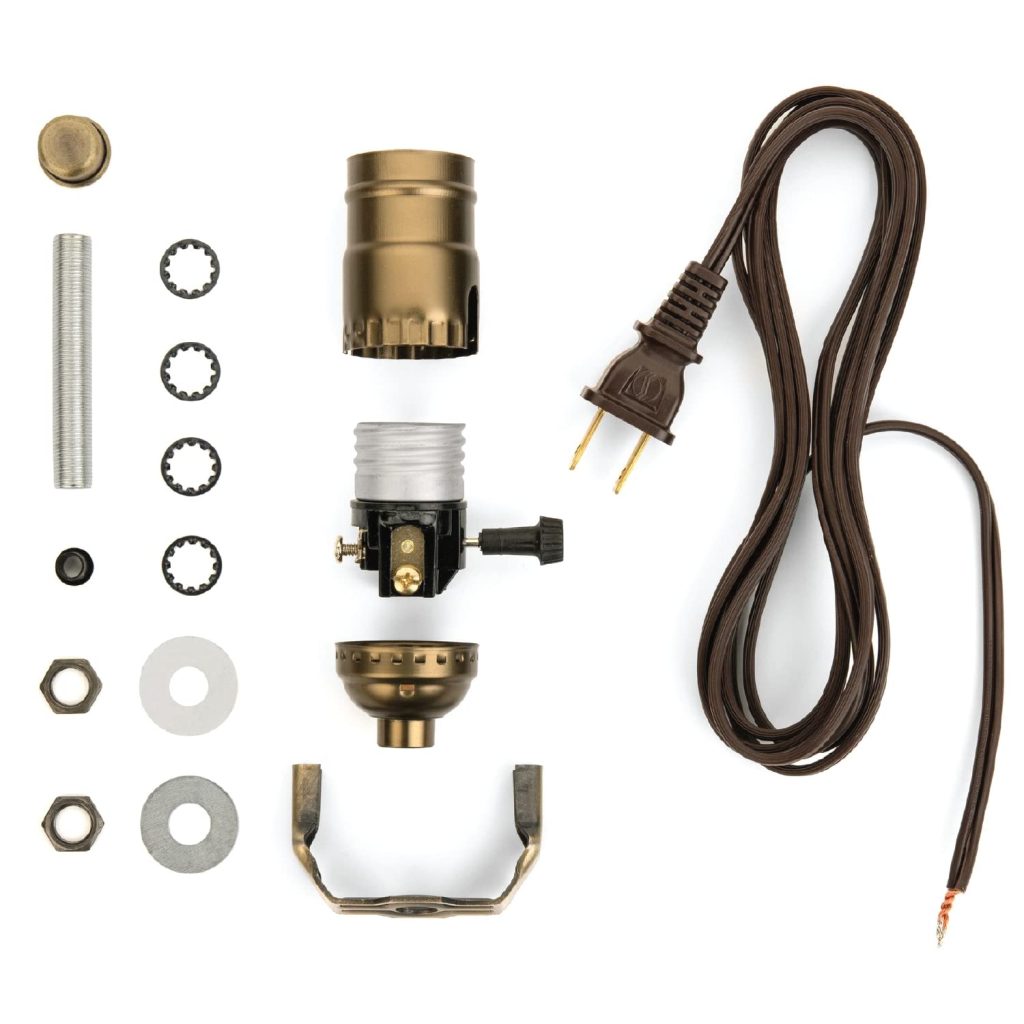
3. Tools and Materials
Having the right tools and materials on hand is essential for a successful lamp repair project. Some essential tools and materials include:
- Screwdrivers: Both flathead and Phillips screwdrivers for disassembling the lamp components.
- Wire Strippers: To remove insulation from wires for splicing and reconnecting.
- Electrical Tape: For securing wire connections and insulating exposed wires.
- Replacement Parts: Such as sockets, switches, cords, and plugs for repairing or replacing damaged components.
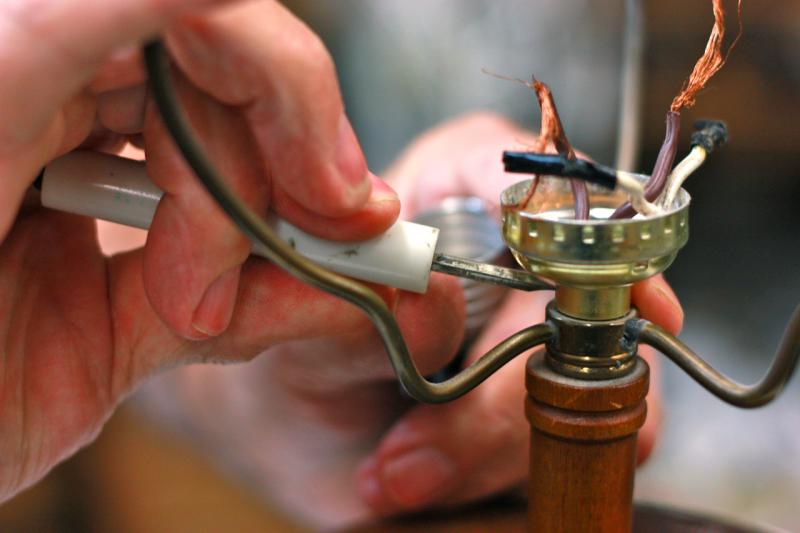
4. Wiring and Electrical Work
Working with electrical components requires care and attention to detail to ensure safe and effective repairs. Follow these guidelines for wiring and electrical work:
- Match Wire Colors: When reconnecting wires, match the colors (e.g., black to black, white to white) to maintain proper polarity.
- Secure Connections: Use wire nuts or soldering techniques to secure wire connections and prevent accidental disconnection.
- Insulate Exposed Wires: Cover exposed wires with electrical tape or heat-shrink tubing to prevent short circuits or electrical shocks.
- Test Before Reassembly: After completing wiring repairs, test the lamp to ensure it functions properly before reassembling all components.
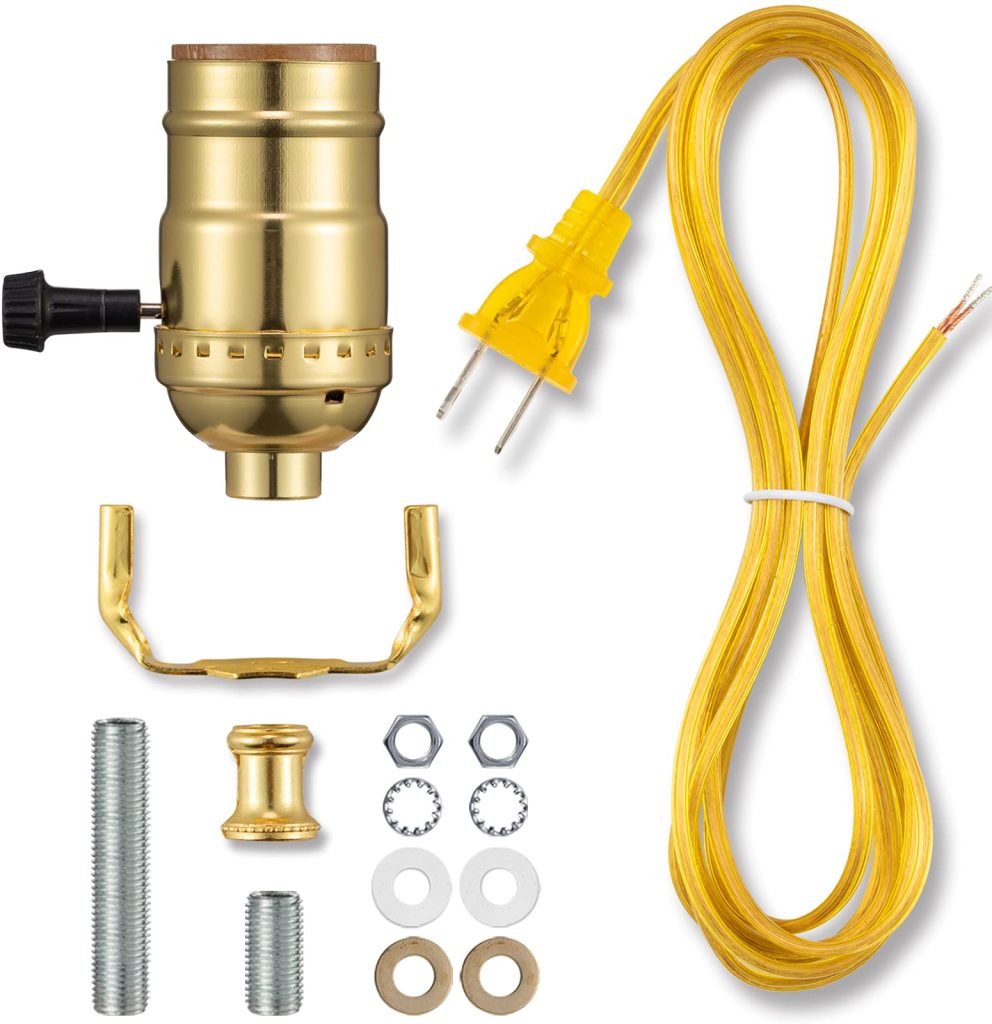
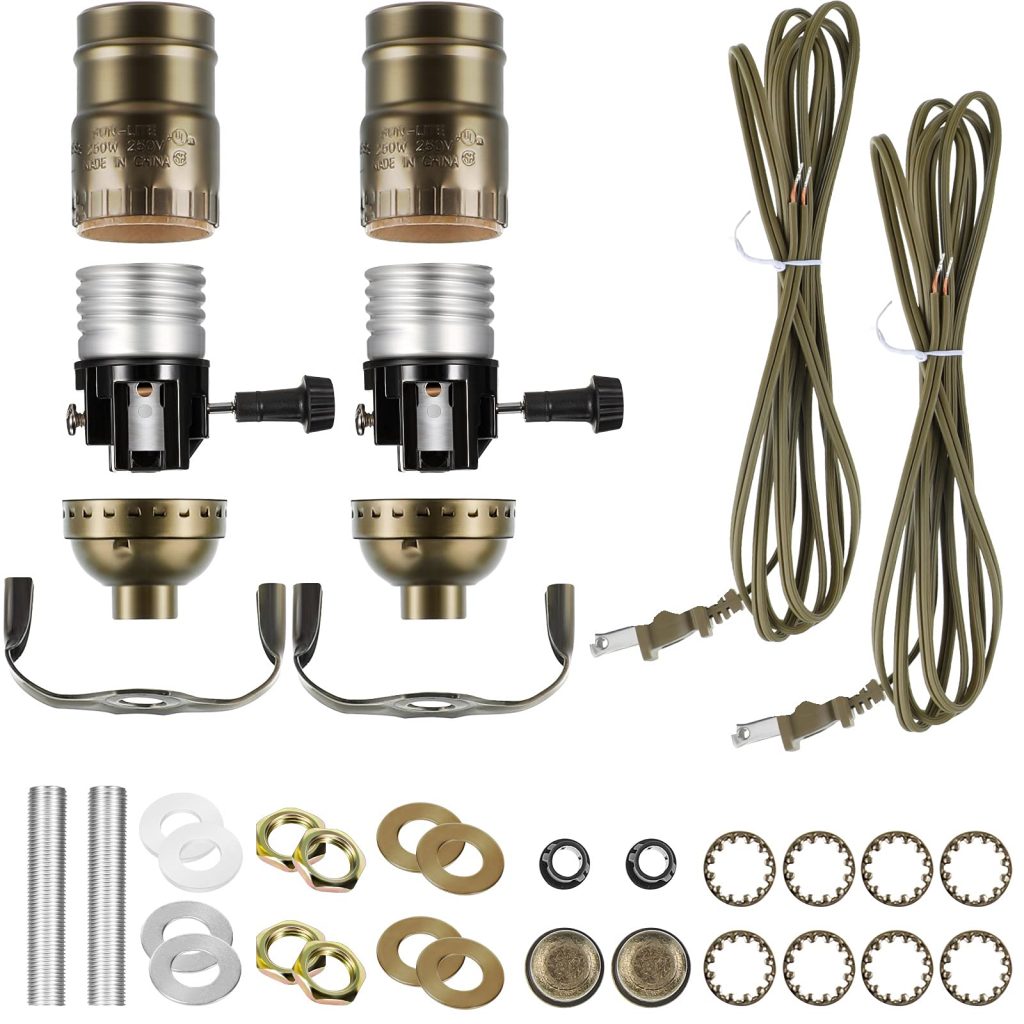
5. Component Replacement
In some cases, damaged lamp components may need to be replaced to restore the lamp’s functionality. Consider the following when replacing components:
- Compatibility: Ensure that replacement parts such as sockets and switches are compatible with the lamp’s existing wiring and design.
- Quality: Opt for high-quality replacement components to ensure durability and long-term performance.
- Proper Installation: Follow manufacturer instructions or seek professional guidance when installing new components to avoid errors or safety risks.
- Functional Testing: Test the lamp after component replacement to verify that the new parts function correctly and safely.
6. Cosmetic Repairs
In addition to addressing functional issues, you may also want to consider cosmetic repairs to enhance the appearance of your lamp. Cosmetic repair considerations include:
- Cleaning: Thoroughly clean the lamp base, hardware, and shade using appropriate cleaning solutions and techniques.
- Paint or Refinish: Touch up paint or refinish the lamp base to restore its original appearance or update it to suit your decor.
- Shade Replacement: If the lampshade is damaged beyond repair, consider replacing it with a new shade that complements the lamp base.
7. Testing and Final Checks
Once you have completed the necessary repairs and reassembly, it’s crucial to perform thorough testing and final checks to ensure the lamp is safe and functional. Testing steps include:
- Electricity Test: Plug in the lamp and test that it turns on and off properly without flickering or unusual sounds.
- Stability Check: Ensure the lamp is stable and securely assembled to prevent tipping or wobbling.
- Heat Test: Monitor the lamp for excessive heat buildup during operation, which could indicate a wiring issue or component malfunction.
- Functionality Test: Test the various features of the lamp, such as dimmer switches or adjustable arms, to confirm they operate smoothly and correctly.
Importance of lamp repair
1. Preservation of History and Heritage
Lamps, especially antique or vintage pieces, are imbued with history and heritage. They may have been passed down through generations, acquired from special occasions, or sourced from unique locations. By engaging in lamp repair, individuals can actively contribute to the preservation of these historical artifacts. Restoring a lamp to its former glory allows its story to continue unfolding, honoring the craftsmanship and design aesthetics of bygone eras. Through meticulous repair work, the integrity and authenticity of these lamps are upheld, keeping alive the narratives they carry and connecting us to our past.
2. Promotion of Sustainability
In an era marked by environmental concerns and the push for sustainable practices, lamp repair emerges as a beacon of eco-consciousness. Rather than discarding a faulty or outdated lamp, opting for repair presents a sustainable alternative. Repairing a lamp reduces the need for new production, curbing the consumption of resources and energy required to manufacture replacement items. By extending the lifespan of lamps through repair, we contribute to waste reduction, carbon footprint mitigation, and the promotion of a circular economy. Embracing lamp repair as a sustainable choice aligns with the ethos of responsible consumption and environmental stewardship.
3. Enhancement of Safety and Functionality
Safety is paramount when it comes to lighting fixtures, given their electrical components and potential fire hazards. Neglected or damaged lamps pose risks of electrical faults, short circuits, or fires, jeopardizing the well-being of individuals and properties. Through timely and thorough lamp repair, issues such as frayed wiring, faulty sockets, or unstable structures can be addressed, ensuring the safe operation of the fixture. By prioritizing safety in repair practices, users can enjoy well-functioning lamps without compromising on their security and peace of mind. Functional lamps not only illuminate spaces effectively but also provide a sense of comfort and reliability.
Conclusion
In conclusion, approaching lamp repair with caution, attention to detail, and adherence to safety precautions is essential for a successful restoration project. By following the considerations outlined in this guide, including safety precautions, diagnosis of issues, selection of tools and materials, wiring and electrical work guidelines, component replacement tips, cosmetic repair suggestions, and testing and final checks, you can effectively repair and restore your lamps while ensuring safety, functionality, and visual appeal. Whether you’re restoring a family heirloom or updating a vintage find, proper lamp repair techniques will help you enjoy your renewed lighting fixture for years to come.