Types of LED Ceiling Lights
When considering led ceiling light replacement, it’s crucial to understand the different types available. Each type offers unique benefits for your space. Let’s explore the most common types of LED ceiling lights.

Recessed Lights
Recessed lights, also known as downlights, are installed into an opening in the ceiling. They provide a sleek, streamlined look that blends with the ceiling. These lights are a great choice for low ceilings as they don’t protrude down into the living space. Recessed LED lights are ideal for creating ambient lighting in a room.
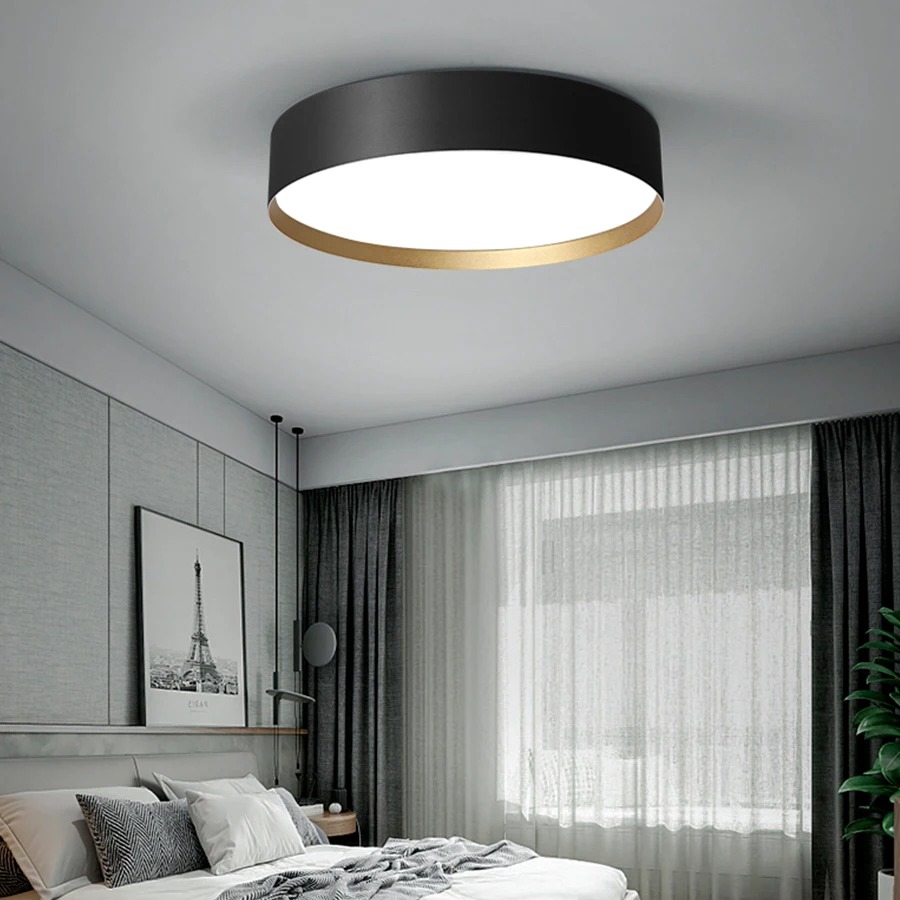
Flush Mount Lights
Flush mount lights attach directly to the ceiling with little to no gap between the light fixture and the ceiling. They are versatile and work well in various rooms, such as kitchens, hallways, and bedrooms. Flush mount LED lights are great for providing general lighting in a space.
Pendant Lights
Pendant lights hang from the ceiling by a cord or chain, adding a stylish touch to your décor. They work well over kitchen islands, dining tables, and other areas where focused lighting is beneficial. Pendant LED lights are perfect for task lighting and can also serve as a design focal point.
When embarking on led ceiling light replacement, knowing these types ensures you select the best fit for your room’s function and style.
Steps to Replace an LED Ceiling Light
Replacing an LED ceiling light can be straightforward if you follow these essential steps. With the right preparation and tools, you can install your new LED light fixture quickly and safely.
Preparation
Before starting your led ceiling light replacement, ensure the power is off. Locate your circuit breaker box and turn off the circuit for the light you are working on. Next, gather all necessary tools and materials. This typically includes a screwdriver, wrenches, electrical tape, wire connectors, and the new LED fixture. Also, set up a stable ladder that allows you easy access to the ceiling.
Removal of the Old Fixture
Start by removing the light cover or shade from the old fixture. Unscrew the fixture’s base from the ceiling and carefully disconnect the wired connections. Remember to support the weight of the fixture as you detach it to prevent it from falling.
Installation of the LED Light
Now, it’s time to install your new LED fixture. Begin by securing the mounting bracket to the ceiling. Connect the electrical wires, matching the colors correctly – typically, black to black (hot), white to white (neutral), and green or bare to the ground. Ensure the connections are tight and secure with wire connectors and electrical tape. Attach the LED fixture to the bracket and add the light cover or shade. Finally, turn the power back on and test your new LED ceiling light. If everything is done correctly, your room will be illuminated with efficient, long-lasting LED light.
By following these steps for led ceiling light replacement, you can safely and effectively upgrade your home’s lighting. Remember to always prioritize safety and never hesitate to consult a professional if you are unsure about any step of the process.
Essential Tools and Materials for Installation
For a smooth led ceiling light replacement process, you need the right tools and materials. Having everything on hand before you start will save time and frustration.
Screwdrivers and Wrenches
Grab a variety of screwdrivers. You’ll need both flat head and Phillips head types. A wrench set is also important. It helps tighten or loosen bolts in the light fixtures. These tools help you remove the old fixture and secure the new one.
Electrical Tape and Wire Connectors
Electrical tape insulates wire connections to prevent short circuits. It’s a must for safe installation. Wire connectors join wires together securely. They ensure a stable connection between the household wiring and your new LED ceiling light. The right size and type of connectors are critical for safety and function.
Safety Precautions When Replacing Ceiling Lights
Replacing LED ceiling lights requires careful attention to safety. Here are critical precautions to ensure a safe installation process.
Electrical Safety
Always ensure that the power is off before starting your LED ceiling light replacement. Use a voltage tester to confirm no current is present. Handle all electrical wires with care. Ensure all wire connections are tight and properly insulated using electrical tape. These steps help prevent electrical shocks and fires.
Working at Heights
When replacing ceiling lights, working at heights is often necessary. Use a stable, well-positioned ladder to access the ceiling fixtures. Never stand on the top rung of the ladder. Keep your body centered between the ladder’s rails while working. This practice helps prevent falls and injuries. Always ask for assistance when handling large or heavy fixtures.
How to Choose the Right LED Ceiling Light
Choosing the right LED ceiling light involves a few crucial factors. These include brightness, color temperature, size, and design. Each aspect affects how the light will perform and look in your space.
Considering Brightness and Color Temperature
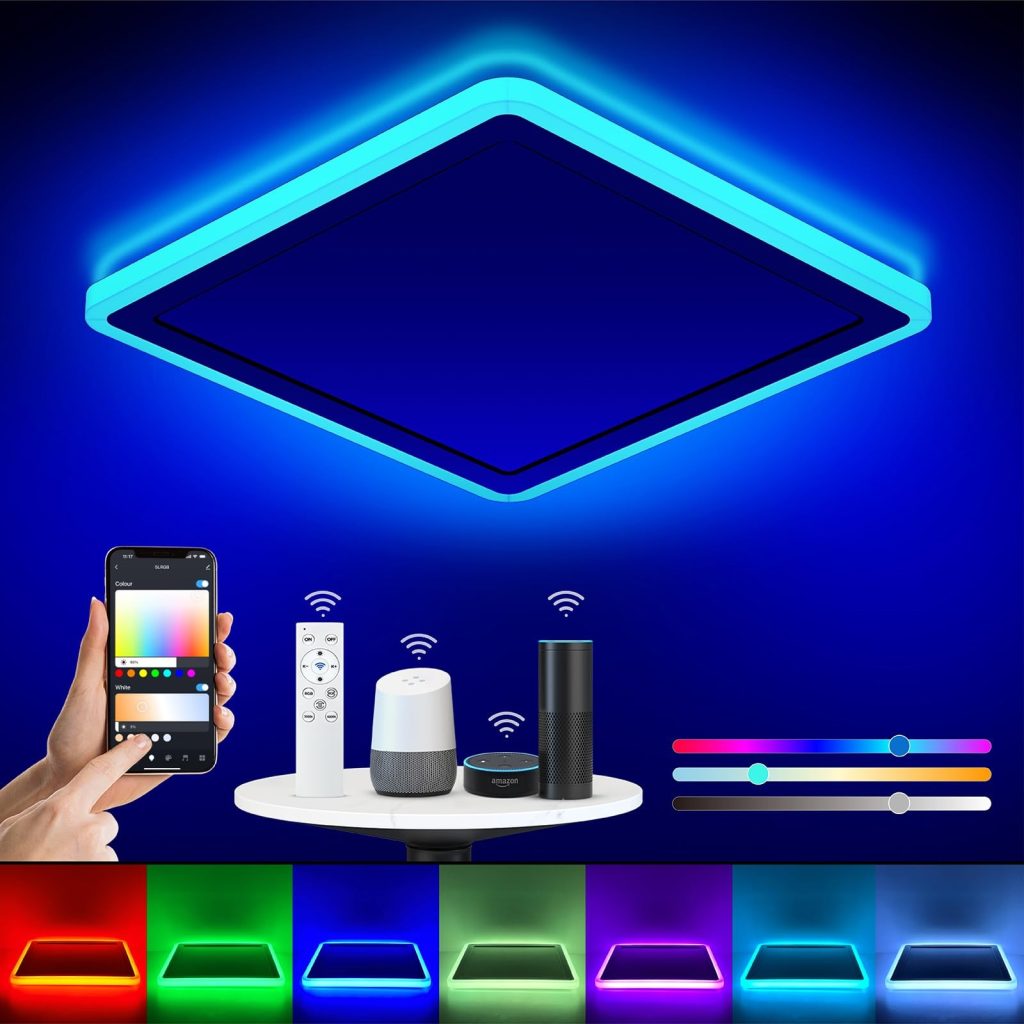
Brightness in LED lights is measured in lumens. Higher lumens mean a brighter light. Consider how bright you want your room. Is it a workspace, or a cozy reading nook? Next, think about color temperature. This is measured in Kelvin. Lower Kelvin means a warmer, yellower light. Higher Kelvin gives a cooler, bluer light. Choose a warmer light for living rooms and bedrooms. Cooler light works best in kitchens and bathrooms.
Evaluating the Size and Design
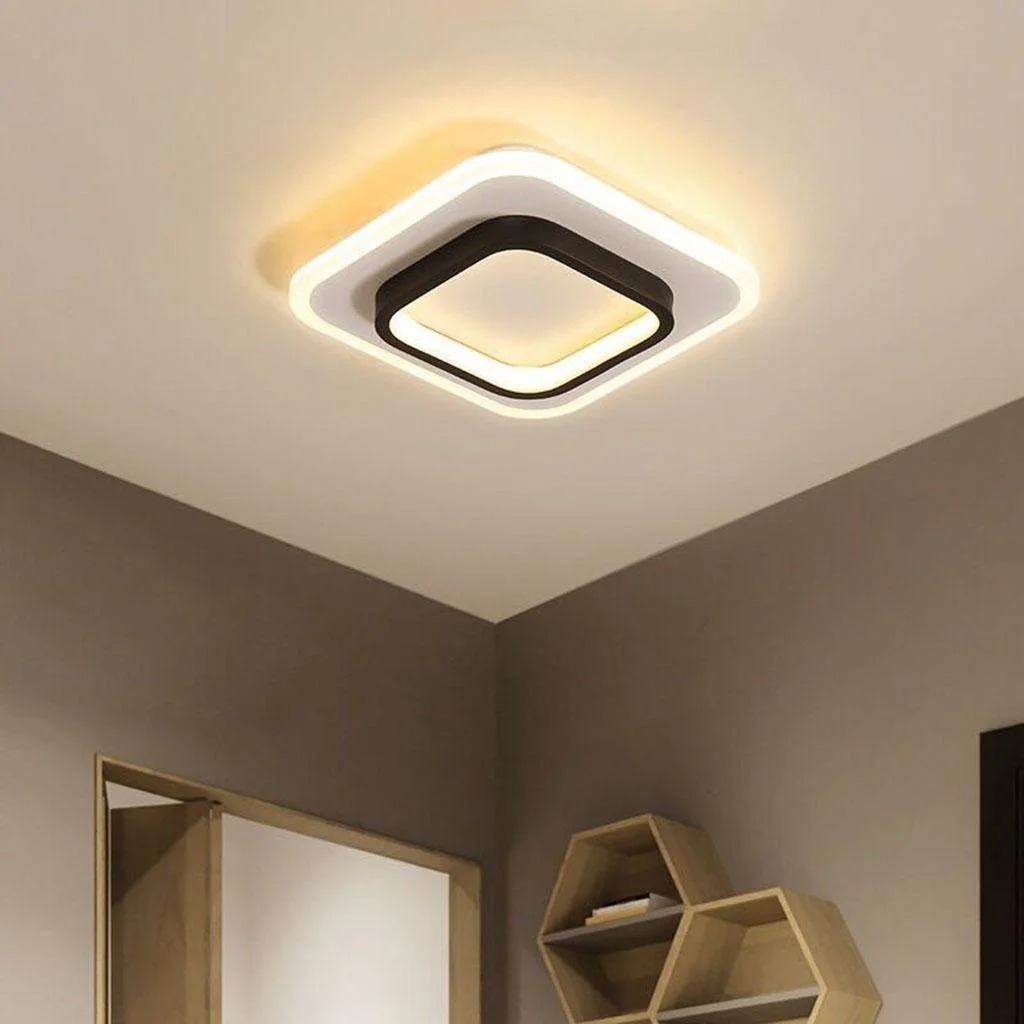
The size of the LED light should match the room. Large rooms need bigger lights or multiple lights. Small rooms work well with a single, smaller fixture. The design of the light should complement your room’s decor. Modern rooms look great with sleek, contemporary lights. More traditional spaces may suit classic designs better.
Selecting the right LED ceiling light enhances both the functionality and aesthetics of your room. Keep these factors in mind during your led ceiling light replacement project.
Benefits of Switching to LED Ceiling Lights
Switching to LED ceiling lights brings several benefits. They save energy, last longer, and offer better light quality.
Energy Efficiency
LED lights are much more energy-efficient than traditional bulbs. They use less power to produce the same amount of light. This means lower electricity bills for you. LED lights also generate less heat, which can help reduce cooling costs in your home.
Longer Lifespan
LEDs have a longer lifespan compared to incandescent or halogen bulbs. They can last for years, often up to 25 times longer. This means you replace them less often, saving you time and money.
Improved Light Quality
LED ceiling lights provide high-quality light. They come in various color temperatures, so you can choose the perfect shade for your space. LED lights can also improve visibility and reduce eye strain, making them ideal for work and living spaces.
Troubleshooting Common Issues
When replacing your LED ceiling lights, you might encounter some issues. Addressing these problems ensures your lighting works perfectly.
Flickering Lights
Flickering in LED lights can be annoying and disruptive. This issue often stems from loose connections. Check and secure all the wire connections in the light fixture. Another cause could be an incompatible dimmer switch. Ensure your dimmer is suitable for LED bulbs. If problems persist, replace the dimmer or consult a professional.
Inconsistent Brightness
Inconsistent brightness often indicates improper voltage supply or faulty drivers. First, ensure your LED bulbs receive the correct voltage. If the issue continues, the internal driver may be malfunctioning. Consider replacing the LED bulb or fixture. For precise diagnosis and repair, it might be good to involve an electrician.
