Types of Ceiling Lights Available
Overview of Ceiling Light Varieties
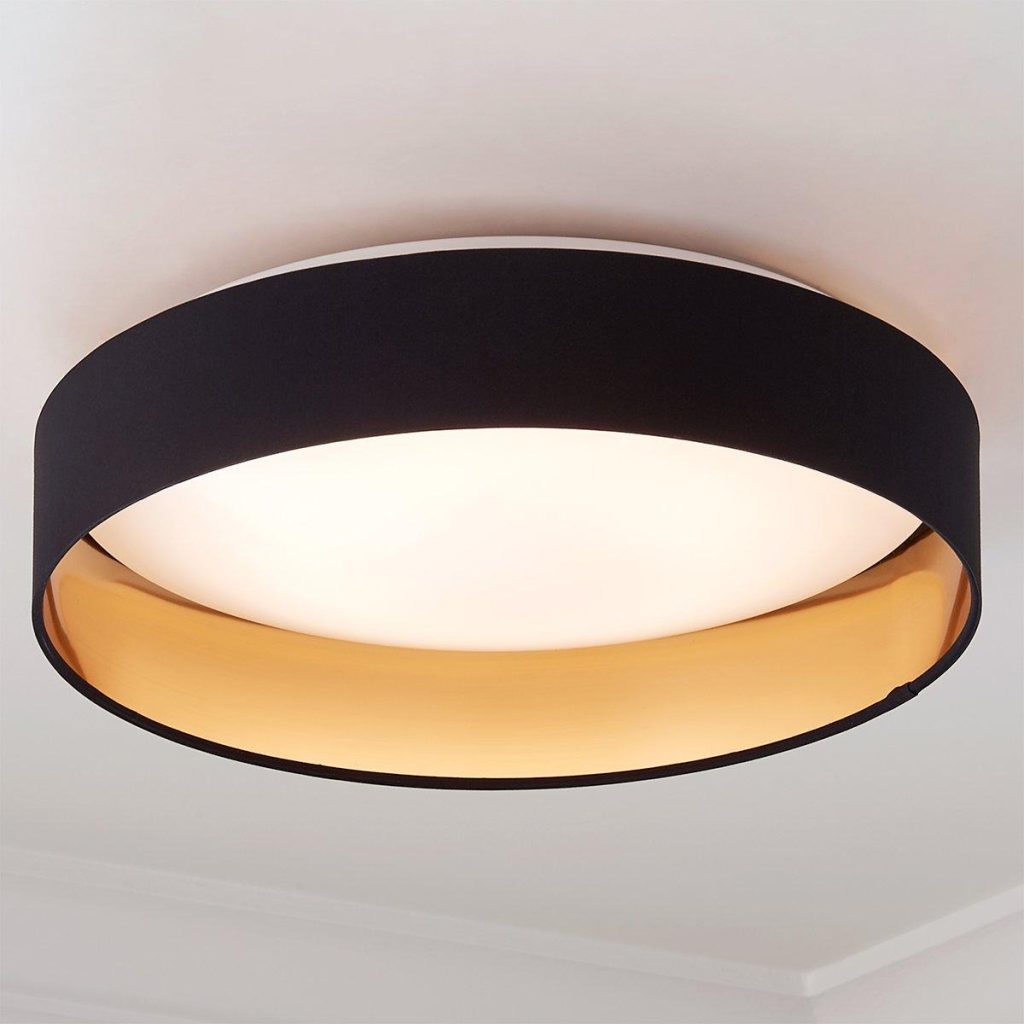
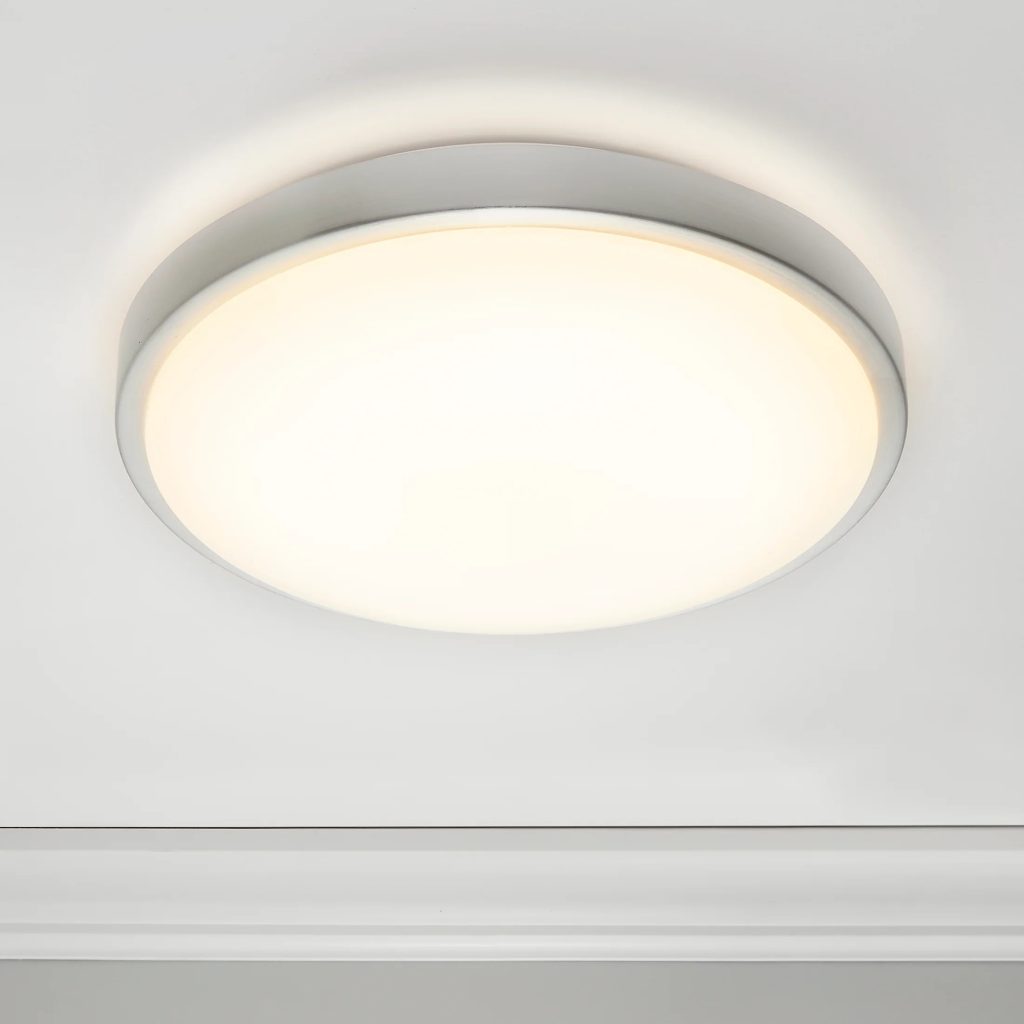
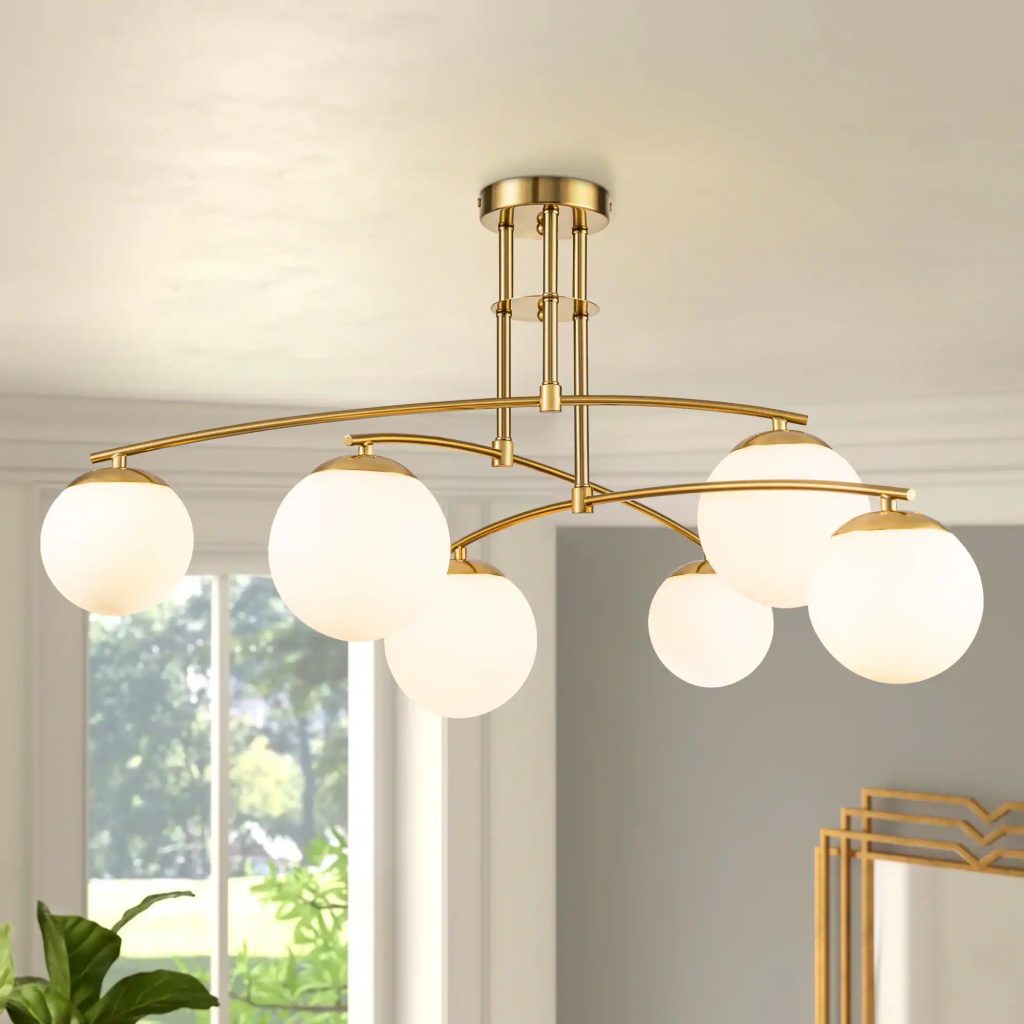
Install ceiling light come in several varieties to suit different aesthetics and uses. You can find flush mounts, which are installed directly against the ceiling, perfect for low ceilings as they provide a clean and modern look. Semi-flush lights hang slightly below the ceiling, allowing for more decorative designs and lighting effects. Recessed lights, also known as downlights, are embedded into the ceiling, offering a sleek and unobtrusive appearance ideal for minimalist decor. Finally, pendant and chandelier lights hang further from the ceiling on chains or cables, both making dramatic statements suitable for dining areas or living rooms.
Selecting the Right Ceiling Light for Your Needs
Choosing the perfect ceiling light requires considering both the light’s function and the room’s layout. For work areas like kitchens or offices, bright, direct lighting from recessed or semi-flush lights is beneficial. In contrast, living rooms and bedrooms benefit from softer, indirect lighting provided by pendants or chandelier types, creating a relaxed ambiance. Also, consider the ceiling height; low ceilings might work better with flush mounts, while higher ceilings can accommodate chandeliers or pendents beautifully. It’s vital to ensure the chosen light matches the existing decor and fulfills the required lighting needs of the space.
Preparation for Ceiling Light Installation
Before you begin the process of installing a new ceiling light, thorough preparation is paramount to ensure a smooth and safe installation.
Checking Electrical Setup and Compatibility
Firstly, examine your existing electrical setup to confirm that your new ceiling light will be compatible. Ensure that your electrical circuit can handle the wattage of the new fixture and that the mount is suitable for the ceiling light type you’ve chosen. If the existing electrical box is damaged or outdated, it might need replacement to support your new light securely.
Required Tools and Materials
Gathering the correct tools and materials is crucial before you start the installation. Typically, you will need:
- A ladder
- A screwdriver
- Wire strippers
- A voltage tester
- Wire connectors
- Safety glasses
- Gloves for added protection
Make sure to turn off the power at the circuit breaker and verify the absence of electricity using the voltage tester. Having all the necessary tools on hand will prevent any interruptions during the installation process. Remember, safety first; never attempt to install ceiling light without ensuring the power is off.

Step-by-Step Installation Guide
Navigating through the installation of a ceiling light can be straightforward with the right approach. Here’s a guide to help you through the process.
Removing the Old Ceiling Light
Begin by turning off the power at your home’s circuit breaker. Confirm there’s no electricity with a voltage tester. Then, using a screwdriver, remove the light cover and unscrew the base from the ceiling. Detach the wire connectors and gently lower the old fixture.
Installing the New Ceiling Light
Start by securing the new mounting bracket to the electrical box. Follow the manufacturer’s instructions to connect the wires correctly — typically, color coordination helps (black to black, white to white, and green or bare wire to the ground screw). Lift the new fixture into place, then tighten the screws to secure it. Attach the light cover, if applicable. Finally, turn the power back on to test your work.
Safety Measures During Installation
Ensuring safety is crucial when installing ceiling lights. Taking precautions helps prevent accidents and ensures the installation goes smoothly.
Electrical Safety Tips
Before starting, always switch off the main power at the circuit breaker to eliminate electrical risks. Use a voltage tester to confirm power is truly off before touching any wires. Keep water and damp items away from the work area, as they can conduct electricity. If you’re unsure about handling electrical work, always consult a professional for help.
Handling Tools and Equipment
When installing a ceiling light, handle your tools and ladder with care. Place the ladder on a stable surface to avoid falling while working. Always use insulated screwdrivers and pliers around electrical components to reduce the risk of shock. Keep tools organized so they are within easy reach and not scattered around, to prevent tripping or other accidents. After finishing, properly dispose of or store sharp objects and any electrical waste.
Cost Overview for Ceiling Light Installation
When planning to install a ceiling light in your home, a clear understanding of the associated costs is crucial. This cost overview will help you budget effectively for both standard installations and any special features you may consider.
Pricing for Standard Ceiling Light Installations
Standard installation costs for ceiling lights can vary based on several factors including the type of light and the complexity of the installation. On average, the installation fee ranges from $80 to $100. This typically covers the labor for mounting the light and basic electrical connections. For ceiling heights up to 2.7m, the cost might be at the lower end, while higher or more complex ceilings could attract charges at the upper limit.
Additional Costs for Special Features
Besides the standard installation, you might encounter additional costs if your setup requires special features. For example, installing dimmer switches or connecting multiple lights in a series could add $20 to $50 to your total expense. If your ceiling is higher than average, or if the installation spot is difficult to access, additional fees for specialized equipment or extra labor might apply.
DIY vs. Professional Installation
When considering the installation of a ceiling light, you can either attempt a DIY project or hire a professional electrician. Each option has its merits, and the choice hinges on various factors such as your own experience, the complexity of the task, and your budget.
When to Choose DIY Installation
DIY installation of ceiling lights is fitting for those who have a basic understanding of electrical systems and are comfortable with handling the necessary tools. If the project is straightforward, such as replacing a like-for-like fixture where existing wiring and switches are already in place and functioning properly, a DIY approach can be cost-effective and satisfying. Key points for a successful DIY install include safety, the right tools, and a simple set of instructions to follow.
Benefits of Hiring a Professional Electrician
Hiring a professional electrician comes with several advantages. First, professionals have the expertise to handle complex installations safely and efficiently. They understand the local electrical codes and can ensure the work is compliant, reducing the risk of future issues. Also, electricians can often provide warranties on their work, giving you peace of mind.
Troubleshooting Common Issues
Addressing Common Installation Problems
Even with a well-installed ceiling light, issues can arise over time. Common problems such as flickering lights, non-responsive switches, and unusual sounds are indicative of potential issues with your ceiling light installation. To troubleshoot, first check if the light bulbs are correctly fitted and if they are the proper type for your fixture. If the bulb is not an issue, inspect the switch and wiring. Loose connections can lead to flickering or non-operation. For noise like buzzing, this could mean an issue with the dimmer switch or the quality of the bulb.
Maintenance Tips After Installation
After successfully installing your ceiling light, regular maintenance is vital for longevity and optimal functioning. Always switch off the main power before performing any maintenance. Clean your light fixtures regularly to prevent dust from accumulating, which can diminish brightness and potentially cause overheating of the bulbs. Check the condition of wires periodically for signs of wear and tear, and replace light bulbs before they burn out to avoid sudden loss of lighting. In case of smart lights or those with complex setups, following manufacturer instructions for updates and maintenance checks can prevent many common issues.