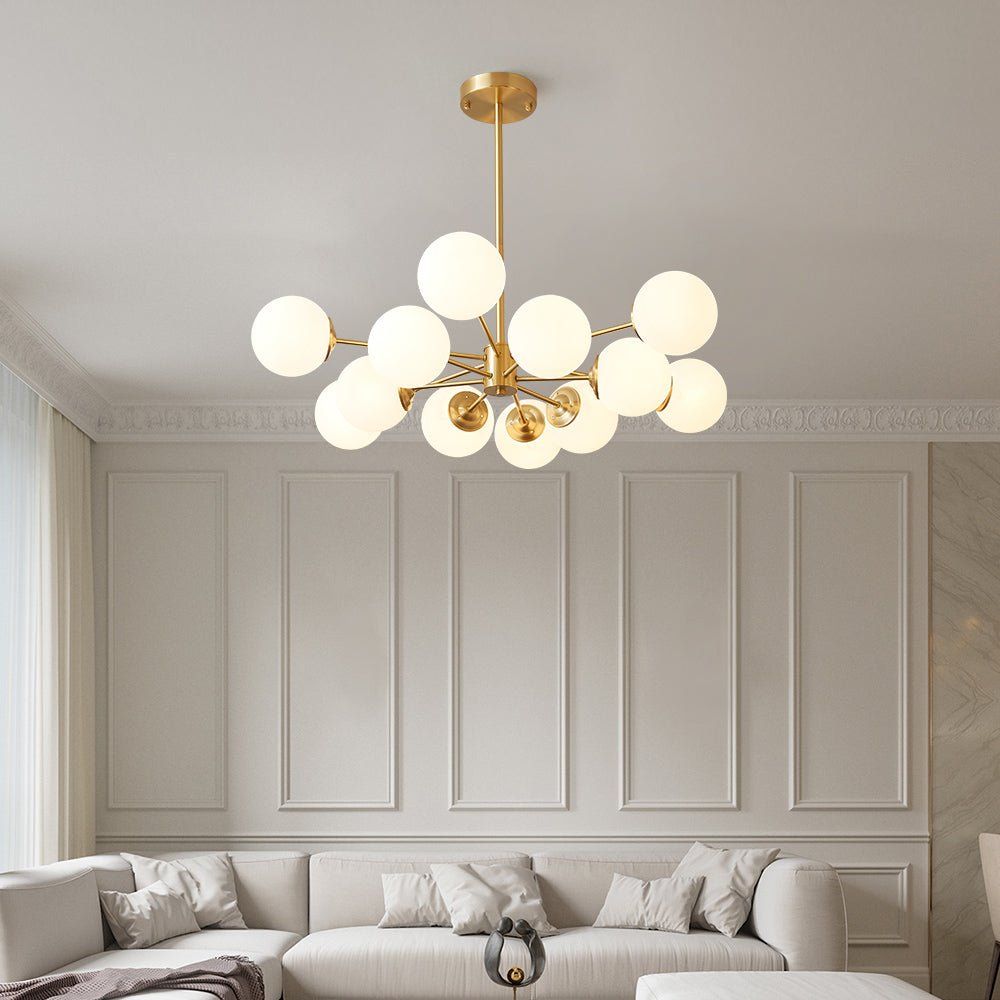
How to replace a ceiling light fixture? Ceiling light fixtures are an important part of any room’s decor and functionality. Over time, these fixtures may become outdated, damaged, or simply in need of replacement due to wear and tear. Fortunately, replacing a ceiling light fixture is a relatively simple and straightforward process that can be done by most homeowners with basic tools and DIY skills. In this guide, we will walk you through the steps on how to replace a ceiling light fixture in your home.
Assess the Current Fixture
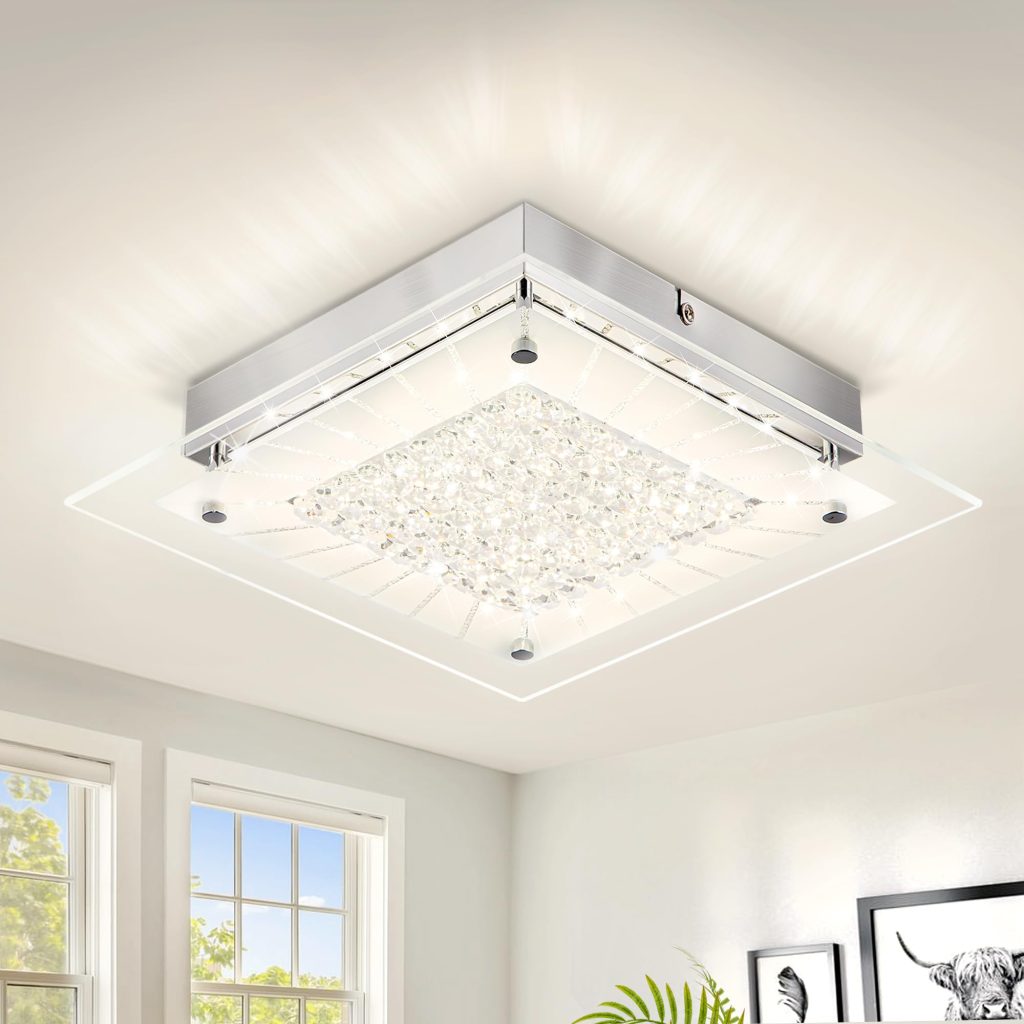
Before you begin the process of replacing your ceiling light fixture, it’s important to assess the current fixture and understand its wiring and mounting. Take note of the type of fixture (flush mount, pendant, chandelier, etc.), the size, and the condition of the wiring and mounting hardware. This will help you determine the type of replacement fixture you will need and any additional tools or materials required for the job.
Gather the Necessary Tools and Materials
To replace a ceiling light fixture, you will need a few basic tools and materials. These may include a screwdriver (flathead and Phillips), a wire stripper, wire nuts, electrical tape, a ladder, and of course, the new ceiling light fixture. Make sure to choose a replacement fixture that is compatible with the existing wiring and mounting hardware in your ceiling.
Turn Off the Power
For safety reasons, it’s crucial to turn off the power to the existing ceiling light fixture before beginning any work. Locate the circuit breaker or fuse box that controls the power to the light fixture and switch it off. You can also use a voltage tester to ensure that the power is indeed off before proceeding. It’s important to exercise caution when working with electricity to avoid the risk of shock or injury.
Remove the Old Fixture
Once the power is turned off, use a ladder to access the existing ceiling light fixture. Remove any shades, bulbs, or other decorative elements from the fixture. Next, remove the screws or mounting hardware that secure the fixture to the ceiling. Carefully lower the fixture and disconnect the wires from the electrical box. It’s important to note the color coding of the wires (typically black for hot, white for neutral, and green or bare for ground) to ensure correct reconnection to the new fixture.
Install the New Fixture
With the old fixture removed, it’s time to install the new ceiling light fixture. Begin by connecting the wires from the new fixture to the corresponding wires in the electrical box. Use wire nuts to secure the connections and electrical tape to cover the exposed wire ends. Next, secure the new fixture to the ceiling using the provided mounting hardware or screws. Follow the manufacturer’s instructions for proper installation and assembly of the new fixture.
Test the Fixture
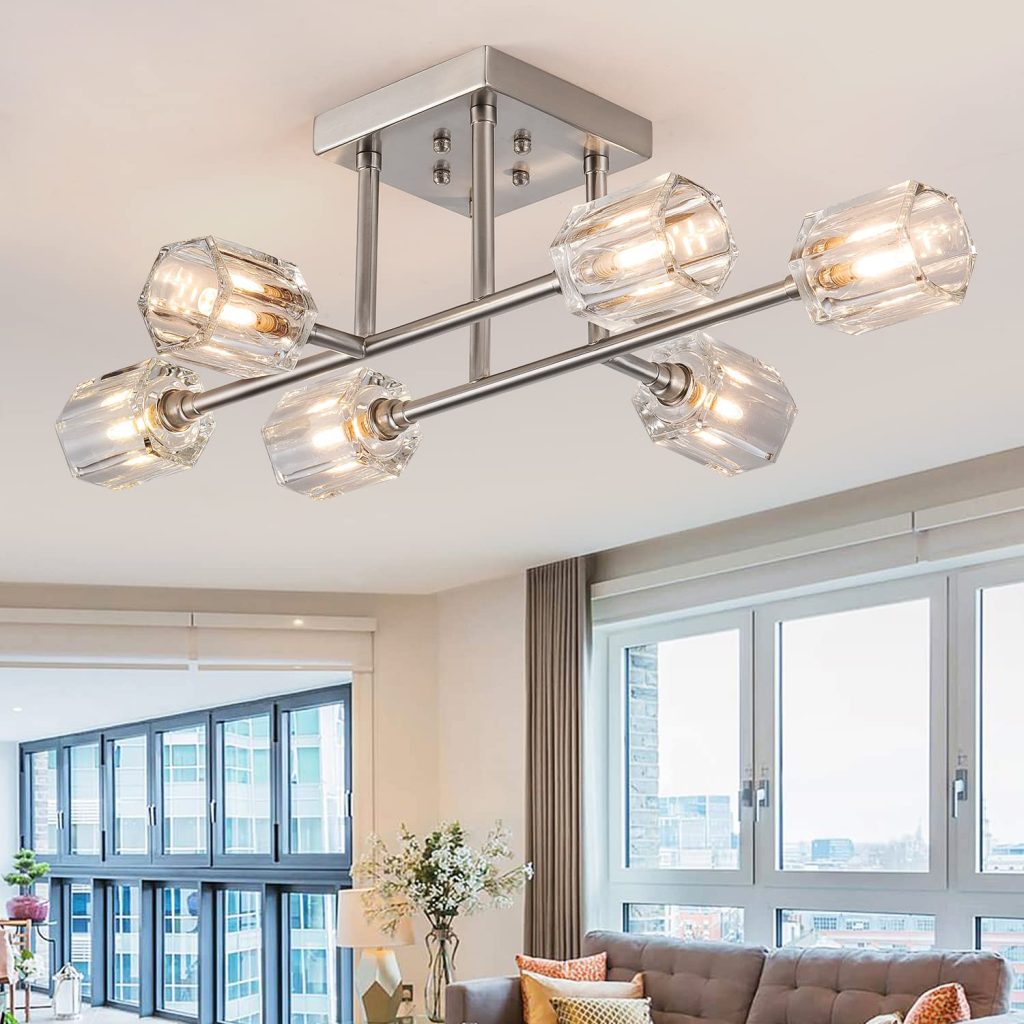
After installing the new fixture, it’s important to test it before completing the installation. Turn the power back on at the circuit breaker or fuse box and flip the light switch to ensure that the fixture functions properly. Check for any flickering, dimming, or other issues that may indicate a faulty installation. If everything appears to be in working order, you can proceed to finish the installation.
Finish and Clean Up
Once the new ceiling light fixture is installed and tested, it’s time to clean up any debris and put away your tools. Dispose of the old fixture and any packaging materials from the new fixture in an environmentally friendly manner. Take a moment to admire your handiwork and the fresh new look of your room with the updated ceiling light fixture.
How to select ceiling light fixture
When it comes to lighting up your home, the right ceiling light fixture can make all the difference. Not only does it provide essential illumination, but it can also serve as a stylish and decorative element in any room. With so many options available, it can be overwhelming to choose the right ceiling light fixture for your home.
Consider the Room’s Function and Size
One of the most important factors to consider when choosing a ceiling light fixture is the function of the room where it will be installed. Different rooms have different lighting needs, and the right fixture can help to enhance the functionality and ambiance of the space.
For example
In a kitchen or workspace, bright and direct lighting is often preferred to ensure adequate visibility for tasks such as cooking, cleaning, or working. In contrast, a bedroom or living room may benefit from softer, more ambient lighting to create a cozy and relaxed atmosphere.
Additionally, the size of the room should also be taken into account. Larger rooms may require multiple light sources or larger fixtures to adequately illuminate the space, while smaller rooms may be better served by a single, well-placed fixture.
Consider the Ceiling Height
Ceiling height is another important consideration when choosing a ceiling light fixture. Rooms with high ceilings provide more flexibility in terms of fixture options, as there is more space to accommodate larger or more decorative fixtures. However, rooms with low ceilings may require flush or semi-flush mount fixtures to ensure that the light is both functional and visually appealing without overwhelming the space.
In addition, it’s important to consider the clearance between the fixture and any furniture or fixtures below it. For example, a dining room with a table underneath the fixture may require a chandelier or pendant with an adjustable height to ensure that it doesn’t interfere with the dining experience.
Choose a Style that Complements Your Décor
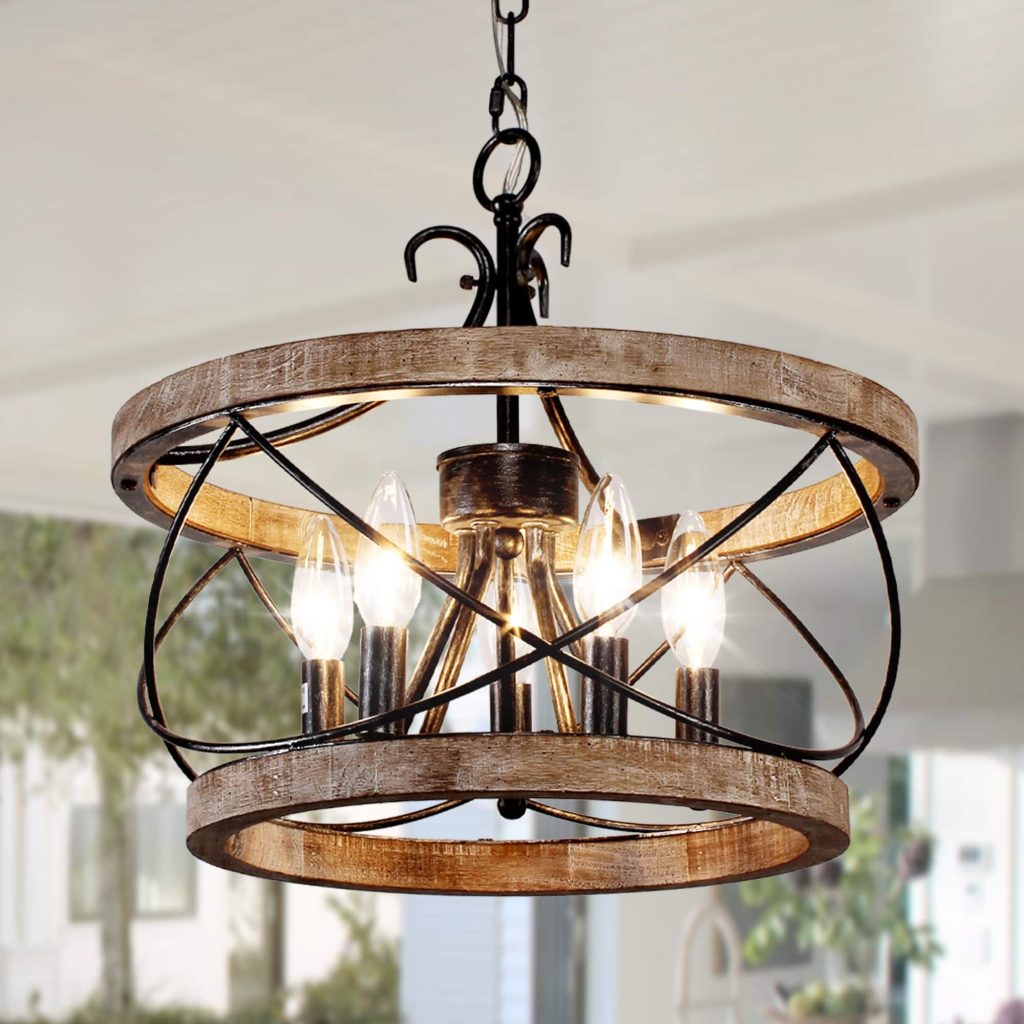
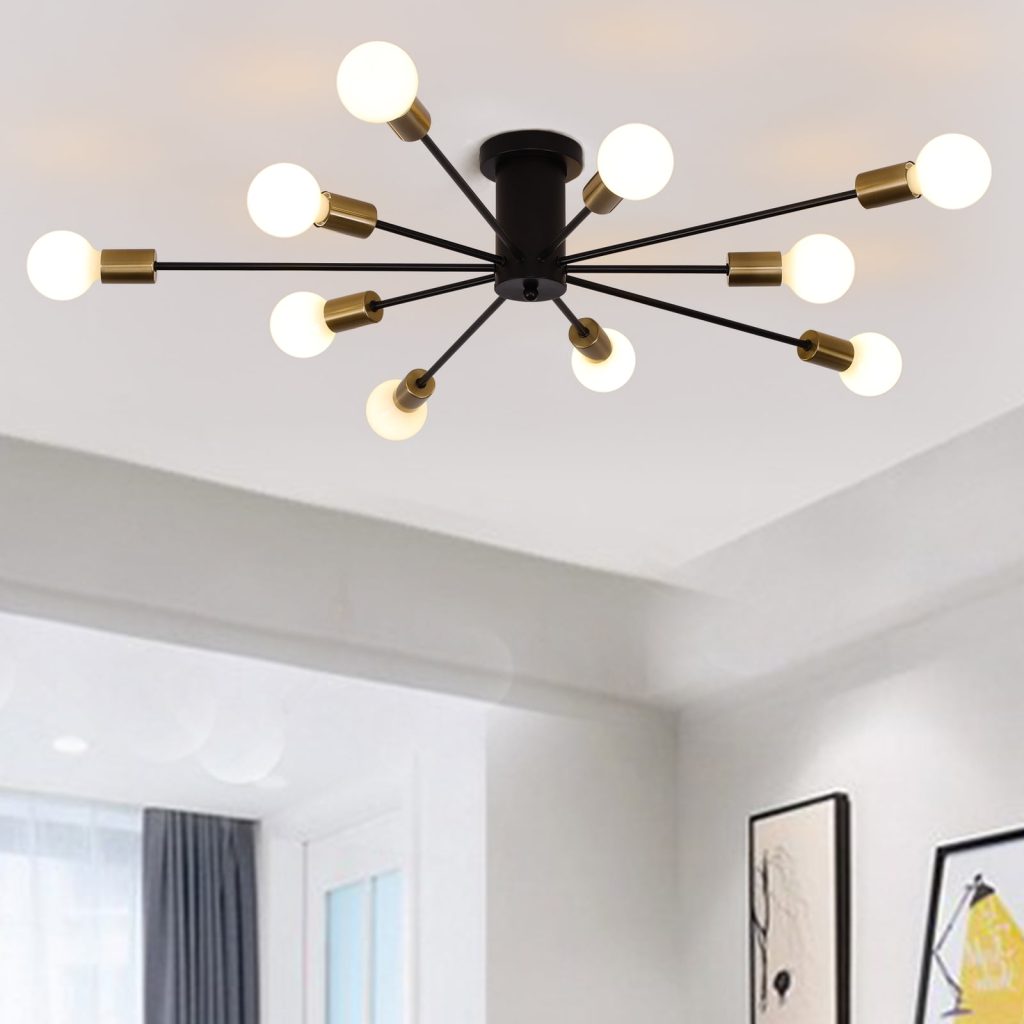
Ceiling light fixtures come in a wide variety of styles, ranging from sleek and modern to ornate and traditional. When choosing a fixture, it’s important to consider the overall décor and style of the room where it will be installed. A fixture that complements the existing style of the space can help to tie the room together and create a cohesive look.
For example, a contemporary living room with clean lines and minimalist décor may benefit from a sleek and understated pendant light, while a classic dining room with traditional furnishings may be better suited to a more ornate chandelier.
Consider the Type of Lighting
In addition to considering the style and function of the room, it’s important to think about the type of lighting that the fixture will provide. Different types of lighting can create different moods and serve different purposes, so it’s important to choose a fixture that will provide the right type of illumination for the space.
Ambient lighting provides overall illumination and serves as the primary source of light in a room. Task lighting, on the other hand, is focused and provides specific illumination for activities such as reading or cooking. Accent lighting is used to highlight specific features or areas of a room, such as artwork or architectural details.
Consider Energy Efficiency and Maintenance
When choosing a ceiling light fixture. It’s also important to consider factors such as energy efficiency and maintenance requirements. Opting for LED or energy-efficient fixtures can help to reduce energy consumption and lower electricity bills. While also reducing the frequency of bulb replacements.
Additionally, consider the maintenance requirements of the fixture, such as cleaning, bulb replacement. Ad any other regular upkeep. Some fixtures may be more challenging to clean or require more frequent maintenance. So it’s important to weigh these factors when making a decision.
Conclusion
Replacing a ceiling light fixture is a relatively simple DIY project that can instantly update the look. And functionality of any room in your home. By following the steps outlined in this guide and exercising caution when working with electricity. You can successfully replace a ceiling light fixture with minimal hassle. Whether you’re looking to modernize your decor or simply in need of a functional upgrade. Replacing a ceiling light fixture is a quick and rewarding home improvement project.
