How to install led recessed lighting in existing ceiling? LED recessed lighting is a popular choice for homeowners looking to upgrade their existing ceiling lighting. Its energy efficiency, longevity, and aesthetic appeal make it an ideal choice. However, installing LED recessed lighting in an existing ceiling requires careful planning and execution. In this article, we will provide a step-by-step guide on how to install LED recessed lighting in an existing ceiling. We will cover the necessary preparations, tools required, and a detailed installation process. By following these instructions, homeowners can successfully upgrade their ceiling lighting to efficient and stylish LED recessed lighting.
Preparation:
Safety First:
Before starting the installation process, ensure that the power supply to the existing lighting fixture is turned off. Locate the circuit breaker or fuse box and switch off the respective circuit. Test the existing lighting fixture to ensure there is no power flowing to it before proceeding.
Gather Essential Tools:
Collect the necessary tools for the installation process, including:
- LED recessed light fixtures
- Measuring tape
- Pencil or marker
- Keyhole saw or drywall saw
- Screwdriver
- Wire strippers
- Wire connectors
- Electrician’s tape
- Safety glasses and gloves
Installation Steps:
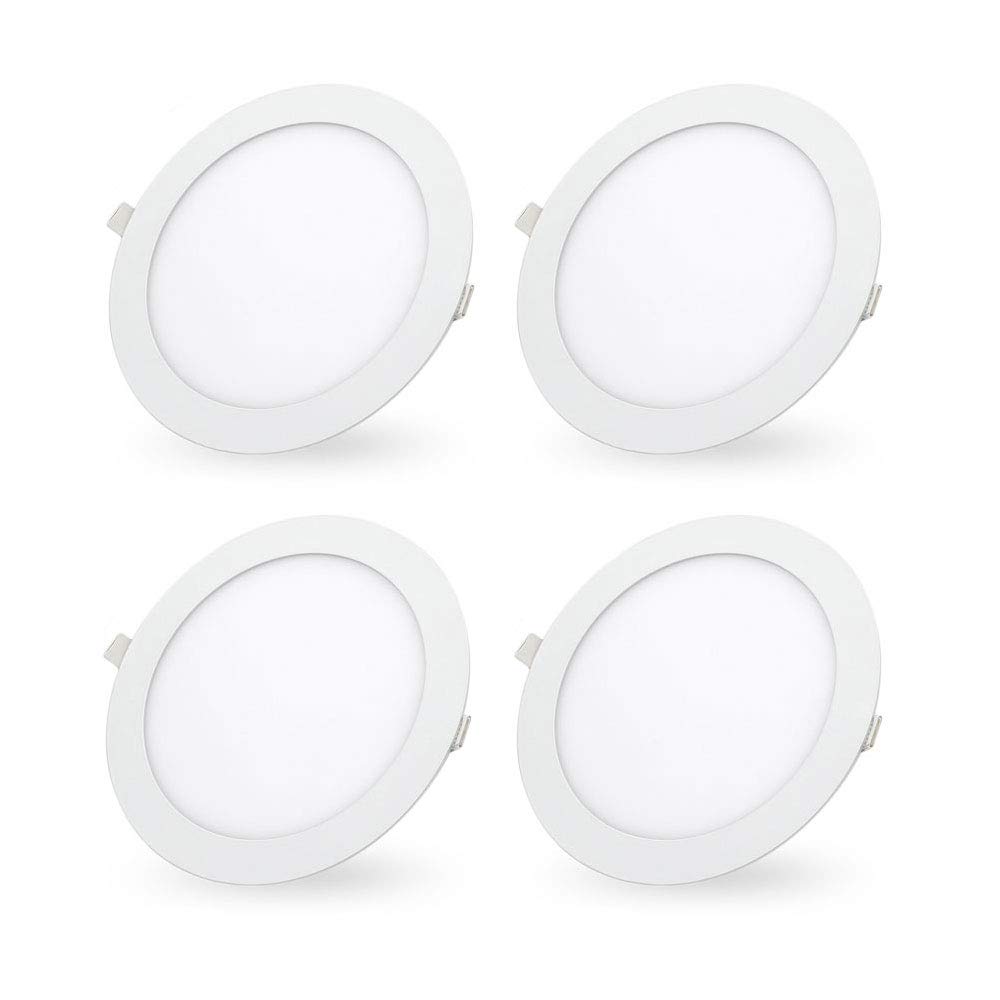
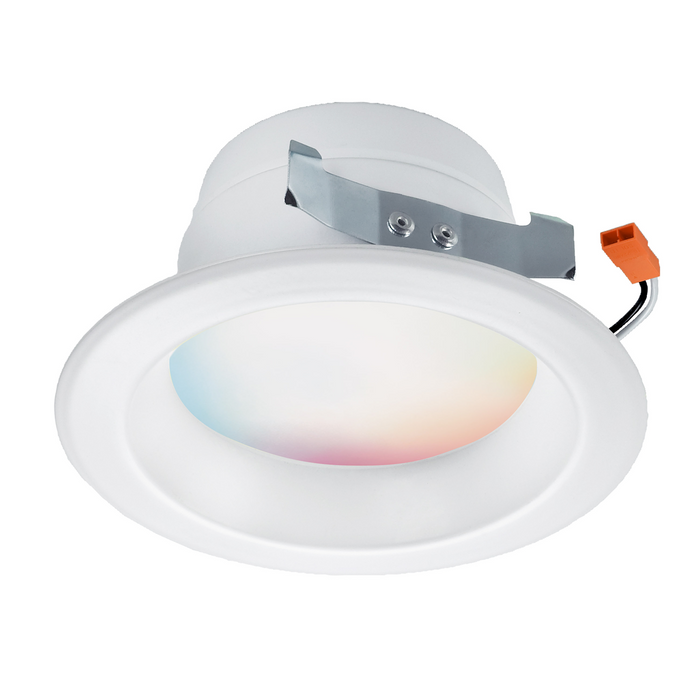
Step 1: Selecting the LED Recessed Light Fixtures:
Choose LED recessed light fixtures that meet your aesthetic preferences and lighting requirements. Consider factors such as color temperature, beam angle, brightness, and trim style. Ensure the chosen fixtures are compatible with your ceiling type and meet local building codes.
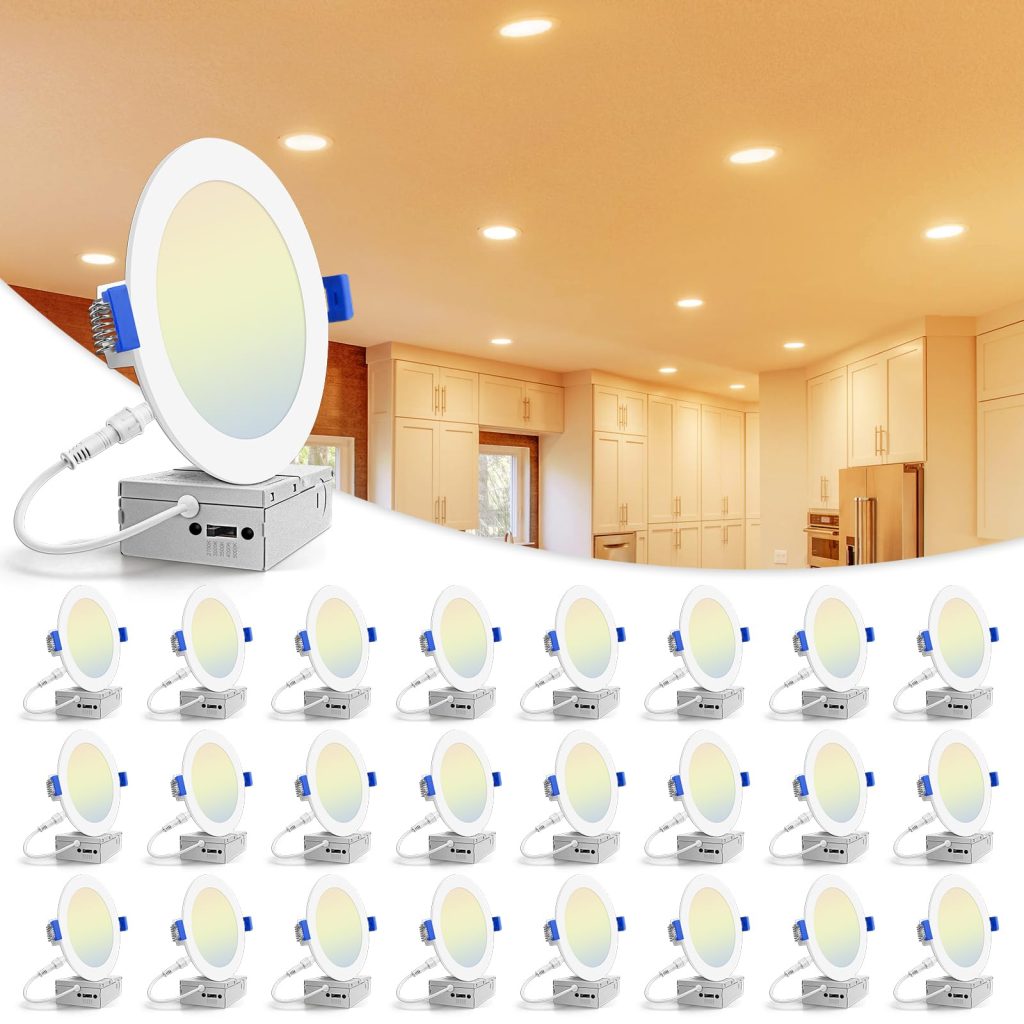
Step 2: Determining the Placement:
Decide on the placement of the LED recessed lights in the existing ceiling. Consider factors such as the room layout, desired lighting coverage, and any obstructions such as ceiling joists or HVAC ductwork. Use a measuring tape, pencil, and a layout plan to mark the locations for the fixtures accurately.
Step 3: Cutting the Ceiling Openings:
Using a keyhole saw or drywall saw, carefully cut along the marked outlines to create openings for the LED recessed lights. Be cautious of electrical wiring, plumbing, or other potential hazards that may be concealed in the ceiling. Wear safety glasses and gloves during this process, and ensure proper ventilation to minimize debris and dust.
Step 4: Wiring Preparation:
Before wiring the LED recessed lights, assess the existing electrical wiring. If the existing wiring is compatible, use wire strippers to remove approximately ¾ inch of insulation from the black (hot), white (neutral), and green (ground) wires. If necessary, run new electrical wiring from the existing lighting fixture to each LED recessed light location, ensuring proper sizing and compliance with local electrical codes.
Step 5: Wiring the LED Recessed Lights:
For each LED recessed light, connect the black wire from the fixture to the hot wire in the ceiling using a wire connector, twisting them together clockwise. Connect the white wire from the fixture to the neutral wire in the ceiling in the same manner. If present, connect the green or copper grounding wire from the fixture to the grounding wire in the ceiling. Secure the connections with wire connectors and wrap them with electrician’s tape for added safety.
Step 6: Mounting the LED Recessed Light Fixtures:
Securely mount each LED recessed light fixture into its respective opening in the ceiling. Follow the manufacturer’s instructions for specific mounting methods, as they may vary depending on the fixture type and ceiling material. Ensure a tight fit to prevent any gaps between the fixture and the ceiling.

Step 7: Testing and Adjustments:
Once the LED recessed lights are installed, restore power to the circuit by turning on the breaker or fuse. Test each light individually to ensure proper functionality. Check for any flickering, loose connections, or issues with light output. Make adjustments as necessary to ensure proper alignment, spacing, and desired lighting effects.
Advantages of LED recessed lighting
LED recessed lighting has gained popularity due to its numerous advantages over traditional lighting options. As an efficient and versatile lighting solution, LED recessed lighting offers benefits such as energy savings, long lifespan, versatility in design, enhanced aesthetics, improved functionality, and environmental sustainability.
Energy Efficiency:
LED recessed lighting is highly energy-efficient, consuming significantly less energy compared to traditional lighting options. LED bulbs convert most of the energy they consume into light, minimizing energy waste as heat. This energy efficiency leads to lower electricity bills while reducing environmental impact and carbon footprint.
Long Lifespan:
LED recessed lighting provides a significantly longer lifespan compared to traditional lighting technology. With an average lifespan of 25,000 to 50,000 hours or more, LED bulbs last much longer than incandescent or fluorescent bulbs. This extended lifespan translates to reduced replacement and maintenance costs, making LED recessed lighting a cost-effective choice in the long run.
Versatility in Design and Installation:
LED recessed lighting offers versatility in design, allowing for various installation options to suit different lighting needs and design preferences. Recessed lights can be install recessed lighting in a variety of spaces such as kitchens, living rooms, hallways, or offices, providing task lighting or accent lighting. The versatility in design ensures that LED recessed lighting seamlessly integrates into any space, enhancing its overall aesthetics.
Enhanced Aesthetics:
LED recessed lighting provides a sleek and modern look that enhances the overall aesthetics of a space. Recessed lights are installed flush with the ceiling, enabling a clean and unobtrusive appearance. They create a sense of depth and dimension, adding a touch of elegance and sophistication to the room’s design. The ability to customize the color temperature and beam angle allows for further control over the lighting ambiance and mood.
Improved Functionality:
LED recessed lighting is designed to provide efficient and effective lighting solutions. The directional light emitted by LED recessed lights focuses the illumination on specific areas, making them ideal for task lighting, accent lighting, or general lighting purposes. This functionality enables homeowners to create well-lit spaces that suit their needs, whether it be focused lighting for cooking in the kitchen or highlighting artwork on the walls.
Instantaneous and Flicker-Free Lighting:
LED recessed lights provide immediate and flicker-free lighting. Unlike traditional lighting options that often take time to warm up, LED lights emit light instantly upon turning them on. This instantaneous lighting is particularly beneficial in areas where immediate illumination is required, such as kitchens or workspaces.
What are the styles of led recessed lighting?
LED recessed lighting offers a wide range of styles, allowing homeowners and designers to choose fixtures that best suit their aesthetic preferences and lighting needs. From minimalist designs to decorative options, LED recessed lighting provides versatility and flexibility in creating the desired ambiance and enhancing the overall aesthetics of a space.
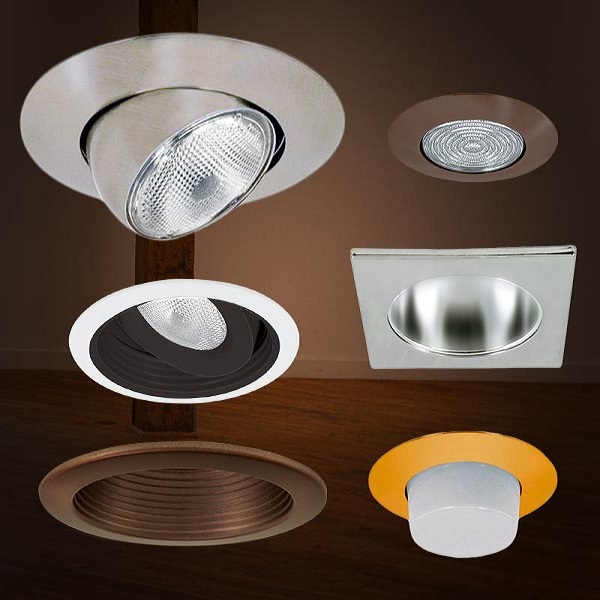
Trim Styles:
Trim styles play a significant role in determining the overall look and feel of led strip lights. Some common trim styles include:
- Baffle Trim: This style features a ribbed interior, creating a soft and even lighting effect. It reduces glare and enhances diffused lighting.
- Gimbal Trim: A gimbal trim allows for adjustable lighting, as the light source can be directed or tilted to the desired position. This style is popular for accent lighting, highlighting artwork, or architectural features.
- Eyeball Trim: With its adjustable design, an eyeball trim allows for directional lighting by rotating the light source within the trim. It provides more flexibility in positioning the light beam.
- Square Trim: Square trims offer a modern and streamlined look, adding a geometric element to the lighting design. This style suits contemporary or minimalist aesthetics.
Color Temperatures:
LED recessed lighting is available in various color temperatures, measured in Kelvin (K), which determines the warmth or coolness of the light. Common color temperature options include:
- Warm White (2700K-3000K): This color temperature creates a cozy and inviting atmosphere. It is suitable for living rooms, dining areas, or bedrooms, where a warm and welcoming ambiance is desired.
- Neutral White (3500K-4000K): Neutral white provides a balanced and natural lighting effect, similar to daylight. It is often used in kitchens, offices, and workspaces to promote productivity and concentration.
- Cool White (5000K-6500K): Cool white offers a brighter and more intense lighting experience. It is commonly used in areas that require task lighting, such as bathrooms, garages, or outdoor spaces.
Conclusion:
How to install led recessed lighting in existing ceiling? By following the step-by-step guide for installing LED recessed lighting in an existing ceiling, homeowners can achieve an energy-efficient and aesthetically pleasing lighting upgrade. Proper planning, safety measures, accurate placement, wiring preparation, and secure mounting are crucial for successful installation. Remember to adhere to local building codes and consult a licensed electrician if you encounter any challenges during the installation process. With attention to detail and proper execution, you can enjoy the benefits of efficient and stylish LED recessed lighting in your existing ceiling.