How to install led strip lights on ceiling? Installing LED strip lights on the ceiling is a popular and versatile way to add ambient lighting and enhance the overall aesthetic appeal of a room. LED strip lights are flexible, energy-efficient, and come in various colors and brightness levels. In this comprehensive guide, we will walk you through the step-by-step process of installing LED strip lights on the ceiling, from planning and preparation to mounting and wiring, ensuring a successful and professional-looking installation.
Tools and Materials You’ll Need:
Before starting the installation process, gather the following tools and materials:
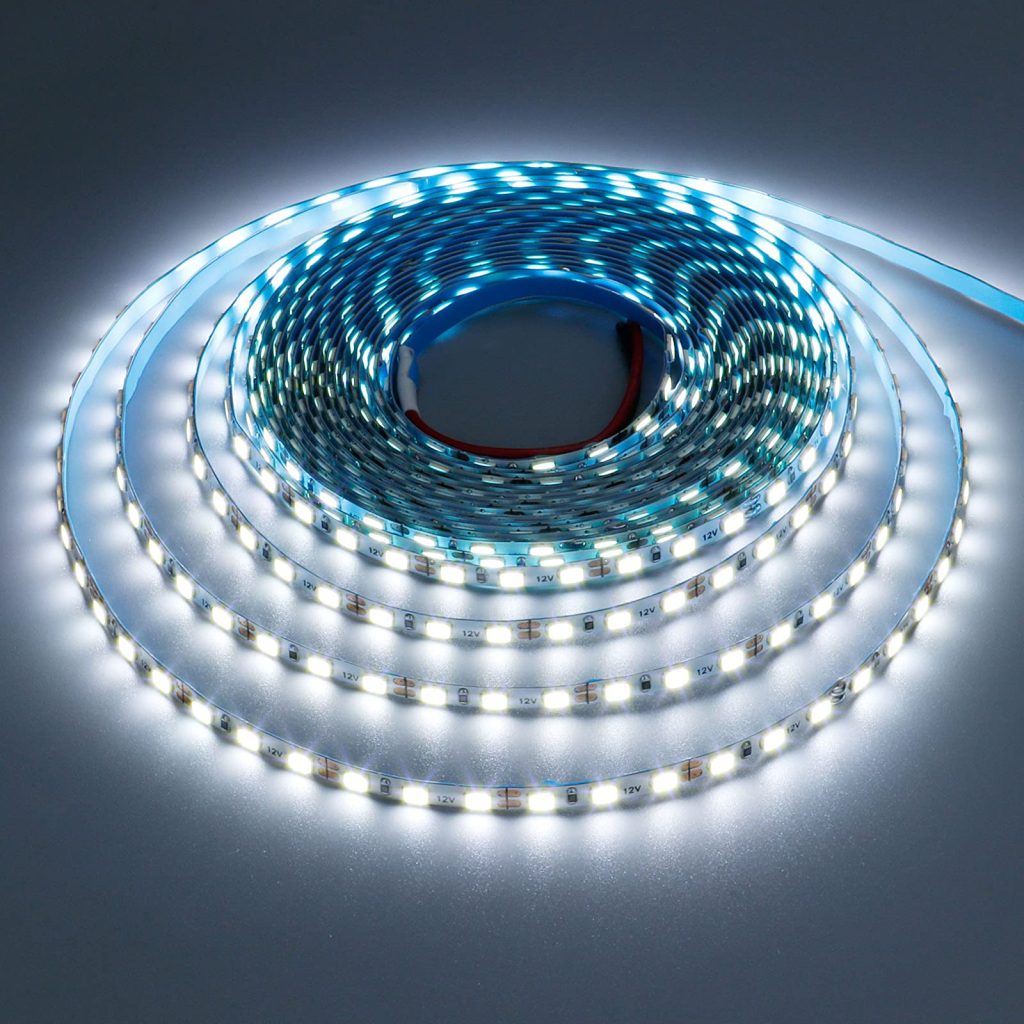
- LED strip lights of the desired length and specifications
- LED strip light mounting clips or adhesive tape
- Mounting brackets or suspension wires (if necessary)
- Power supply with appropriate voltage and wattage
- Wire connectors or soldering kit
- Wire strippers or scissors
- Electrical tape
Step-by-Step Guide:
Planning and Preparation:
Measure the Space: Determine the length and layout of the LED strip lights. Measure the dimensions of the ceiling where you plan to install the lights, indicating the starting and ending points of the strip.
Choose the LED Strip Lights: Select LED strip lights of the appropriate length, color, and brightness for your desired lighting effect. Consider the type of glass table lamp, such as waterproof or non-waterproof, based on the location of the installation.
Calculate Power Requirements: Determine the power requirements for your LED strip lights, including voltage and wattage. Ensure that the power supply can handle the total wattage of the LED strip lights to avoid overload or damage.
Prepare the Power Supply: Depending on the type of LED strip lights you have, prepare the power supply by connecting the appropriate connectors or wiring based on the manufacturer’s instructions.
Mounting the LED Strip Lights:
Clean the Ceiling: Ensure that the ceiling surface is clean and free of dust or debris. Use a damp cloth or mild cleaner to wipe away any dirt, allowing the adhesive or mounting clips to adhere properly.
Apply Mounting Clips or Adhesive Tape: If your LED strip lights have adhesive backing, remove the protective layer and apply the strip along the marked path on the ceiling. Alternatively, use mounting clips or brackets to secure the strip lights in place. Follow the manufacturer’s instructions for adhesive application or securing the mounting clips.
Test the Lights: Before mounting the LED strip lights permanently, connect the strip to the power supply and test the lights to ensure they are functioning correctly.
Wiring and Connection:
Install the Power Supply: Locate a suitable location to install the power supply. It should be easily accessible and near a power outlet. Mount the power supply using screws or adhesive, depending on the instructions provided.
Wire the Power Supply: Connect the positive (+) and negative (-) wires from the LED strip to the corresponding terminals on the power supply. Use wire connectors or soldering techniques to make secure and reliable connections. Alternatively, you can use pre-wired connectors if they are provided with your LED strip lights.
Secure the Wiring: Secure the wiring using cable clips or channels to keep it tidy and organized. Use electrical tape or heat-shrink tubing to insulate and protect the wire connections.
Final Touches:
Clean and Neaten: Once the led lights up and wiring are installed, clean the ceiling surface around the lights to remove any fingerprints or marks. Neaten the wiring and secure it to the ceiling or wall using cable clips or channels.
Test the Lights Again: Before finishing the installation, test the LED strip lights once more to ensure they are functioning properly. Adjust the position or alignment of the lights if necessary.
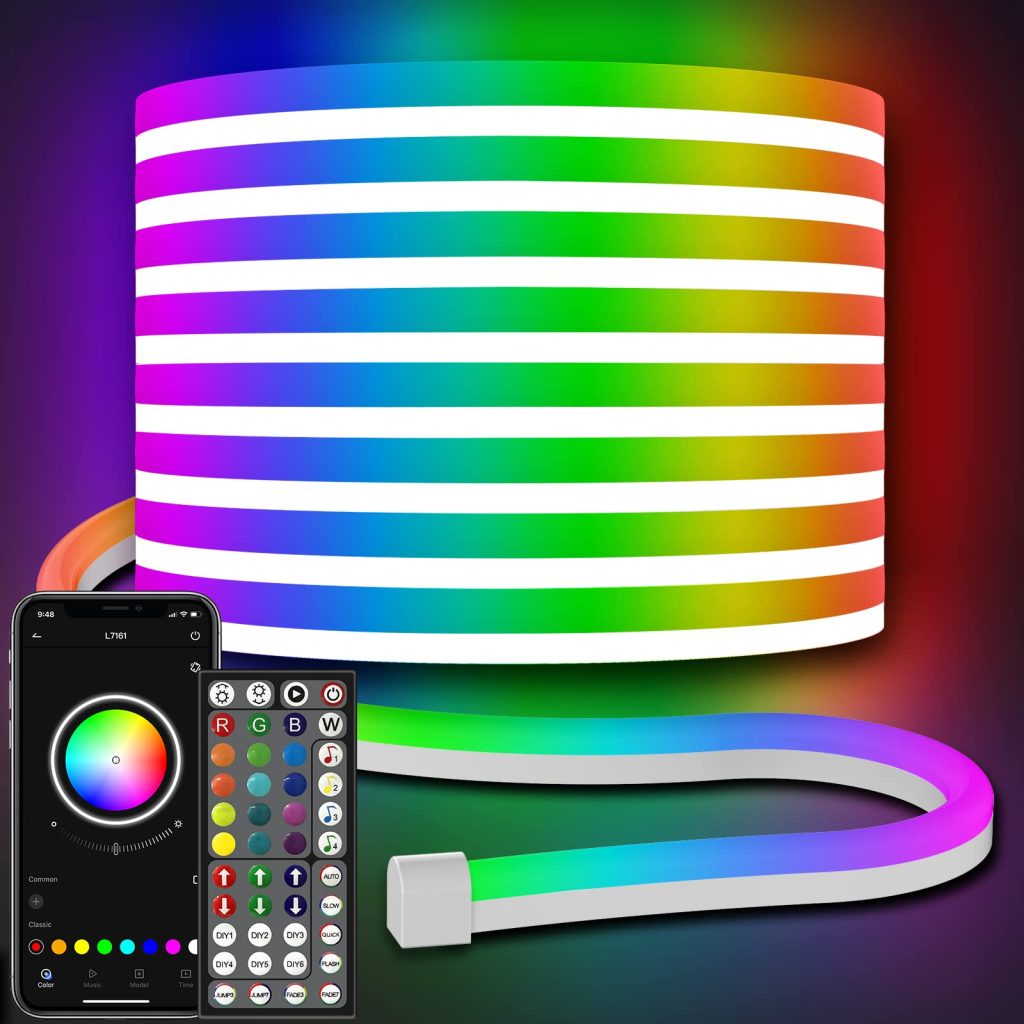
Optional: Add Controllers or Dimmers: Install controllers or dimmers, if desired, to control the brightness, color, or effects of the LED strip lights. Follow the manufacturer’s instructions for installation and programming.
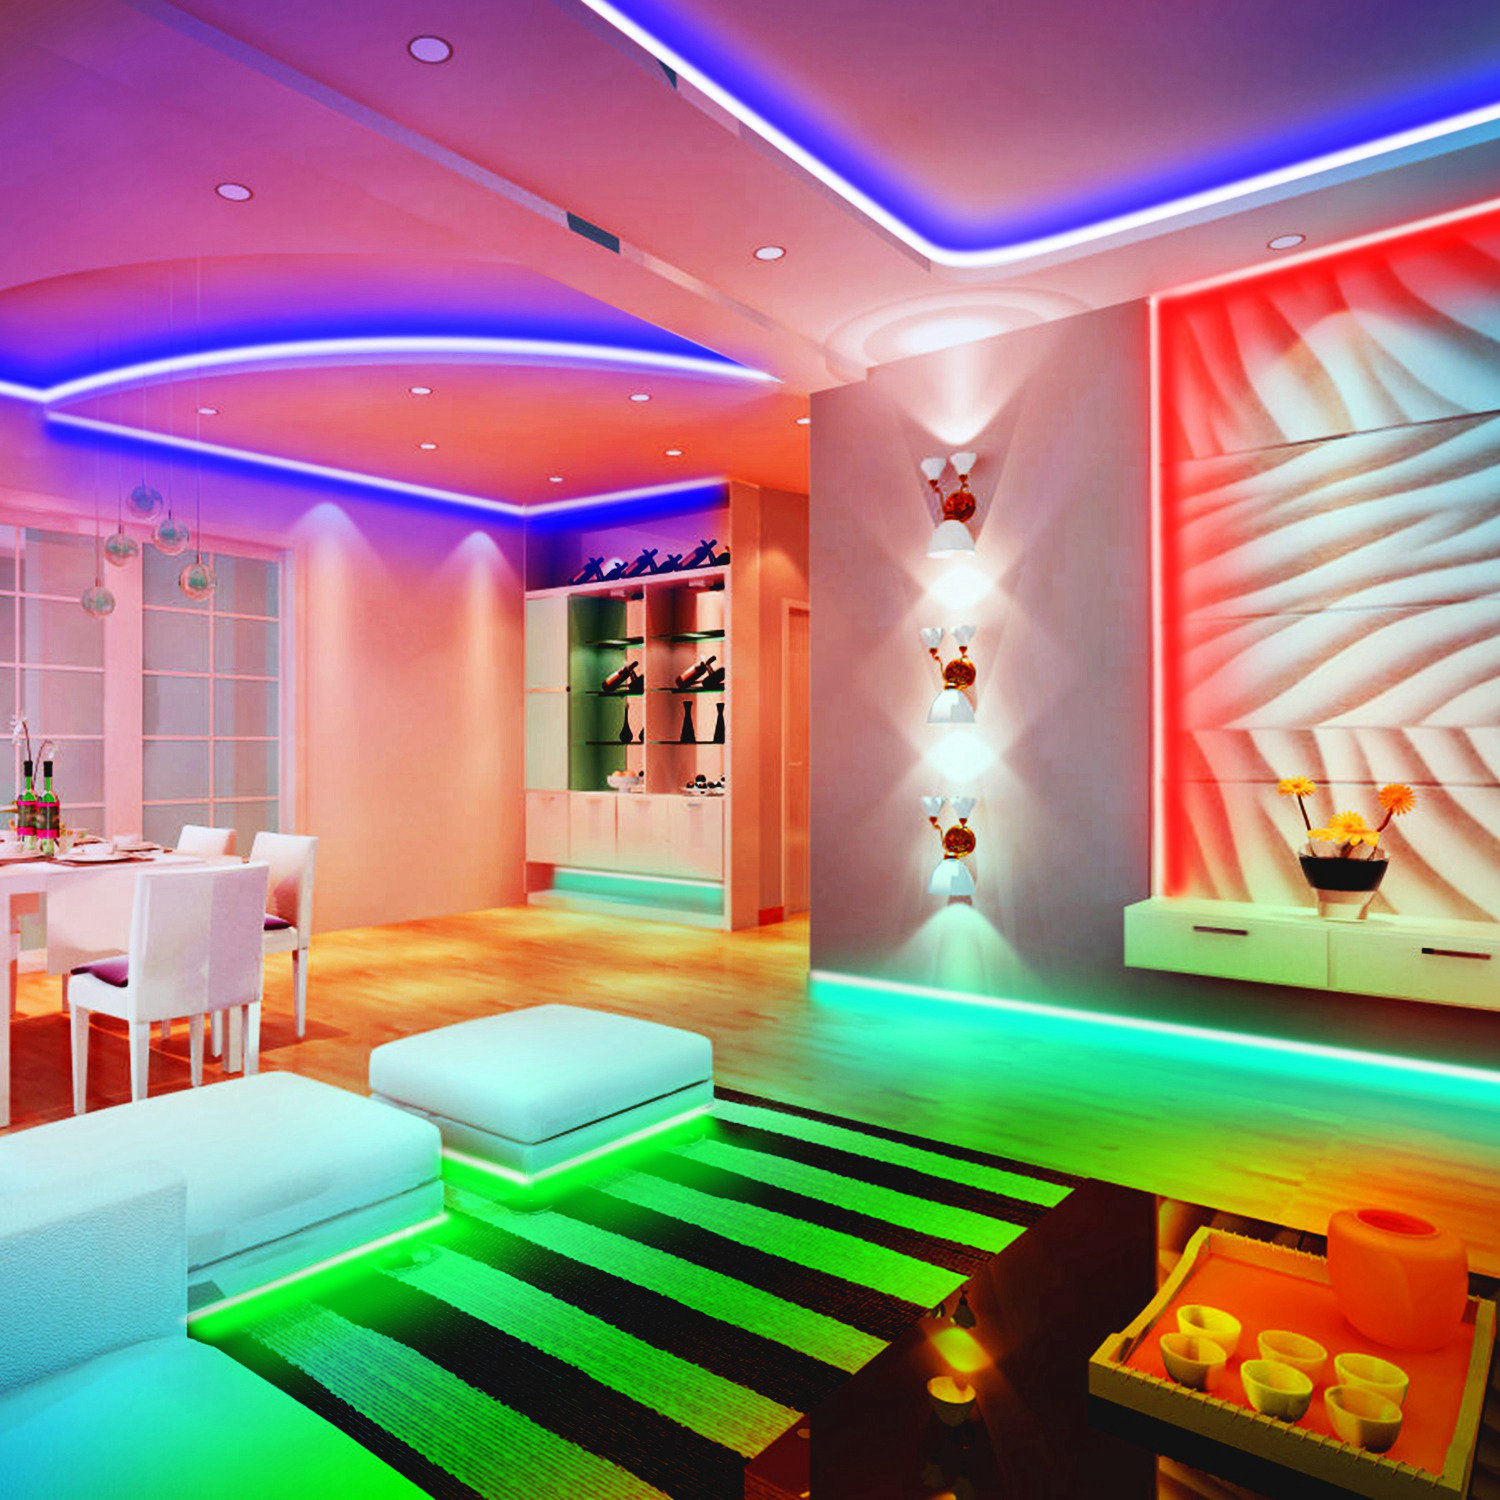
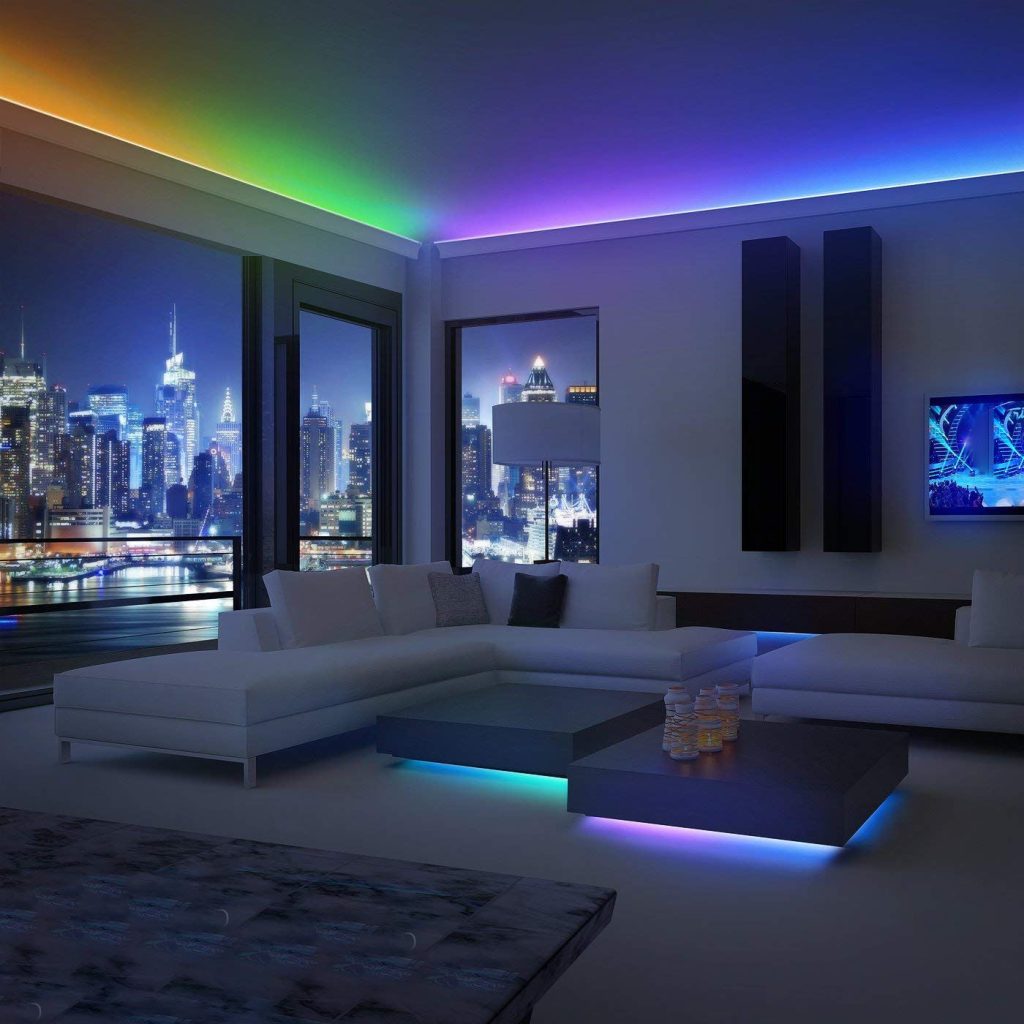
Enjoy Your New Lighting: With the installation complete, turn on the power supply and enjoy the ambient lighting created by your LED strip lights. Sit back and appreciate the cozy and visually appealing atmosphere they provide.
What styles of led strip lights are there?
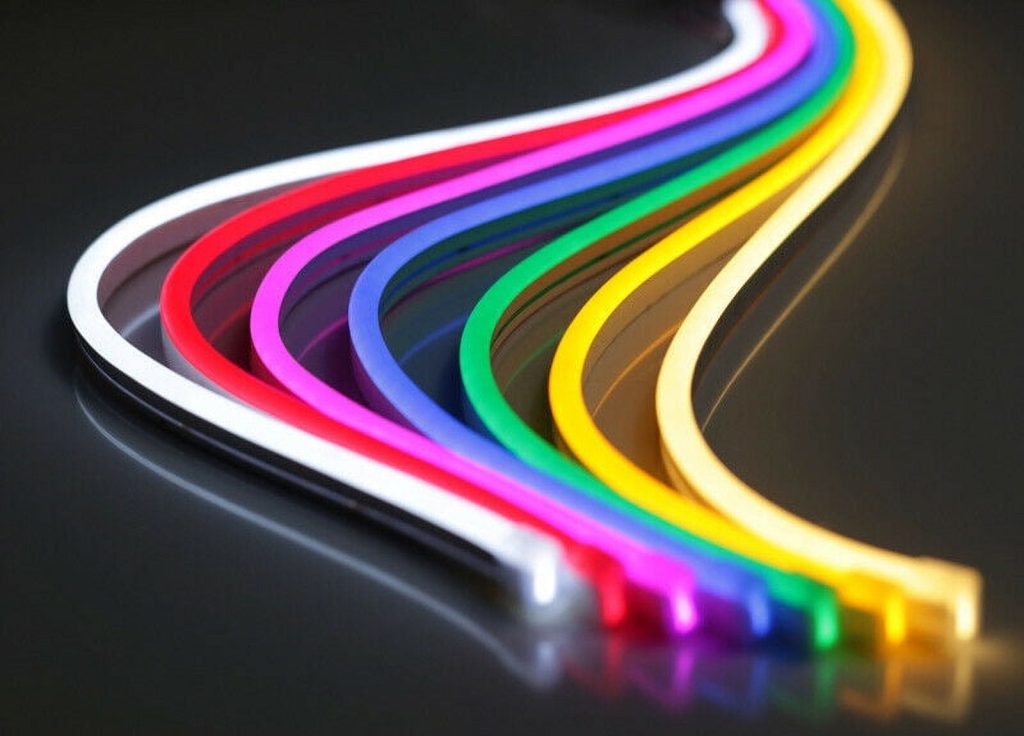
LED strip lights are a versatile and popular lighting solution that offers various styles, colors, and functionalities to suit different applications and personal preferences. From single-color options to RGB multicolor lights, waterproof or non-waterproof designs, and flexible or rigid strips, there is a wide range of options available.
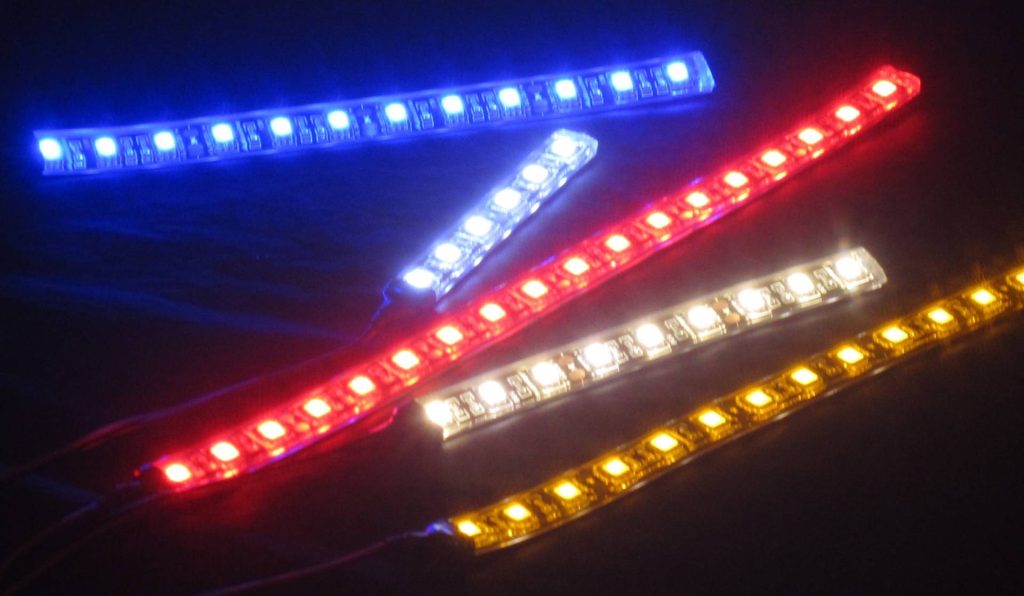
Single-Color LED Strip Lights:
Single-color LED strip lights emit a consistent and uniform color throughout the strip. The most common single-color options include:
Warm White: Emitting a soft and warm tone, warm white LED strip lights create a cozy and intimate ambiance. They are popular for residential and commercial applications.
Cool White: Cool white LED strip lights produce a bright and crisp light, often used in task lighting or areas where higher visibility is required, such as kitchens, offices, or workshops.
Multicolor LED Strip Lights:
Multicolor LED strip lights offer the ability to change colors and create various lighting effects. Common multicolor options include:
RGB (Red, Green, Blue): RGB LED strip lights combine red, green, and blue LEDs to generate a multitude of colors by mixing different levels of each primary color. They typically require an RGB controller to adjust colors and lighting effects.
RGBW (RGB + White): RGBW LED strip lights feature additional white LEDs to provide a true white light option alongside a wide range of colors. This allows for more versatile lighting possibilities.
Dreamcolor/Addressable RGB: Dreamcolor or addressable RGB LED table lamp have individually controllable LEDs along the strip, enabling different colors and effects on separate sections. They require a specialized controller or microcontroller to program and control the color patterns.
Waterproof LED Strip Lights:
Waterproof LED strip lights are designed to withstand exposure to moisture, making them suitable for both indoor and outdoor applications. They provide added durability and protection against water damage. Common waterproof options include:
IP65: IP65-rated LED strip lights are protected against low-pressure jets of water and dust. They are suitable for indoor and outdoor use but not submersion in water.
IP67: IP67-rated LED strip lights offer dust resistance and can withstand temporary immersion in water up to a meter deep. They are suitable for outdoor or damp environments.
IP68: IP68-rated LED strip lights provide complete protection against dust and can be submerged in water beyond one meter. They are ideal for underwater lighting or applications with constant exposure to moisture.
In conclusion
Installing LED strip lights on the ceiling can transform the ambiance of a room and add a touch of elegance and sophistication. By following these step-by-step instructions, you can successfully install LED strip lights in a professional manner. Remember to plan and prepare, mount the lights securely, wire and connect the power supply properly, and test the lights before completing the installation. With proper installation and thoughtful placement, your LED strip lights will enhance the aesthetic appeal and functionality of your living space, creating a warm and inviting atmosphere.