How to change a lamp switch? Changing a lamp switch is a simple yet essential skill that can help you maintain and repair your lighting fixtures. Whether you’re upgrading to a new switch, fixing a faulty one, or customizing your lamp, knowing how to replace a lamp switch can save you time and money. In this comprehensive guide, we will provide you with step-by-step instructions, tips, and safety precautions to help you successfully change a lamp switch on your own.

Chapter 1: Understanding Lamp Switches
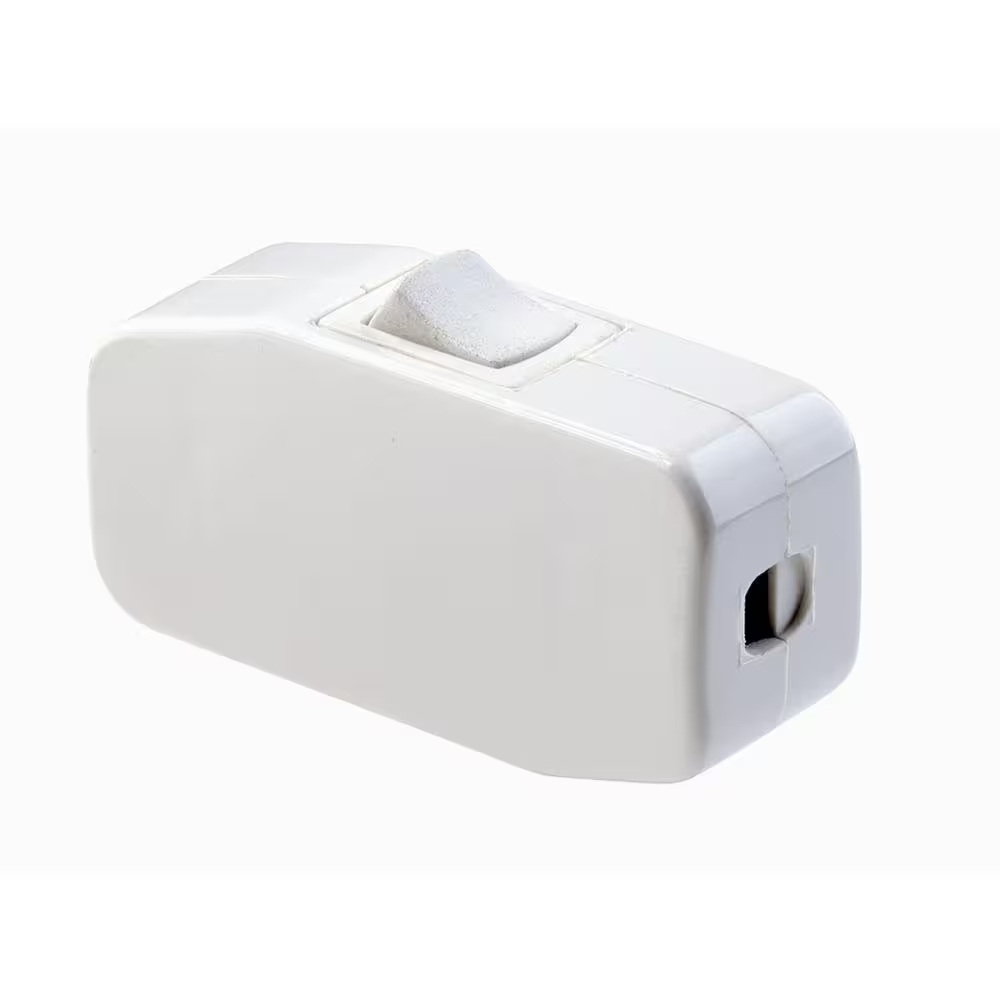
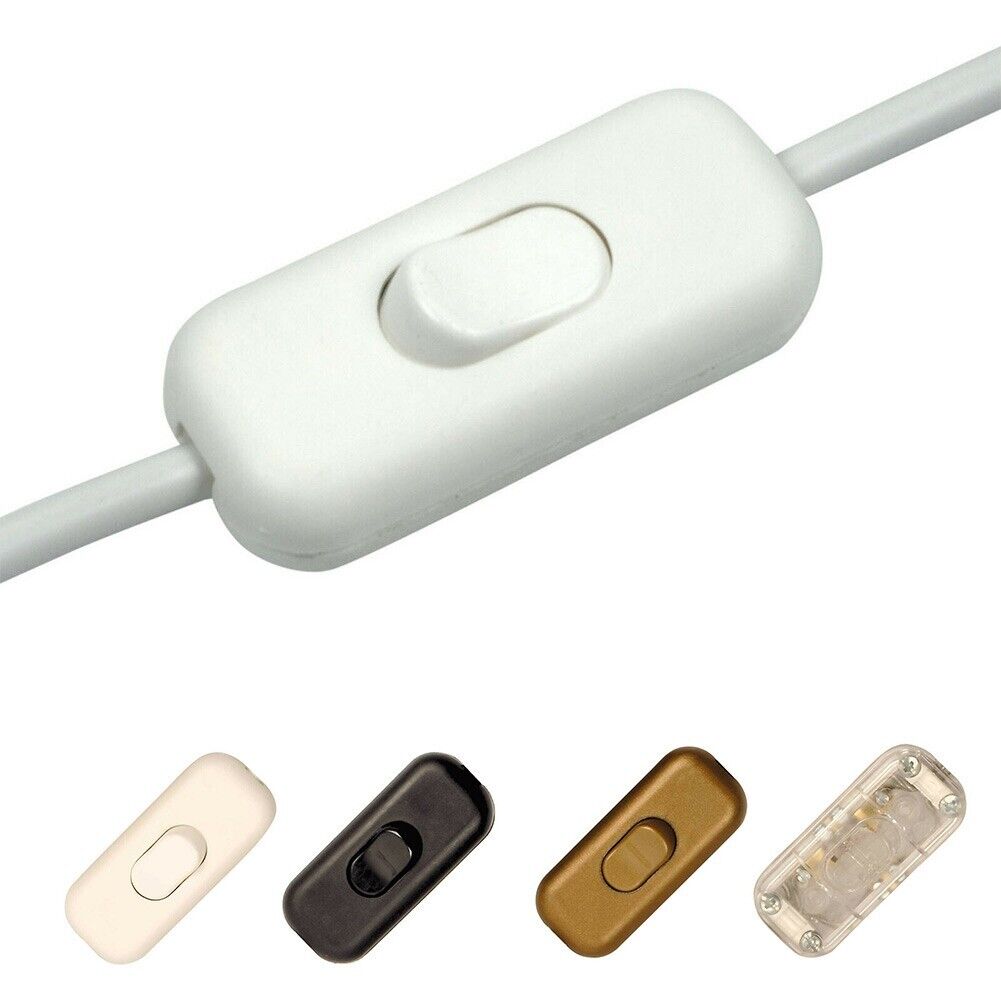
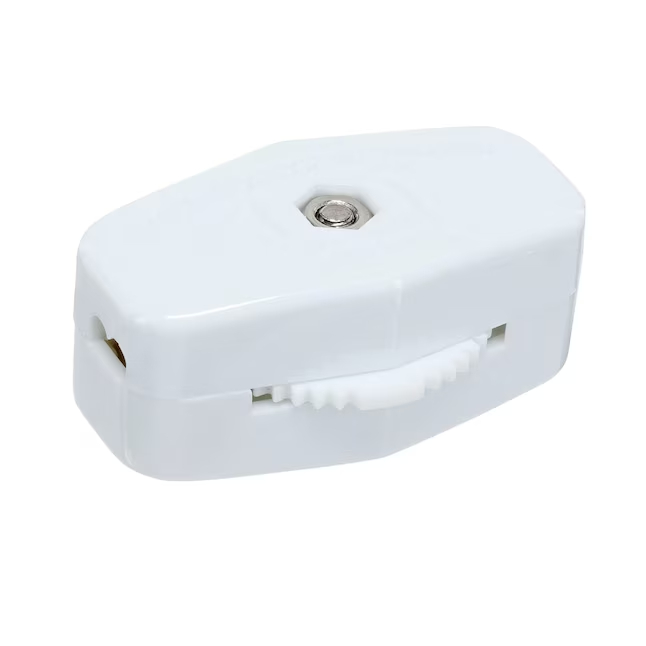
Before you begin changing a lamp switch, it’s essential to understand the different types of switches commonly used in lamps. The most common types include rotary switches, pull-chain switches, push-button switches, and touch-sensitive switches. Each type operates differently and may require specific techniques for replacement. Identify the type of switch in your lamp before proceeding with the replacement process.
Chapter 2: Tools and Materials Needed
Gather the necessary tools and materials before starting the lamp switch replacement. You will typically need the following items:
- Replacement lamp switch
- Screwdriver (flathead or Phillips, depending on the lamp)
- Wire cutter/stripper
- Electrical tape
- Wire connectors
- Safety goggles
- Work gloves
- Turn off the power
Chapter 3: Safety Precautions
Safety should always be a top priority when working with electrical components. Before starting, ensure that the lamp is unplugged from the power source. If the lamp is hardwired, turn off the power at the circuit breaker to prevent any electrical accidents. Additionally, use safety goggles and work gloves to protect yourself from potential hazards.
Chapter 4: Removing the Old Switch
To begin replacing the lamp switch, follow these steps:
- Unscrew the base of the lamp to access the wiring and switch.
- Disconnect the wires connected to the old switch by unscrewing the terminals or cutting them if necessary.
- Remove the old switch carefully, taking note of how the wires were connected for reference during installation.
Chapter 5: Installing the New Switch
Once the old switch is removed, follow these steps to install the new switch:
- Attach the wires from the lamp to the corresponding terminals on the new switch. Use wire connectors to secure the connections if needed.
- Carefully tuck the wires back into the lamp base, ensuring they are not pinched or exposed.
- Secure the new switch in place by screwing it into the lamp base.
- Replace the lamp base cover and secure it with screws.
Chapter 6: Testing the New Switch
After installing the new switch, plug in the lamp and test the functionality of the switch. Turn the switch on and off to ensure it is working correctly. If the lamp does not turn on or there are any issues with the switch, double-check the wiring connections and troubleshoot as needed.
Chapter 7: Troubleshooting Tips
If you encounter any problems during the lamp switch replacement process, consider the following troubleshooting tips:
- Check the wiring connections to ensure they are secure and properly attached to the switch terminals.
- Verify that the new switch is compatible with the lamp and correctly installed.
- Test the continuity of the switch using a multimeter to confirm proper functionality.
- Consult the manufacturer’s instructions or seek professional help if you are unable to resolve the issue.
How to choose lamp switch
Selecting the right lamp switch is crucial for both functionality and aesthetics in your lighting fixtures. With a wide range of options available, it’s essential to understand the factors to consider when choosing a lamp switch that suits your needs and preferences.
Chapter 1: Factors to Consider When Choosing a Lamp Switch
Before purchasing a lamp switch, consider the following factors to ensure you select the most suitable option for your needs:
- Functionality: Determine how you intend to use the lamp switch. Do you need a simple on/off switch, a dimmer switch for adjustable brightness, or a touch-sensitive switch for convenience?
- Compatibility: Ensure that the switch you choose is compatible with the lamp fixture and bulb type you plan to use. Check the wattage rating and compatibility with LED, incandescent, or other types of bulbs.
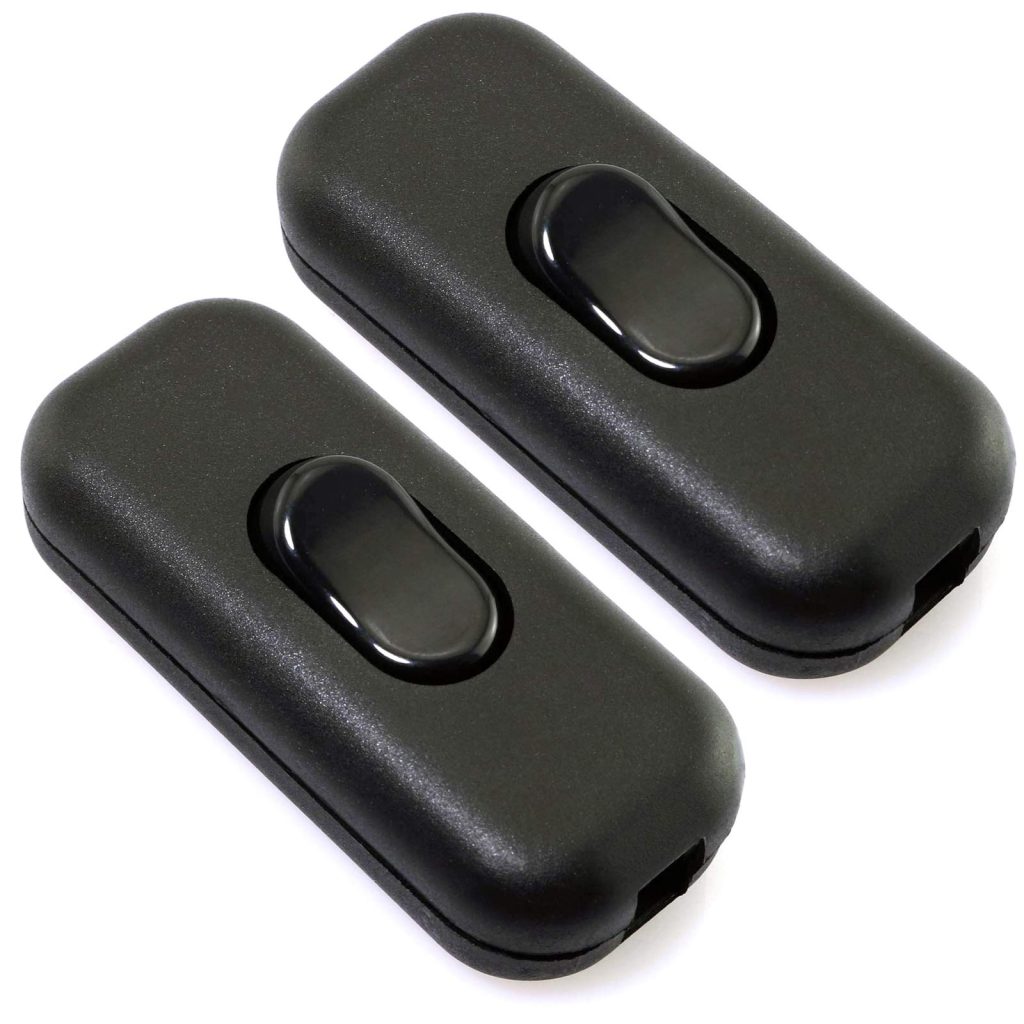
- Style and Design: Choose a switch that complements the overall design and aesthetics of your lamp and room decor. Consider factors such as color, finish, and style to ensure a cohesive look.
- Ease of Use: Select a switch that is easy to operate and suits your preferences. Pull-chain switches are traditional and easy to use, while touch-sensitive switches offer modern convenience.
- Durability and Quality: Opt for a high-quality switch that is durable and built to last. Look for switches made from robust materials that can withstand regular use.
- Safety: Prioritize safety when selecting a lamp switch. Choose switches that meet safety standards and are designed to prevent electrical hazards.
Chapter 2: Types of Lamp Switches
There are various types of lamp switches available, each offering unique features and functionalities. Some common types of lamp switches include:
- Toggle Switch: A simple on/off switch that is easy to operate by flipping a lever up or down.
- Rotary Switch: A dial or knob that allows you to adjust the brightness or turn the lamp on and off by rotating it.
- Pull-Chain Switch: A classic switch operated by pulling a chain attached to the switch mechanism.
- Touch-Sensitive Switch: A modern switch activated by touch, making it convenient and easy to use.
- Dimmer Switch: Allows you to adjust the brightness of the lamp to create the desired ambiance.
- Push-Button Switch: A switch that is pressed to turn the lamp on and off, offering a sleek and contemporary design.
- Remote-Controlled Switch: Enables you to control the lamp wirelessly using a remote, providing convenience and flexibility.
Chapter 3: Tips for Choosing the Right Lamp Switch
To help you make an informed decision when selecting a lamp switch, consider the following tips:
- Assess Your Needs: Determine the specific requirements and functionality you need from the lamp switch to narrow down your options.
- Consider the Room Decor: Choose a switch that complements the style and design of the room where the lamp will be placed.
- Test Before Buying: If possible, test the switch in person to ensure it meets your expectations in terms of usability and quality.
- Research Reviews: Read customer reviews and feedback on different switches to gain insights into their performance and durability.
- Consult a Professional: If you’re unsure about which switch to choose or how to install it, seek advice from a lighting specialist or electrician.
Conclusion
Changing a lamp switch is a practical DIY skill that can help you maintain and customize your lighting fixtures. By following the step-by-step instructions, safety precautions, and tips provided in this guide, you can confidently replace a lamp switch and ensure proper functionality of your lamp. Remember to prioritize safety, double-check your wiring connections, and test the new switch before completing the installation process. With practice and attention to detail, you can successfully change a lamp switch and enjoy a well-lit and functional space.