
Benefits of Upgrading to LED Ceiling Lights
How to replace led ceiling light? Upgrading to LED ceiling lights has many benefits. They are energy-efficient and last longer than traditional bulbs. Plus, they offer better light quality and are eco-friendly. Let’s explore these advantages in detail:
Energy Efficiency and Lower Costs
LED lights use less electricity than old bulbs. This means you can save money on your energy bills. They are also more efficient, turning more power into light instead of heat.
Longevity and Reduced Maintenance
LEDs can shine for many years without needing replacement. This reduces the time and cost of maintaining your lighting. With LEDs, you’ll change bulbs less often.
Improved Light Quality and Environmental Impact
LEDs give off a bright and consistent light. They can also show colors more truly. LEDs are better for the planet. They have no harmful materials and you can recycle them easily.
Necessary Tools and Materials for LED Installation
Before you start installing your new LED ceiling light, you will need to gather some essential tools and materials. Proper preparation is vital for a smooth installation process. Let’s go through what you’ll need to get started.
Safety Equipment
Safety first! Make sure to wear protective gear to prevent injuries. Here’s a basic list:
- Protective gloves to keep your hands safe from cuts and electrical shock.
- Safety glasses to shield your eyes from dust and debris.
- A sturdy step ladder to reach the ceiling safely and with ease.
Basic Electrical Tools
You will need some common tools to handle the electrical components. Here is what to include in your toolkit:
- A set of screwdrivers, both Phillips and flat-head, for screwing and unscrewing fixtures.
- A wire stripper to remove insulation from the ends of wires.
- A voltage tester to check for live wires and ensure safety.
- Wire nuts to cap off and secure wire connections.
Additional Supplies for LED Light Installation
Finally, a few more items will help with the specifics of installing an LED ceiling light. These are:
- The new LED ceiling light fixture that you will be installing.
- A drill and drill bits, in case you need to make new holes for mounting the fixture.
- Electrical tape to insulate and protect wire connections.
Make sure to check the manufacturer’s instructions for any other specific tools or materials required for your LED ceiling light model. With all the right tools and materials at the ready, you’re set to safely replace your old ceiling light with a new, efficient LED fixture.
Pre-Installation Safety Checklist
Before installing your new LED ceiling light, follow these important safety steps to ensure a secure and successful process.
Power Shutdown and Voltage Testing
Ensure everyone’s safety by shutting down the power. Turn off the circuit breaker associated with the area where you’re working. Always use a voltage tester to verify that the power is indeed off. This ensures you’re not working with live wires during installation.
Preparation of Work Area
Prepare your workspace to avoid accidents and facilitate easy installation. Clear the area of any furniture or obstacles. Cover the floor with a drop cloth to prevent damage and make cleaning up easier. Ensure adequate lighting with a portable lamp if the room becomes too dim.
Removing Your Old Ceiling Light Fixture
Before installing your new LED light, you must safely remove the old one. Follow these detailed steps carefully.
Step-by-Step Process to Dismantle the Existing Light
- Ensure Safety: Make sure the power is off. Use a voltage tester to confirm.
- Access the Fixture: Using your step ladder, reach the existing light fixture.
- Remove Cover or Shade: Carefully take off the light cover or shade.
- Unscrew the Fixture: Use a screwdriver to remove screws holding the fixture base.
- Disconnect Wires: After noting how they are connected, disconnect the wires using a wire stripper.
- Remove the Base: Take down the base of the fixture. Be cautious as it may be heavy.
Handling and Disposal of Old Fixtures
After dismantling the old light fixture:
- Inspect for Reusable Parts: Check if any parts like screws or mounts are reusable.
- Wrap Sharp Edges: Use newspaper or cloth to wrap any sharp edges for safe handling.
- Dispose Properly: Consult local regulations for disposing of electrical components. Many areas have recycling programs.
- Clean the Area: Clean up any debris or dust from the dismantling process.
Wiring and Mounting the New LED Fixture
After removing your old ceiling fixture, it’s time to install the new LED light. Proper wiring and secure mounting of the fixture ensure safety and function. Let’s walk through the necessary steps for a successful installation.
Wire Matching and Secure Connections
- Identify Wires: Locate the live (black), neutral (white), and ground (green or bare copper) wires from your ceiling.
- Match Wires: Connect the ceiling wires to the corresponding wires on your new LED fixture. Always match black to black, white to white, and green to green.
- Secure Connections: Use wire nuts to firmly attach each pair of wires. For added security, wrap the connected areas with electrical tape.
Ensure all connections are tight to prevent any electrical faults.
Attaching and Aligning the LED Fixture
- Position the Fixture: Hold the LED fixture against the ceiling where you want to mount it.
- Secure the Fixture: Use the provided screws to attach the fixture’s base to the ceiling mount. Ensure the screws are tight and the base is flush with the ceiling.
- Align Properly: Adjust the fixture to make sure it’s evenly aligned. This ensures uniform light distribution and a neat appearance.
Successfully wiring and mounting your new LED ceiling light not only enhances the look of your room but also maximizes lighting efficiency.
Testing and Troubleshooting Your New LED Ceiling Light
After wiring and mounting your new LED light, it’s crucial to test and troubleshoot to ensure proper functionality.
Ensuring Proper Functionality
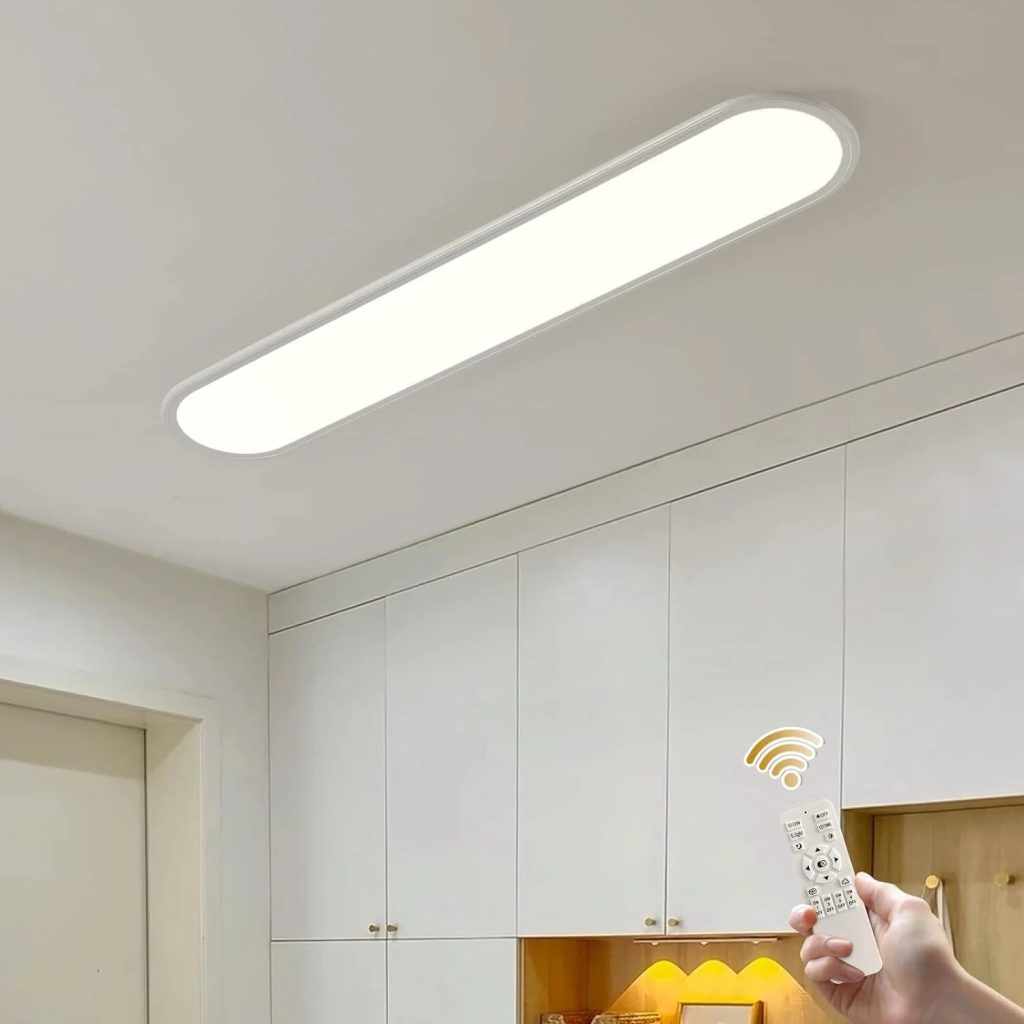
Start by turning the power back on at the circuit breaker. Flip the light switch to test your new LED ceiling light. It should light up brightly and evenly. Next, check from different angles to confirm uniform light distribution. If your fixture has dimming capabilities, test those features to ensure they work smoothly.
Common Issues and Solutions
Sometimes, you may encounter issues with your new LED light. Here are some common problems and how to solve them:
- LED Light Doesn’t Turn On: Ensure the circuit breaker is on and the switch is working. Double-check the wire connections are secure and properly matched.
- Flickering Light: This often occurs if there’s a loose connection. Tighten all connections and ensure the wire nuts are secure. If flickering persists, consider replacing the dimmer switch with one that’s compatible with LEDs.
- Uneven Lighting: Adjust the fixture alignment or check if the bulb is seated correctly.
By addressing these issues, you can ensure your LED ceiling light functions optimally and enhances your space with efficient lighting.
Complying with Electrical Codes and Hiring a Professional
When installing LED ceiling lights, it’s essential to follow local electrical codes.
Understanding Local Regulations
Every area has specific safety standards for electrical work. Check with your local building department for code requirements before starting. This ensures that your lighting meets safety guidelines. Getting the right permits might also be needed. Codes can vary, so it’s important for your installation to comply with them.
Maintaining Your New LED Ceiling Lighting
Proper maintenance ensures your LED ceiling lighting performs well over time. Follow these simple yet effective tips for cleaning and caring for your fixture, along with guidance on replacing components when necessary.
Cleaning and Care Tips
Proper cleaning is vital for the longevity and performance of your LED ceiling lights. Here’s how to keep them in top condition:
- Turn Off Power: Always switch off the power before cleaning to ensure safety.
- Dust Regularly: Use a soft, dry cloth to dust the fixture. This prevents dust build-up and maintains light quality.
- Clean the Cover: If the light cover becomes dirty, remove it gently. Wash it with mild soap and warm water, then dry thoroughly before replacing.
- Check for Insects: Sometimes, insects can accumulate inside the fixture. Open the cover occasionally to clean out any pests.
- Avoid Chemicals: Never use harsh cleaning chemicals or abrasive materials. These can damage the LED’s surface.