Introduction to LED Ceiling Light Fixtures
Led ceiling light fixtures are popular for their energy efficiency and long lifespan. They use light-emitting diodes (LEDs), which convert electricity into light more effectively than traditional bulbs. This makes LED lights both cost-effective and eco-friendly. Before installing LED ceiling light fixtures, it’s essential to understand their benefits and how they differ from other lighting options.
LEDs offer a variety of color temperatures, allowing customization of the ambiance in a room. They don’t produce as much heat as incandescent bulbs, making them safer to operate. Because they last longer, often thousands of hours more, they reduce the frequency of replacements. With different designs available, LED ceiling light fixtures can match any interior decor style.
Choosing the Right LED Ceiling Light Fixture
Choosing the right LED ceiling light fixture involves several key factors to ensure optimal illumination and design harmony in your space. To make an informed decision, here are the primary considerations you should take into account:
- Room Size and Ceiling Height: Match the fixture size to your room dimensions. A larger room may need a bigger or more powerful fixture for adequate lighting.
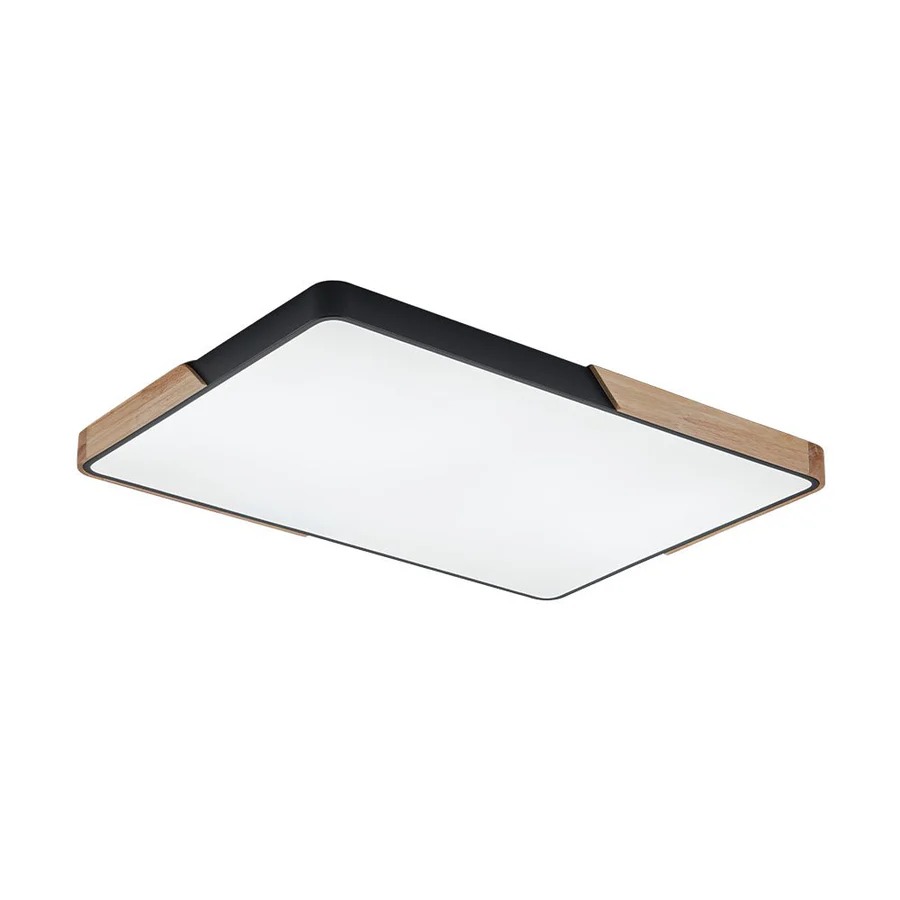
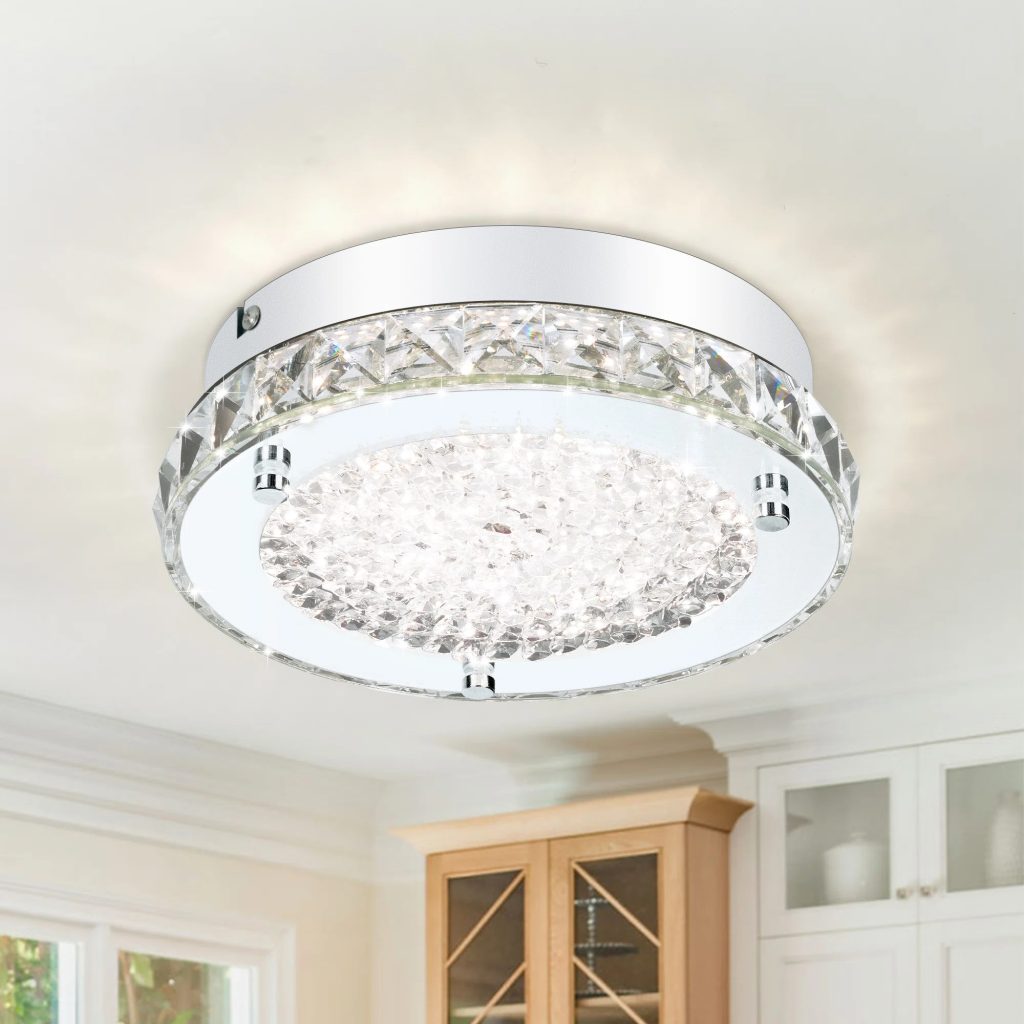
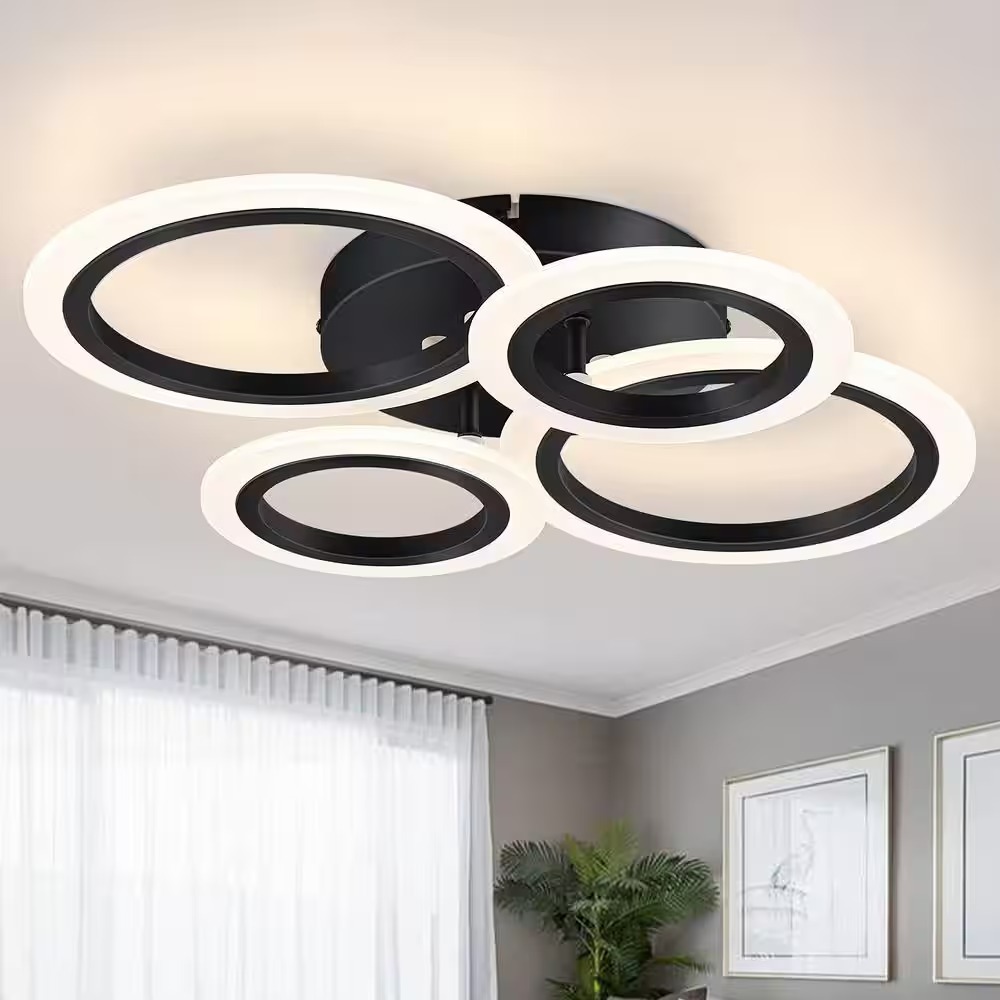
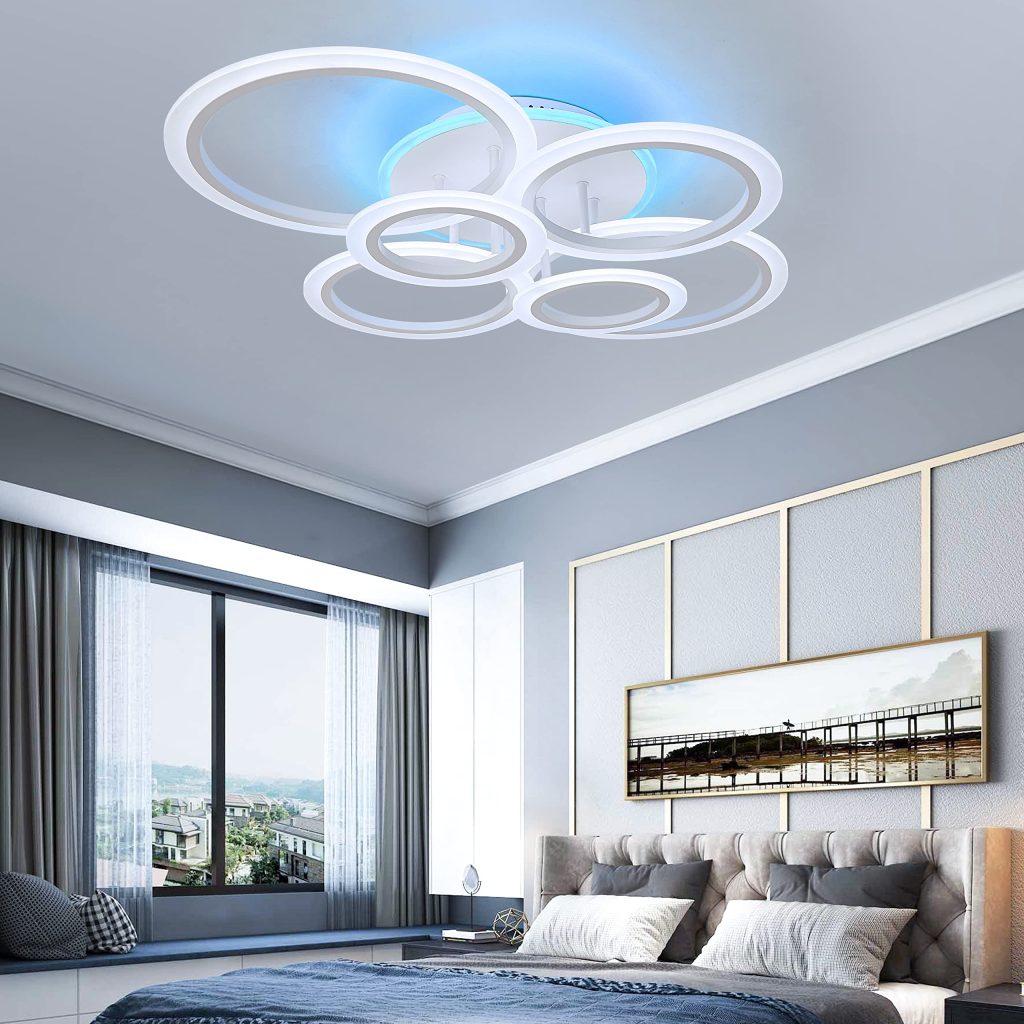
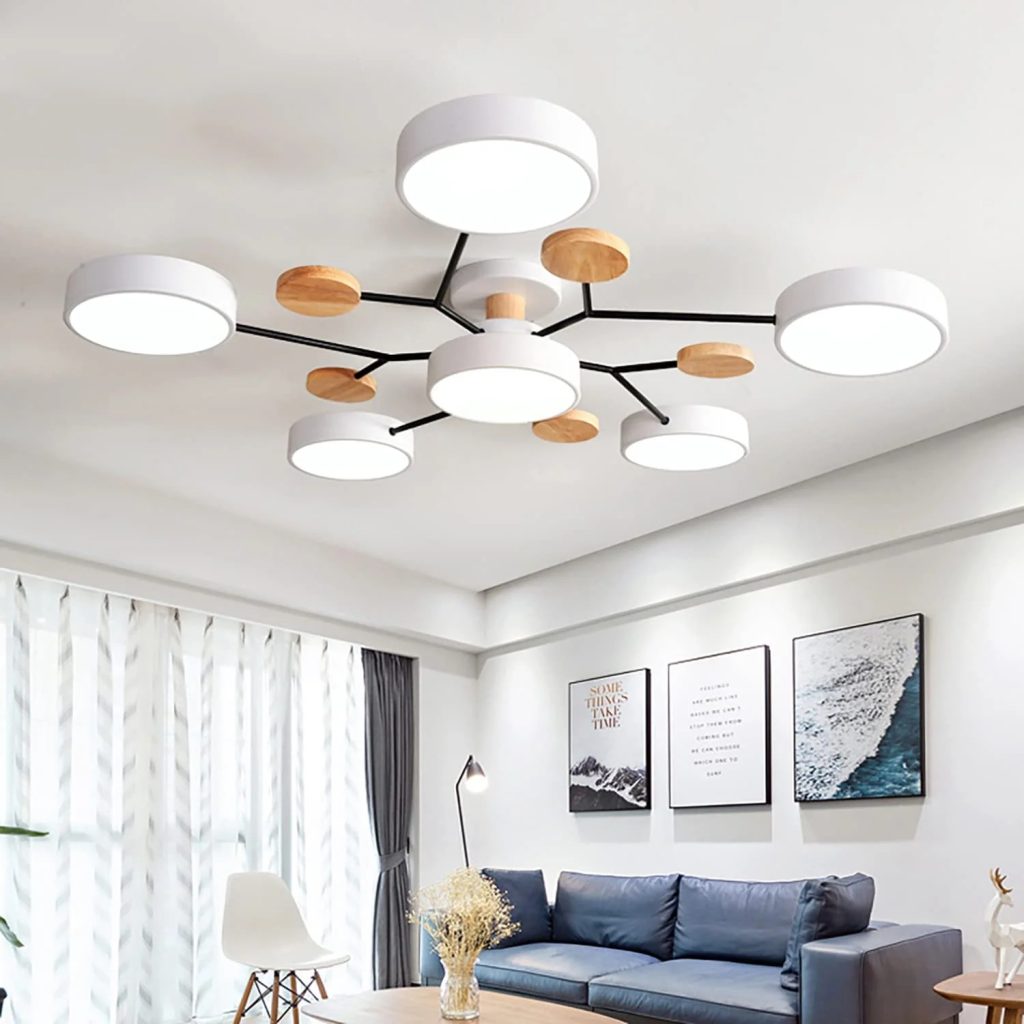
- Design & Decor: Select a design that complements your interior. LED fixtures come in various styles that can enhance your decor.
- Light Intensity: Think about how bright you want the room. Check the lumens — more lumens means more light.
- Color Temperature: LED lights offer a range of color temperatures. Choose a warmer hue for cozy spaces and cooler tones for work areas.
- Ease of Installation: Consider fixtures that are easier to install. This will save you time and potential hassle.
By carefully taking into account these aspects, you can find the perfect LED ceiling light fixture that meets both your functional needs and aesthetic preferences. Remember to compare several options before making your final decision.
Tools Needed for Installation
Before starting the installation of your LED ceiling light fixtures, gathering the right tools is essential. Ensure you have the following items:
- Screwdriver Set: You’ll need both flathead and Phillips screwdrivers. These are crucial for securing the fixture in place.
- Wire Strippers: These are necessary to prepare the electrical wires for connections.
- Voltage Tester: This tool is essential for safety, to check for live wires before beginning work.
- Ladder: A sturdy ladder is required to reach the ceiling comfortably.
- Pliers: Useful for tightening connections and securing wire nuts.
- Tape Measure: To accurately measure distances and ensure the fixture aligns properly with your room.
- Safety Glasses and Gloves: Protect your eyes and hands during the installation process.
Having these tools ready will make the installation process smoother and safer. Ensure you check each tool for proper function before you begin.
Step-by-Step Installation Guide
Before you start, ensure you have all the necessary tools listed in the previous sections. This step-by-step guide will lead you through the process of installing your LED ceiling light fixture with ease and confidence.
Preparing the Installation Area
First, you’ll need to prepare the installation area. Turn off the power at the circuit breaker for safety. Use your voltage tester to make sure there is no power. Next, remove any existing fixture. Make sure that the ceiling around the installation site is clean and clear of debris.
Connecting the Wiring
With the installation area set, you can focus on wiring. Strip the ends of the wires using wire strippers if they aren’t already prepped. Connect the fixture’s wires to your home’s electrical wiring. Usually, this involves connecting like colors – black to black, white to white, and green to the ground wire. Use wire nuts to secure the connections. Wrap the connected wires with electrical tape to prevent them from coming loose.
Mounting the Fixture
With the wiring connected, you’re ready to mount the fixture. Align the fixture’s bracket with the holes you’ve marked or the existing ones in the ceiling. Secure the bracket with screws using your screwdriver. Once the bracket is in place, attach the LED ceiling light fixture. Often, this involves lining up the fixture with the bracket and twisting it into place, but instructions may vary depending on the model.
Make sure the fixture is secure and flush against the ceiling. If the fixture includes a cover, place it over the bulb or diodes, and fasten it as directed. Restore the power at the circuit breaker, and turn on the light to test your installation.
Safety Precautions During Installation
Installing LED ceiling light fixtures requires careful attention to safety. Here are critical steps to keep you safe:
- Turn Off Power: Always switch off power at the circuit breaker before starting. This prevents electrical shocks.
- Test for Live Wires: Use a voltage tester to ensure no current is flowing in your workspace.
- Use Proper Tools: Employ the right tools as listed earlier to avoid accidents and ensure a smooth installation.
- Wear Safety Gear: Don protective glasses and gloves to safeguard against possible debris and electrical exposure.
- Check Fixture Stability: Make sure that the ceiling area is stable enough to hold the fixture securely.
- Keep Area Clear: Ensure the space is free of furniture and other obstructions to avoid trips and falls.
- Handle Wires with Care: Treat all wires cautiously. Assume they could be live until you have confirmed otherwise with your voltage tester.
- Follow Manufacturer Instructions: Adhering to the installation instructions provided by the fixture manufacturer can prevent improper installation and potential hazards.
By keeping these precautions in mind, you can install your LED ceiling light fixture safely and efficiently.
Troubleshooting Common Installation Issues
Even with detailed guidelines, you may encounter issues when installing LED ceiling light fixtures. Let’s address some common problems and their solutions to help you navigate the installation process smoothly.
- Flickering Lights: If the LED fixture flickers after installation, it could be due to loose wiring. Double-check all connections and make sure wire nuts are tight.
- Not Turning On: If the light doesn’t turn on, ensure the power is on and the circuit breaker hasn’t tripped. Also, check that all wires are correctly connected.
- Overheating: Should the fixture overheat, this could suggest a poor electrical connection, or that the fixture is not suitable for the electrical load. Contact an electrician if you suspect wiring issues.
- Dim Light: A dimmer than expected light may mean the fixture isn’t getting enough power. Verify if the voltage matches the fixture’s requirement. Check for any dimmer switches that may be limiting power.
- Improper Fit: If the fixture doesn’t fit well, you might not have the correct mounting bracket. Ensure you’re using the one designed for your particular LED ceiling light fixture.
By tackling each of these issues methodically, you can resolve most installation problems swiftly. Remember to turn off electricity before adjusting any electrical component. For complex issues, it’s best to consult a professional electrician to ensure safety and correct installation.
Maintenance and Care for LED Ceiling Light Fixtures
Proper maintenance and care can extend the life of your LED ceiling light fixtures and ensure they perform optimally. Here are straightforward and practical tips to help you maintain your LED lights effectively:
- Regular Cleaning: Dust and dirt can accumulate on your fixtures over time. Gently clean the surface with a dry, soft cloth to keep them bright.
- Check Connections: Periodically check the connections to make sure they are secure. Loose connections can lead to dimming or flickering.
- Avoid Moisture: Ensure your fixtures are not exposed to water unless they are rated for wet locations. Moisture can damage LEDs.
- Update Dimmers: If you’re using dimmable LEDs, ensure your dimmer switch is compatible. Some older dimmers may not work well with LEDs.
- No Overloading: Never exceed the electrical capacity of your fixture. This can cause overheating and reduce the lifespan of your LEDs.
- Replacement: If an LED fails, replace it promptly to prevent strain on other components within the fixture.
By following these simple maintenance steps, your LED ceiling light fixtures can provide years of reliable and efficient lighting.