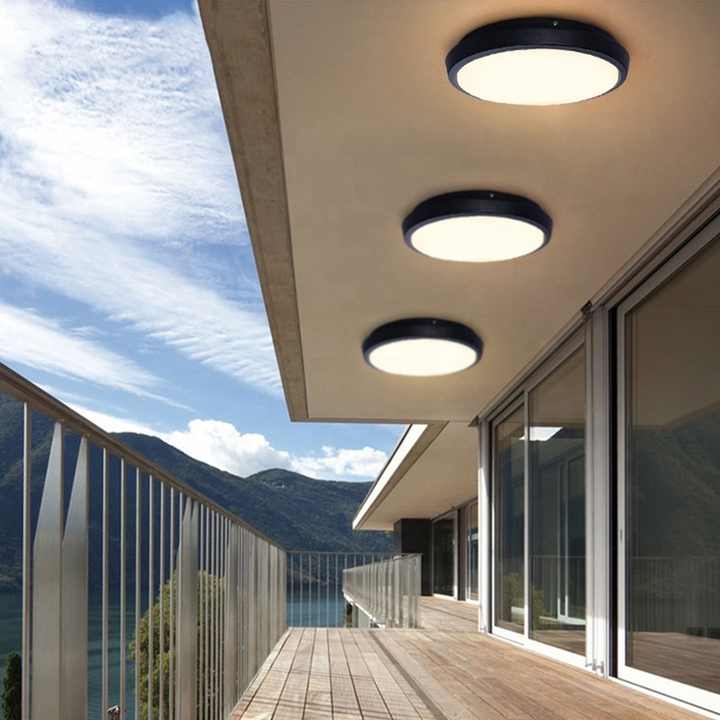
Installing an outdoor ceiling light can be a great way to enhance the exterior of your home while providing additional lighting for safety and security. Whether you’re adding a new light fixture or replacing an old one, it’s important to follow the proper installation steps to ensure a safe and effective installation. In this guide, we’ll walk you through the process of installing an outdoor ceiling light, from selecting the right fixture to wiring and mounting the light properly.
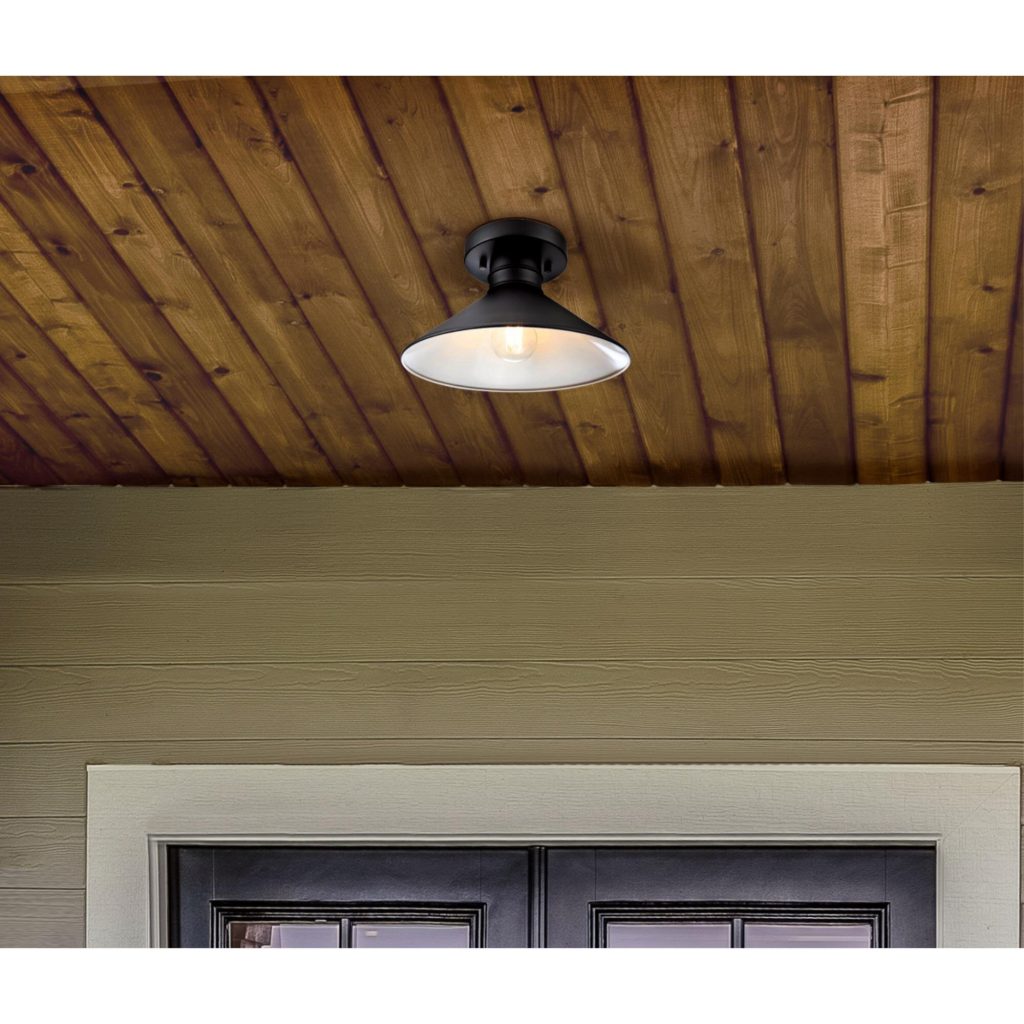
Selecting the Right Fixture
Before you begin the installation process, it’s important to choose the right outdoor ceiling light fixture for your space. Consider the size and style of the fixture, as well as the type of lighting you need. For example, if you’re looking for a fixture to provide ambient lighting for a patio or deck, you may want to choose a larger fixture with multiple bulbs. If you’re installing the light in a covered outdoor area, such as a porch or entryway, you may want to choose a more compact fixture with a single bulb.
In addition to the style and size of the fixture, you should also consider the durability and weather resistance of the light. Look for fixtures that are specifically designed for outdoor use and are rated for wet or damp locations. This will ensure that your light will be able to withstand exposure to the elements and continue to function properly over time.
Gathering the Necessary Tools and Materials
Once you’ve selected the right outdoor ceiling light fixture, it’s time to gather the tools and materials you’ll need for the installation. Here are some of the basic tools and materials you’ll need for the job:
- Outdoor ceiling light fixture
- Screwdriver
- Wire cutters/strippers
- Electrical tape
- Wire nuts
- Ladder
- Safety glasses
- Circuit tester
- Mounting hardware (if not included with the fixture)
Before you begin the installation, make sure you have all of these items on hand to ensure a smooth and efficient installation process.
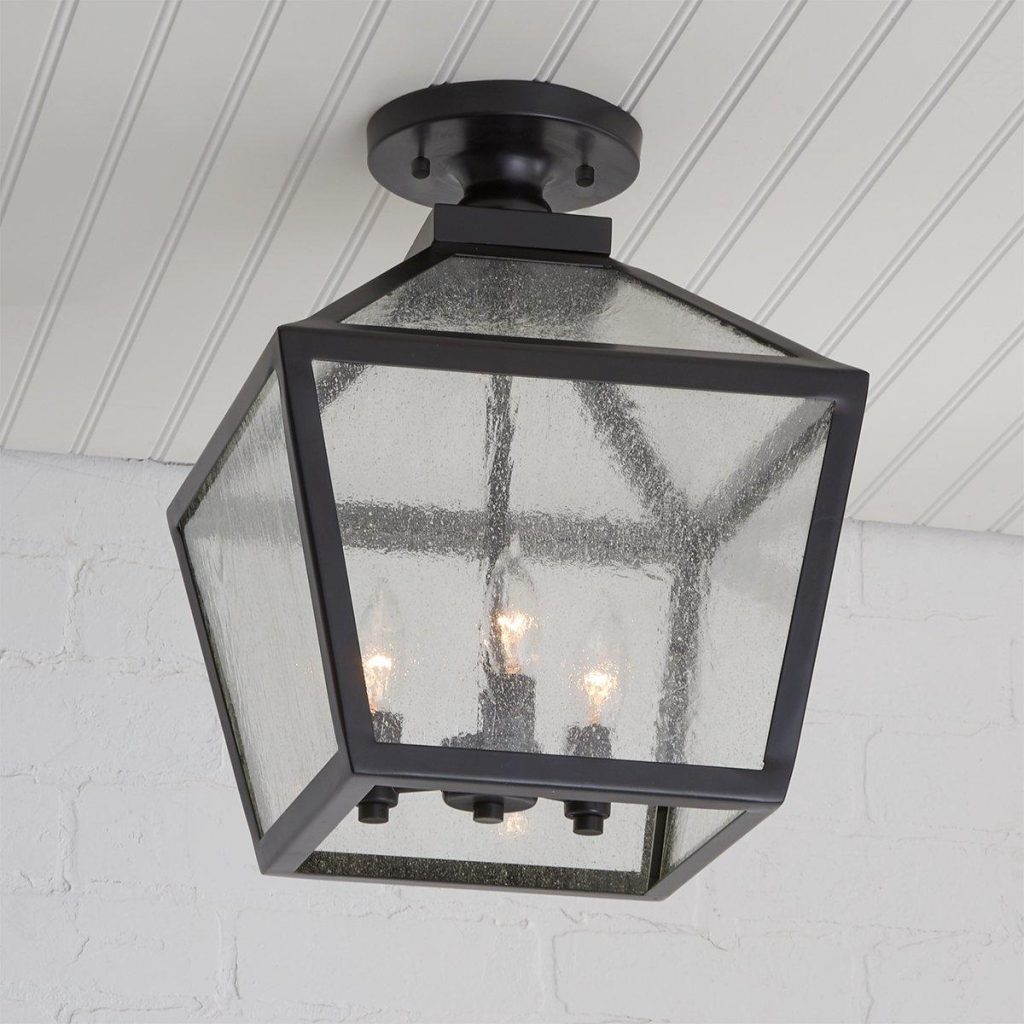
Shutting Off the Power
Before you begin working on the installation of the outdoor ceiling light, it’s crucial to shut off the power to the existing light fixture or the area of the house where you’ll be installing the new fixture. Locate your home’s circuit breaker panel and switch off the appropriate circuit or circuits that control the power to the light fixture. Once the power is off, use a circuit tester to double-check that the power has been successfully shut off.
Removing the Old Fixture (if applicable)
If you’re replacing an existing outdoor ceiling light fixture, you’ll need to start by removing the old fixture. Use a screwdriver to remove the screws holding the old fixture in place, then carefully lower the fixture and disconnect the wiring. Be sure to support the weight of the fixture as you remove it to avoid any accidents.
Installing the New Fixture
Once the old fixture has been removed, it’s time to install the new outdoor ceiling light. Start by attaching the mounting bracket included with the light fixture to the junction box in the ceiling. Use the provided screws to secure the mounting bracket in place, making sure it is level and stable.
Next, connect the wiring of the new fixture to the wiring in the junction box. Begin by matching the black (hot) wire from the fixture to the black (hot) wire in the junction box, and secure them together using a wire nut. Repeat this process for the white (neutral) wires and the green or copper (ground) wires. Use electrical tape to secure the wire nuts and to cover any exposed wiring.
Carefully tuck the wiring into the junction box, and attach the outdoor ceiling light fixture to the mounting bracket. Use the provided screws to secure the fixture in place, and double-check that all connections are tight and secure.
Testing the Light
After the outdoor ceiling light fixture has been installed, it’s important to test the light to ensure that it is functioning properly. Turn the power back on at the circuit breaker panel, and then flip the light switch to check that the light is working as expected. If the light does not turn on, double-check your connections and wiring to ensure that everything is properly connected.
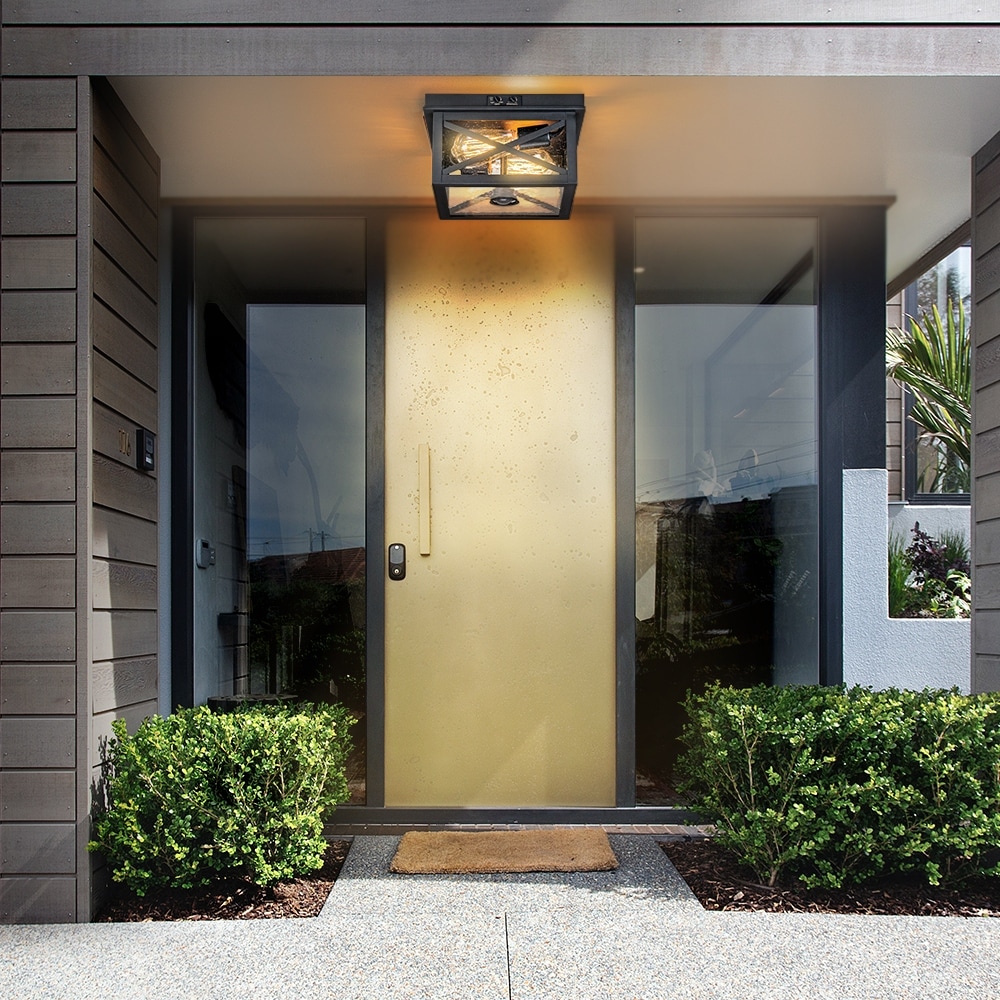
Advantages of outdoor ceiling light
Outdoor ceiling lights are an essential component of any outdoor space, providing necessary illumination and adding to the overall aesthetic appeal of an area. These lights come in a variety of styles and designs, and offer several advantages that make them a popular choice for outdoor lighting.
Enhanced Visibility and Safety
One of the primary advantages of outdoor ceiling lights is the enhanced visibility and safety they provide. By illuminating outdoor spaces such as patios, verandas, and porches, these lights help to improve visibility in dimly lit areas, making it easier and safer to navigate these spaces, especially at night. This is particularly important for homes with outdoor stairs, pathways, or any potential tripping hazards. Additionally, having a well-lit outdoor area can also act as a deterrent for potential intruders, enhancing the security of the property.
Versatility and Variety
Outdoor ceiling lights come in a wide variety of styles, sizes, and designs, making them a versatile lighting option for any outdoor setting. Whether you are looking for a modern, sleek design or a more traditional, rustic look, there is a wide range of options to choose from. From flush-mount fixtures to hanging lanterns, there is a style to suit every taste and complement any outdoor decor. This versatility allows homeowners to create a cohesive and harmonious outdoor lighting scheme that complements the overall aesthetic of their outdoor space.
Weather Resistance
Outdoor ceiling lights are specifically designed to withstand the elements, making them a durable and long-lasting lighting solution for outdoor settings. These lights are constructed using weather-resistant materials such as stainless steel, aluminum, and durable plastics, which are able to withstand exposure to rain, wind, and other outdoor elements. Additionally, many outdoor ceiling lights feature sealed, watertight designs that protect the internal components from moisture, further enhancing their durability and longevity.
Energy Efficiency
Many outdoor ceiling lights are designed to be energy-efficient, using LED bulbs and other energy-saving technologies to reduce energy consumption and lower electricity bills. LED outdoor ceiling lights, in particular, are highly efficient and can last significantly longer than traditional incandescent bulbs, reducing the frequency of bulb replacements and maintenance. This not only saves money in the long run but also reduces the environmental impact of outdoor lighting.
Enhanced Ambiance and Aesthetics
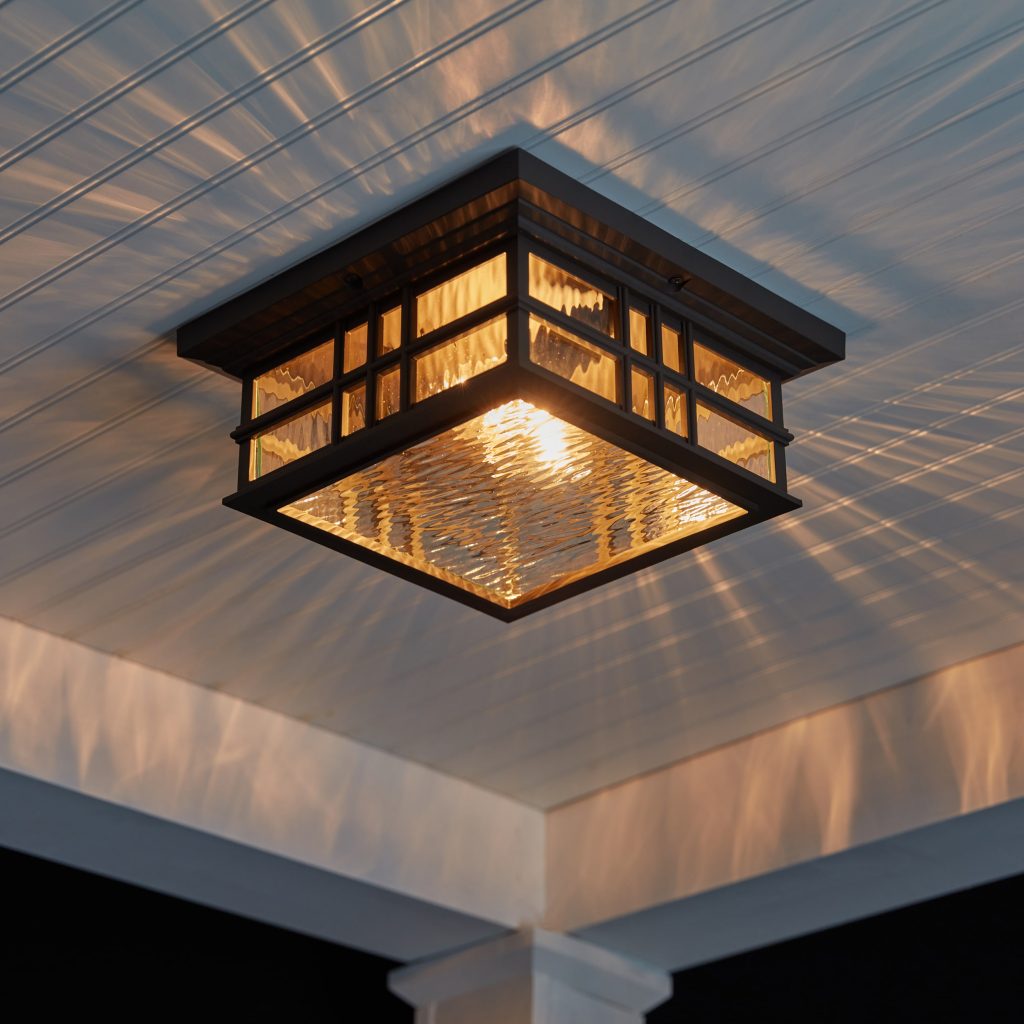
In addition to providing necessary illumination, outdoor ceiling lights can also enhance the ambiance and aesthetics of outdoor spaces. By choosing the right style and placement, these lights can create a warm and inviting atmosphere, perfect for entertaining, relaxing, or simply enjoying the outdoors. Whether it’s creating a cozy glow on a covered porch or adding a touch of elegance to a patio, outdoor ceiling lights can transform an outdoor area into a more welcoming and visually appealing space.
Easy Installation and Maintenance
Outdoor ceiling lights are generally easy to install, especially when compared to other outdoor lighting options such as wall-mounted fixtures or landscape lighting. Many outdoor ceiling lights come with simple mounting systems that allow for quick and hassle-free installation, making them a convenient choice for homeowners looking to upgrade their outdoor lighting. Additionally, maintenance for outdoor ceiling lights is minimal, typically requiring only occasional cleaning and bulb replacements.
Conclusion
Installing an outdoor ceiling light can be a relatively simple and rewarding home improvement project that can add beauty and functionality to your outdoor space. By following these steps and taking the necessary safety precautions, you can install an outdoor ceiling light with confidence and enjoy the benefits of improved lighting for years to come. If you have any doubts or concerns about the installation process, don’t hesitate to consult with a professional electrician for assistance. With the right tools, materials, and know-how, you can successfully install an outdoor ceiling light and enhance the exterior of your home.
