Introduction to Ceiling Light Covers
Ceiling light cover replacement serve an essential role in home lighting. They diffuse light, reduce glare and enhance room aesthetics. They come in various materials, such as glass, plastic, or fabric. Each type fits different lighting needs and style preferences. The replacement of a ceiling light cover might seem straightforward. But it requires careful attention to detail. Knowing the correct steps ensures a safe and successful replacement. In this guide, we discuss how to replace a ceiling light cover with ease. Let’s brighten up your space with a fresh, new look.
Tools and Materials Needed for Replacement
Before you start with your ceiling light cover replacement, gathering the right tools and materials is crucial. Here’s a list of what you’ll need to have on hand:
- Screwdriver: You’ll need this to remove screws from the existing cover or to secure the new one.
- Ladder or step stool: It provides access to ceiling fixtures safely.
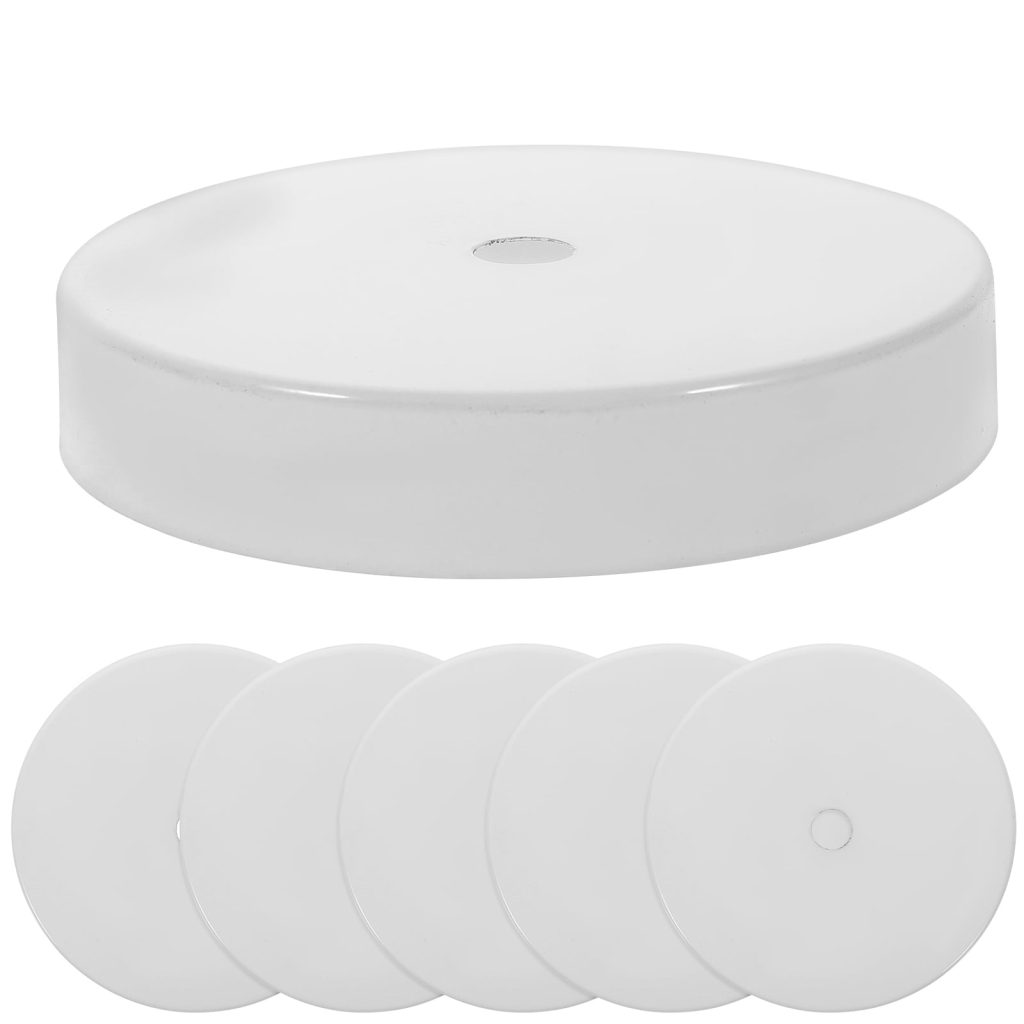
- New light cover: Ensure it’s the correct size and style for your fixture.
- Gloves: They will help protect your hands from dust and any sharp edges.
- Safety glasses: These are necessary to protect your eyes from debris or accidental breakages.
- Cleaning cloth: Use it to clean the fixture and the new cover before installation.
- Light bulbs (if needed): In case your existing bulbs need replacement or if you’re upgrading.
Choosing quality tools and materials will make the ceiling light cover replacement process smoother and safer. Remember to keep these items within reach before beginning your replacement project to avoid interruptions.
Safety Precautions Before Starting
When it comes to ceiling light cover replacement, safety cannot be overstated. Here are critical precautions to keep in mind before you start:
- Turn off the Power: Always switch off the circuit breaker or remove the fuse for the light fixture. This prevents electric shock.
- Verify the Power is Off: Test the light switch to ensure the fixture is not receiving power. For extra assurance, use a non-contact voltage tester.
- Use a Stable Ladder: Set up a sturdy ladder or step stool to reach the light fixture. It should stand on a flat surface for good support.
- Wear Appropriate Gear: Put on safety glasses and gloves before you begin. This will protect you from dust and potential broken glass.
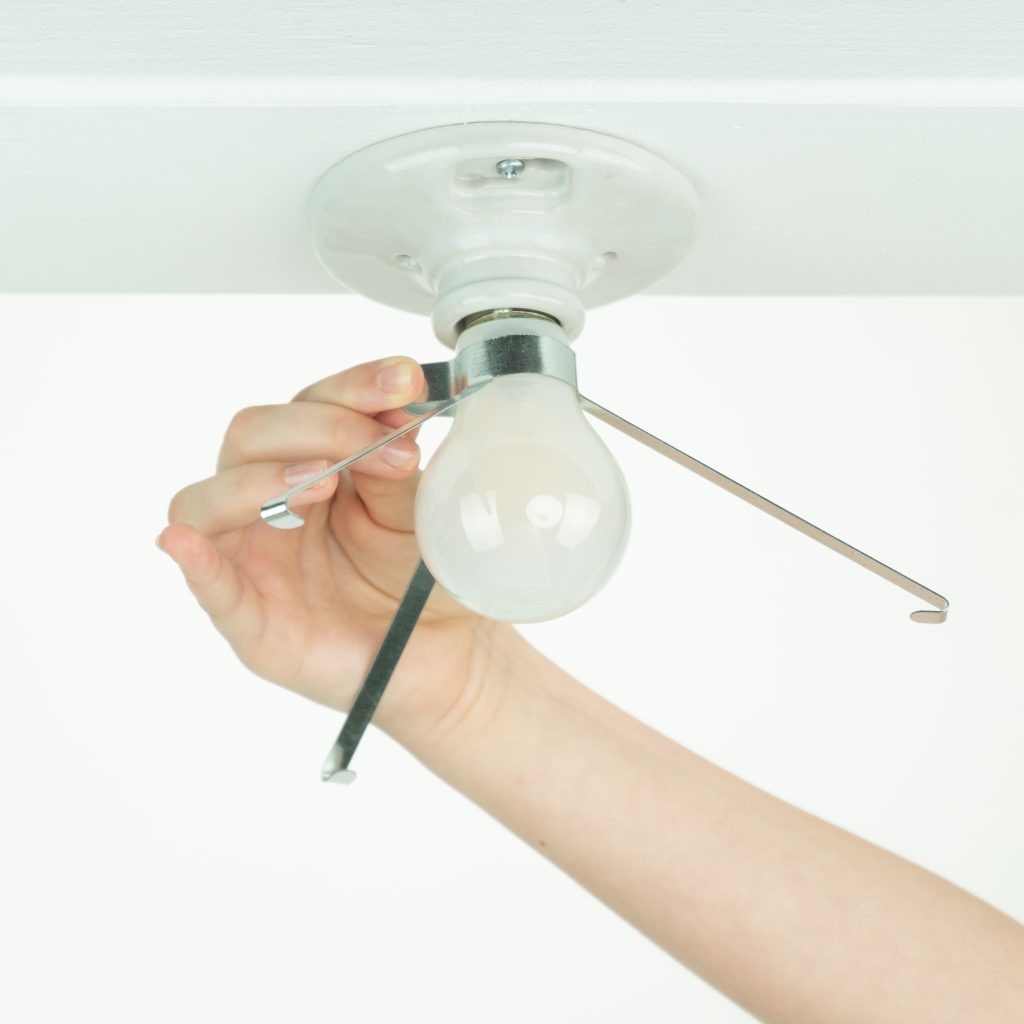
- Handle Bulbs with Care: If removing or changing bulbs, do so gently to avoid breakage. Let the bulbs cool down first if they were recently on.
- Support the Cover Properly: As you remove the existing cover, hold it securely. It could fall and shatter if mishandled.
- Keep Children Away: Ensure that the area below the fixture is clear, and keep children and pets away from the work zone.
Following these safety tips will help prevent accidents during your ceiling light cover replacement. Take your time and don’t rush the process. Safety always comes first.
Step-by-Step Replacement Process
Now that you’ve gathered your tools and taken safety precautions, it’s time to start the ceiling light cover replacement. Follow these steps carefully to ensure a smooth process:
- Remove the Existing Cover: Start by loosening the screws or clips holding the old cover in place. Support the cover with your hand as you remove the fasteners. Be cautious as some covers may have slightly different mechanisms.
- Carefully Take Down the Old Cover: Once the fasteners are out, lower the cover gently. Be mindful to avoid any abrupt moves that might cause it to break.
- Clean the Fixture: Before placing the new cover, wipe down the fixture with a cleaning cloth. This rids it of dust and debris, ensuring a cleaner installation.
- Check the Light Bulbs: Examine the bulbs. Replace them if needed. If you’re upgrading bulbs, now is an ideal time to do so.
- Position the New Cover: Align the new cover with the fixture’s frame. Make sure it sits evenly before securing.
- Secure the New Cover: Attach the new cover using screws or clips. Tighten them firmly but be careful not to apply too much pressure. Excessive force may crack the cover.
- Restore Power and Test: After the new cover is in place, turn the power back on. Switch on the light to ensure everything works as it should.
By following these straightforward steps, your ceiling light cover replacement should be a success. Remember to work methodically and never rush the process. Safety is of utmost importance. If you face any issues, refer to the troubleshooting section of this guide for assistance.
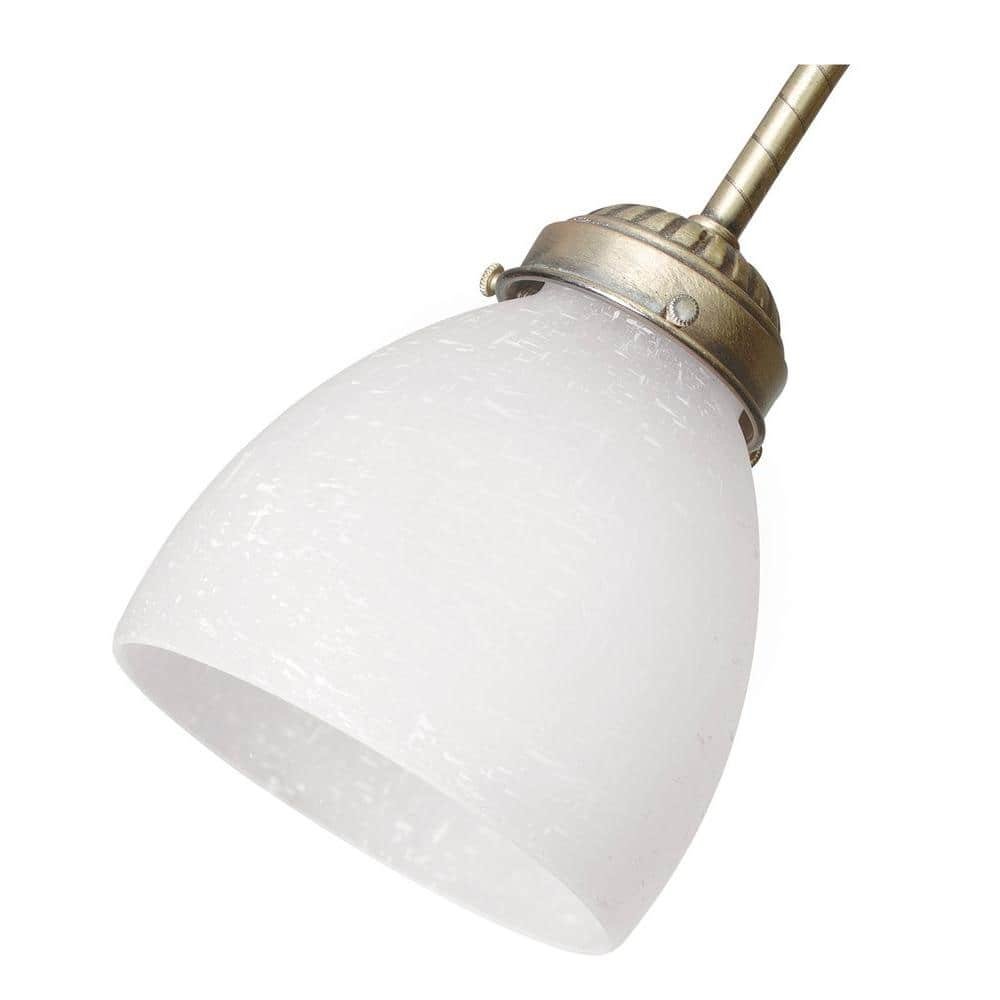
Tips for Choosing the Right Replacement Cover
When you’re ready for a ceiling light cover replacement, choosing the right cover is key. Here’s how to pick the perfect one for your home:
- Measure Precisely: Measure your current cover’s dimensions. Record the diameter and depth. This will help you find a cover that fits snugly.
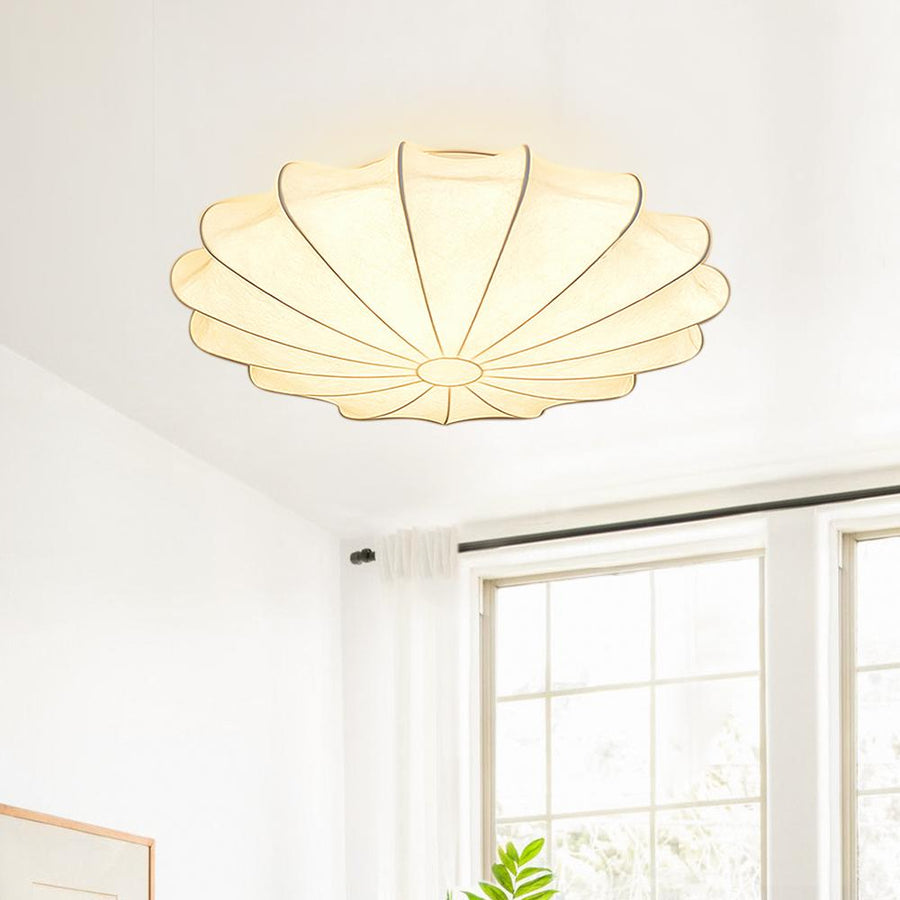
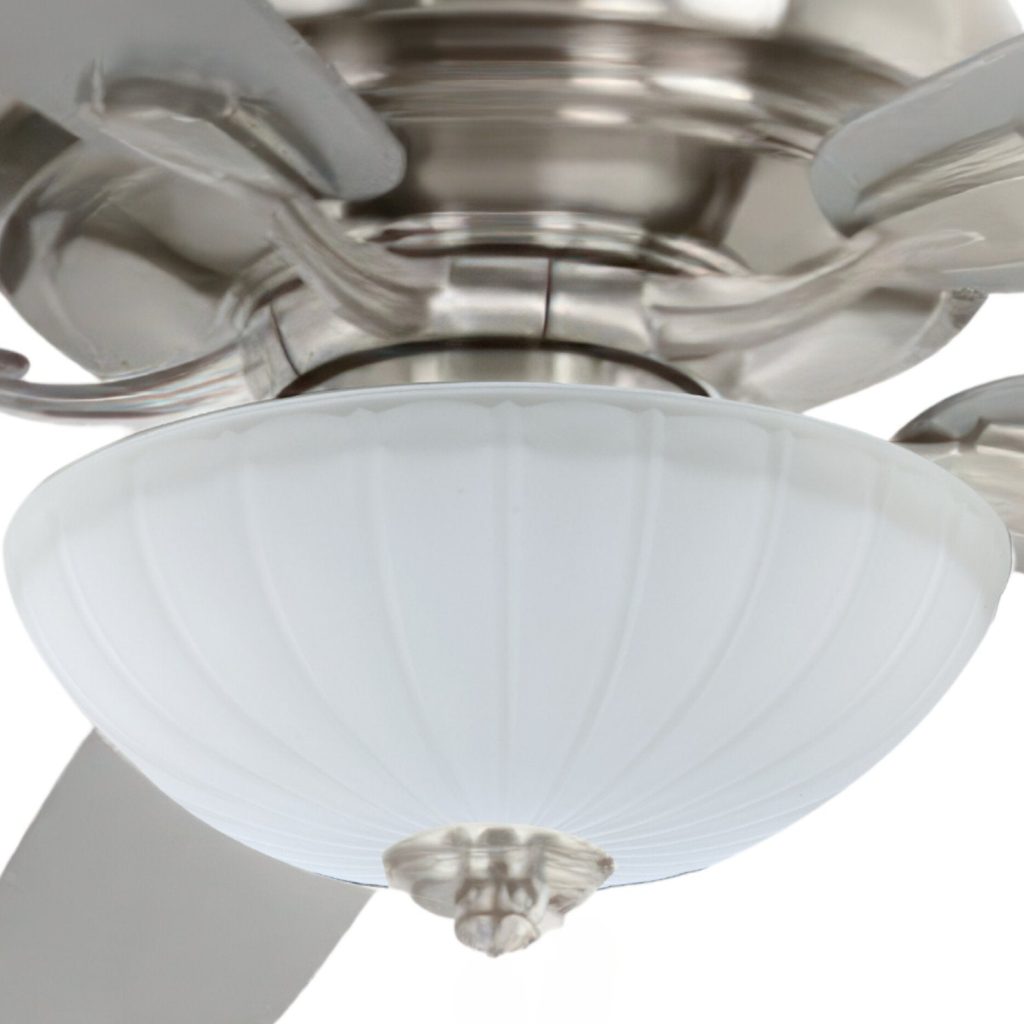
- Consider the Material: Covers come in glass, plastic, and fabric. Think about durability and the quality of light diffusion each material offers.
- Match Your Decor: Pick a style that compliments your interior design. There are many designs, from modern to classic, to match your taste.
- Review Lighting Needs: Assess the room’s lighting requirements. A translucent cover may work best for a bright space, while an opaque one can create a softer mood.
- Check Compatibility: Ensure the new cover is meant for your fixture type. Some covers are specific to certain brands or models.
- Watch for Easy Installation: Look for covers that are easy to install. They should come with clear instructions and manageable components.
Making a wise choice in selecting a replacement cover will enhance not only the ceiling light fixture quality but also the overall ambiance of your space. Keep these tips in mind during your search.
Troubleshooting Common Issues During Replacement
During your ceiling light cover replacement, you may encounter a few common issues. Here’s how to troubleshoot them:
- Cover Doesn’t Fit: If the new cover doesn’t fit, double-check your measurements. Make sure the cover is the right size for the fixture.
- Difficulty in Securing the Cover: If screws or clips won’t hold, ensure they’re the correct type for the cover. Otherwise, replace them with the right ones.
- Light Bulbs Not Working: After installation, bulbs might not light up. Check if they’re properly installed and that the power is back on. If necessary, replace with new bulbs.
- Cover is Loose: If the cover becomes loose, tighten the fasteners. Do not over-tighten, as this can crack the cover.
- Damaged During Installation: Accidents happen. If you break the cover, safely clean up the pieces and obtain a replacement.
By addressing these issues promptly and carefully, your ceiling light cover replacement will progress more smoothly. Remember to always prioritize safety and consult the manufacturer’s guide if you’re uncertain about any step of the process.
Maintenance Advice for Longevity of Light Covers
Proper maintenance of ceiling light covers can greatly extend their lifespan and keep them looking new. Here is some advice to maintain your light covers:
- Regular Cleaning: Dust and dirt accumulate over time, so clean your light covers regularly. Use a soft cloth or duster to gently wipe the surface.
- Gentle Products: When cleaning, use mild soaps and avoid harsh chemicals. These can damage some materials, especially plastic or fabric covers.
- Avoid Moisture: If you have metal parts on your fixture, keep moisture away to prevent rust. Always dry your led ceiling lights cover after cleaning.
- Check for Damage: Inspect your covers for cracks or chips during cleaning. Early detection of damage can prevent the need for a premature replacement.
- Handle with Care: Be careful when removing the cover for cleaning. Use both hands and work slowly to avoid dropping or stressing the material.
- Replace Gaskets: If your cover uses a gasket to prevent dust, check it regularly. Replace it if it shows signs of wear or damage.
- Tighten Fixings: Loose screws or clips can make covers rattle or fall. Tighten them as needed, but don’t overdo it to avoid cracking the cover.
By following these simple maintenance tips, you can preserve the beauty and functionality of your ceiling light covers. Regular care will prevent common issues and save you from having to replace your covers too often.
When to Call a Professional for Light Cover Replacement
While many homeowners can handle the task of replacing a ceiling light cover, there are times when it’s best to call a professional. Recognizing when to seek help can save you from potential hazards or complex situations. Here are situations when professional assistance is advised:
- Electrical Concerns: If you spot any wiring issues or the task involves electrical work beyond your skills, get an expert.
- Complex Fixtures: Some light fixtures have intricate designs or are high-end models that might need special handling.
- High Ceilings: For safety reasons, ceilings that are unusually high or hard-to-reach should be tackled by professionals.
- Damaged Hardware: If screws or mounting parts are damaged and difficult to remove, a professional can manage this without causing further damage.
- No Improvement: If you’ve tried troubleshooting with no success, a professional may find and solve the problem that you might have missed.
- Building Codes: There may be local building codes or regulations requiring licensed contractors for certain types of work in your home.
Always consider safety first. If you have any doubts about the replacement process or your ability to handle it safely, do not hesitate to call a professional. They have the experience, tools, and knowledge to do the job efficiently and safely.