When it comes to high ceiling light fixture, there are various styles to choose from. These fixtures not only illuminate the space but also add a touch of style and luxury to the room. From chandeliers to pendant lights, the options are endless. In this article, we will explore some of the popular styles of high ceiling light fixtures.
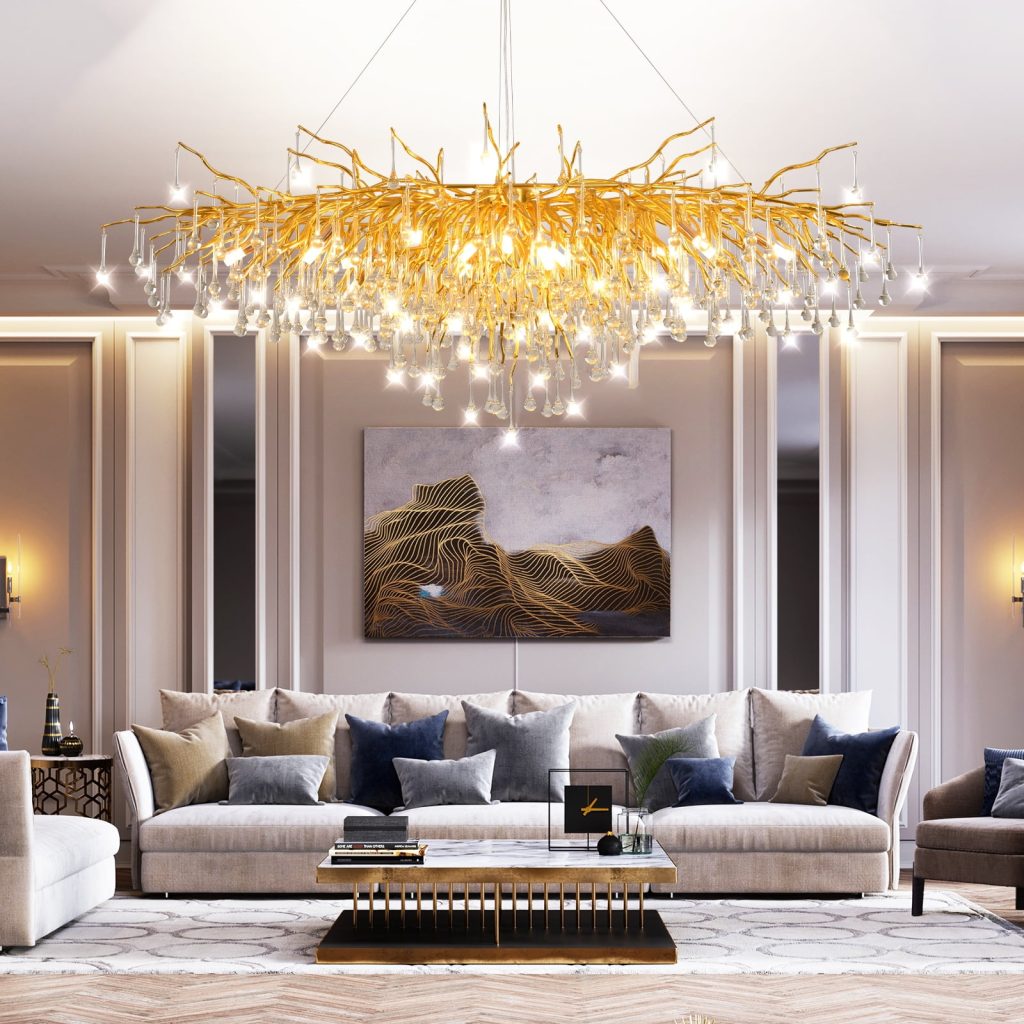
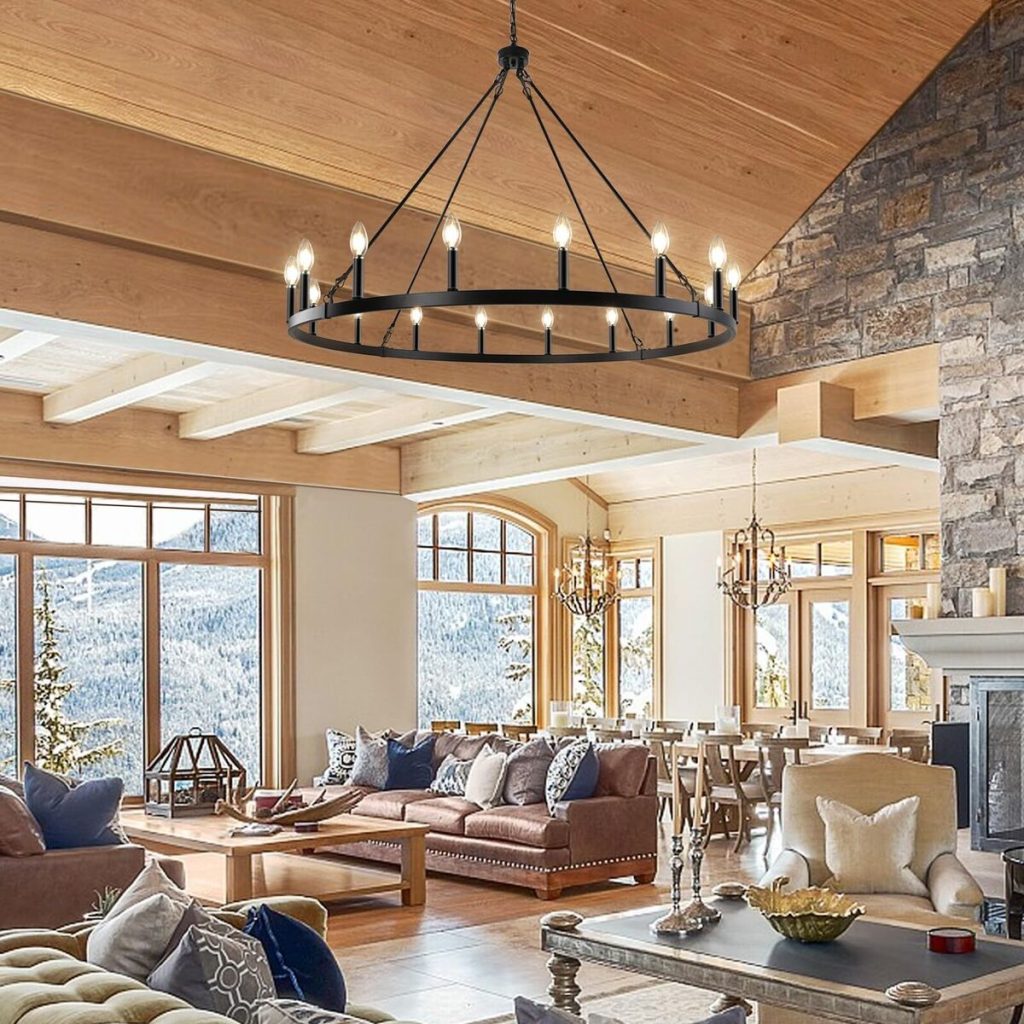
Chandeliers
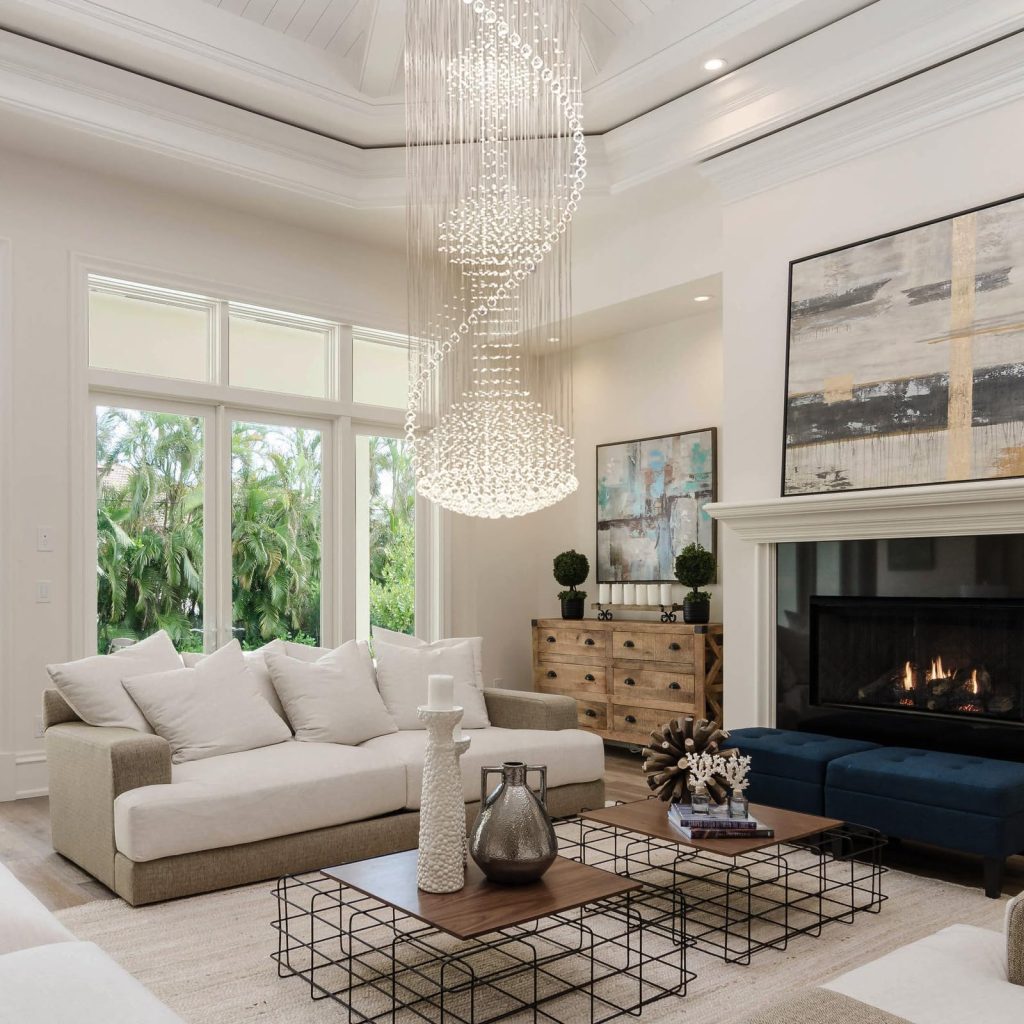
Chandeliers are a timeless and elegant choice for high ceiling light fixtures. These fixtures are often the focal point of a room and come in a variety of shapes, sizes, and designs. From traditional crystal chandeliers to modern, minimalist designs, there is a chandelier to suit every style and preference. Chandeliers are perfect for grand, high-ceilinged spaces such as entryways, living rooms, and dining rooms. They offer a luxurious ambiance and add a sense of sophistication to any room.
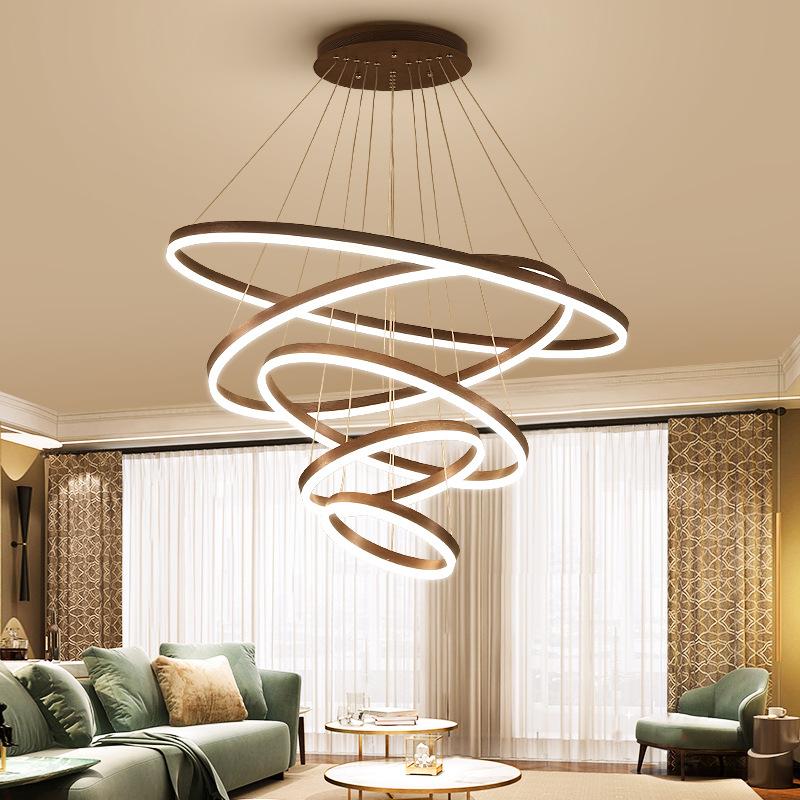
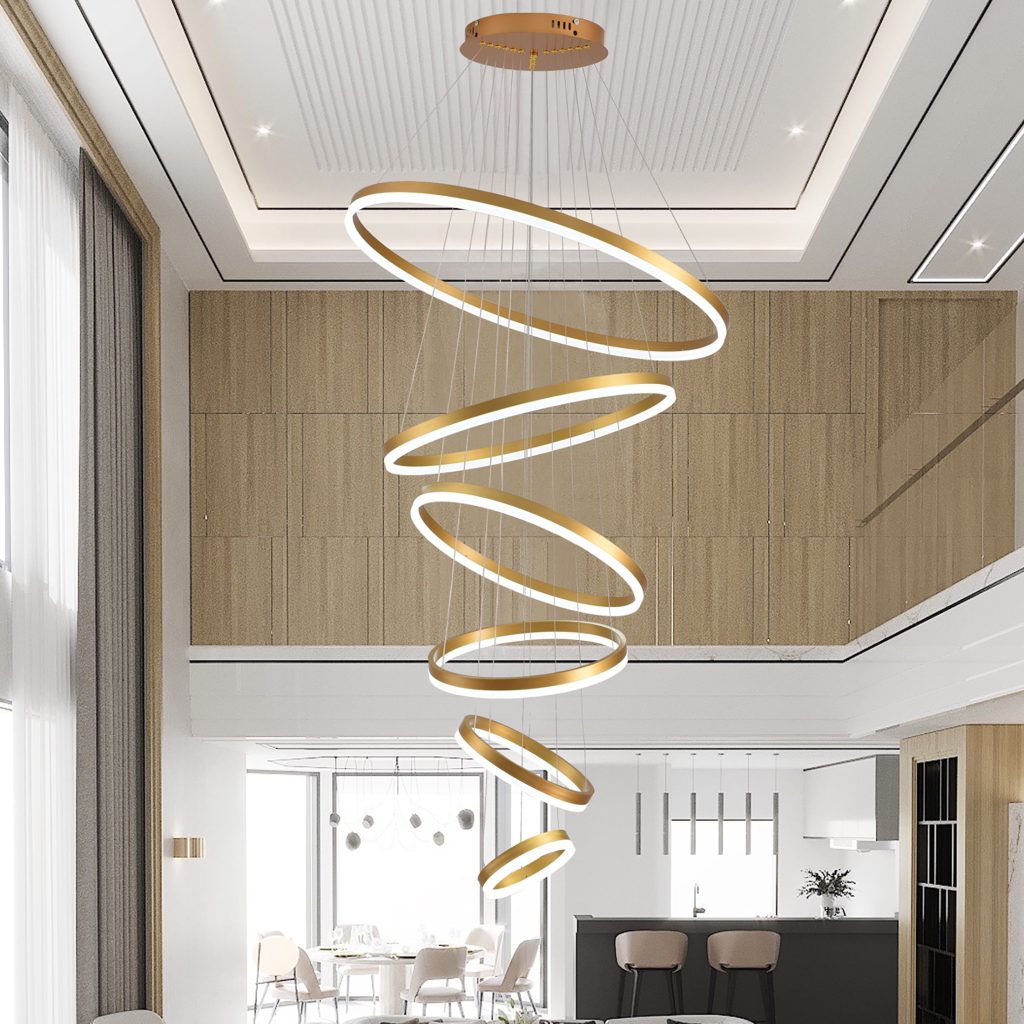
Pendant Lights
Pendant lights are a popular choice for high ceiling spaces. These fixtures are suspended from the ceiling and come in a wide range of styles and designs. Whether you prefer a single large pendant light or a cluster of smaller pendants, there are endless options to choose from. Pendant lights can be used to illuminate specific areas such as kitchen islands, dining tables, and reading nooks. They are versatile and can complement a variety of interior styles, from industrial to bohemian.
Track Lighting
Track lighting is a modern and versatile option for high ceiling spaces. These fixtures consist of multiple adjustable heads that can be moved and positioned to direct light where it is needed. Track lighting is ideal for illuminating large areas or for highlighting specific features such as artwork or architectural details. It is a practical choice for high ceilings as it allows for flexibility in lighting design and placement.
Recessed Lighting
Recessed lighting, also known as can lights or downlights, is a sleek and minimalist option for high ceilings. These fixtures are installed within the ceiling, creating a seamless and unobtrusive look. Recessed lighting provides a clean and contemporary aesthetic and is ideal for spaces where a low-profile lighting solution is desired. It can be used to provide general illumination or to accentuate specific areas within a room. Recessed lighting is a popular choice for high ceiling spaces due to its unobtrusive design and versatility.
Flush Mount Fixtures
For high ceiling spaces where a low-profile option is preferred, flush mount fixtures are a practical choice. These fixtures are installed directly onto the ceiling, providing a clean and streamlined look. Flush mount fixtures come in a variety of styles, from modern and minimal to ornate and decorative. They are a versatile option for high ceilings, providing general illumination while maintaining a sleek and understated presence in the room.
How to install high ceiling light fixture
When it comes to installing a high ceiling light fixture, it can be a daunting task. However, with the right tools, knowledge, and precautions, it can be a fairly straightforward process.
Gathering the Necessary Tools and Materials
Before you begin the installation process, it’s important to gather all the necessary tools and materials. Here’s a list of the items you’ll need:
- High ceiling light fixture
- Ladder or scaffolding
- Screwdriver
- Wire strippers
- Wire nuts
- Electrical tape
- Voltage tester
- Mounting bracket
- Screws and anchors
It’s important to ensure that you have all the tools and materials on hand before you start the installation process to avoid any potential delays.
Precautions and Safety Measures
Working with electricity can be dangerous, so it’s important to take the necessary precautions and safety measures before starting the installation process. Here are a few safety tips to keep in mind:
- Turn off the power: Before you begin working on the light fixture, make sure to turn off the power at the circuit breaker to avoid any electrical shocks.
- Use a voltage tester: After turning off the power, use a voltage tester to ensure that the power is off before you start working on the fixture.
- Use a ladder or scaffolding: When working on a high ceiling light fixture, make sure to use a stable ladder or scaffolding to reach the fixture safely.
- Wear safety goggles and gloves: Protect your eyes and hands by wearing safety goggles and gloves throughout the installation process.
Installing the Mounting Bracket
The first step in installing a high ceiling light fixture is to mount the bracket onto the ceiling. Here’s how to do it:
- Assemble the mounting bracket: Follow the manufacturer’s instructions to assemble the mounting bracket if it comes in separate pieces.
- Position the bracket: Hold the mounting bracket against the ceiling and mark the locations for the screws.
- Drill pilot holes: Use a drill to create pilot holes for the screws, making it easier to secure the bracket to the ceiling.
- Secure the bracket: Screw the mounting bracket into place using the provided screws and anchors to ensure it is securely fastened to the ceiling.
Now that the mounting bracket is in place, you can move on to wiring the light fixture.
Wiring the Light Fixture
Once the mounting bracket is installed, you can begin wiring the light fixture. Here’s how to do it:
- Turn off the power: Before proceeding, make sure the power is turned off at the circuit breaker.
- Attach the electrical box: If the electrical box is not already in place, install it onto the mounting bracket.
- Connect the wires: Carefully connect the wires from the light fixture to the corresponding wires in the electrical box. This typically involves connecting the black (hot) wires together, the white (neutral) wires together, and the green or bare copper (ground) wires together using wire connectors.
- Secure the connections: After connecting the wires, use wire nuts and electrical tape to secure the connections and prevent any exposed wires.
- Attach the fixture: Once the wires are secure, carefully attach the fixture to the mounting bracket using the provided screws.
Testing and Final Steps
After wiring the light fixture, it’s important to test the installation before completing the final steps. Here’s what to do:
- Turn on the power: Turn the power back on at the circuit breaker and use a voltage tester to ensure the light fixture is receiving power.
- Test the light: Turn on the light fixture to make sure it is functioning properly.
- Adjust the height: If necessary, adjust the height of the fixture by lengthening or shortening the chain or rod to achieve the desired height.
- Secure any loose wires: Tuck any excess wires into the electrical box and secure them using wire connectors to prevent any potential hazards.
With the light fixture successfully installed and tested, you can now enjoy the beautiful illumination it provides for your high ceiling space.
Conclusion
High led ceiling light fixtures come in a variety of styles to suit different preferences and interior design themes. Whether you prefer the timeless elegance of a chandelier, the modern versatility of track lighting, or the sleek minimalism of recessed lighting, there are options to suit every aesthetic. When choosing a high ceiling light fixture, consider the size and scale of the space, the function of the lighting, and your personal style preferences. With the right high ceiling light fixture, you can bring both illumination and style to your space.
Hhigh ceiling light fixtures offer a wide range of styles and designs, each offering its own unique aesthetic and functionality. Whether you prefer the opulence of a chandelier, the modern versatility of track lighting, or the sleek minimalism of recessed lighting, there is a fixture to suit every high-ceilinged space. With the right choice of light fixture, you can illuminate and enhance your room in style.