Corded ceiling light are an essential aspect of interior design, offering both functionality and style. Corded ceiling lights are a popular choice for many homeowners, providing a simple and effective way to illuminate a room. There are a variety of styles available for corded ceiling lights, each offering different features and aesthetics. In this article, we will explore some of the different styles of corded ceiling lights, helping you to find the perfect lighting solution for your home.
Chandeliers
Chandeliers are a classic and elegant option for corded ceiling lights, often featuring multiple arms or branches with decorative elements such as crystals or glass shades. Make a striking statement in a room and are perfect for adding a touch of luxury to a space. They come in a variety of sizes, making them suitable for both large and small rooms.
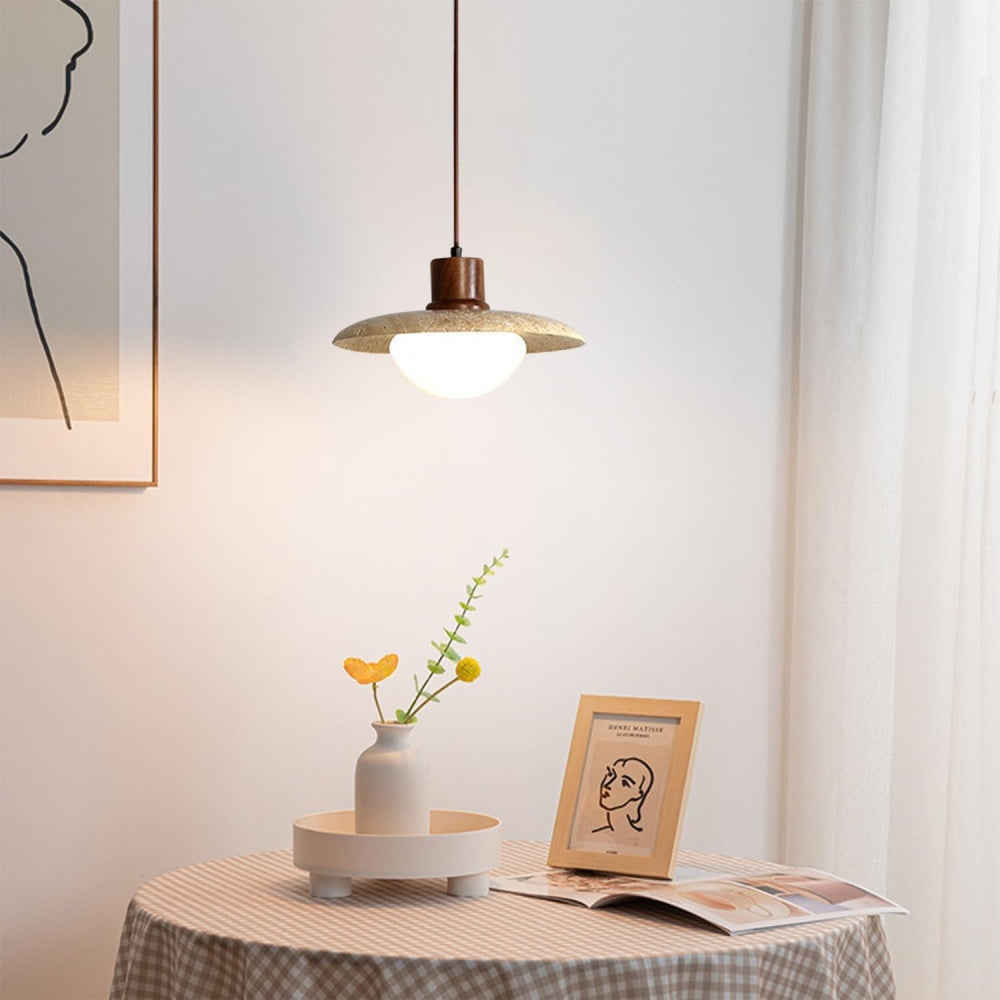
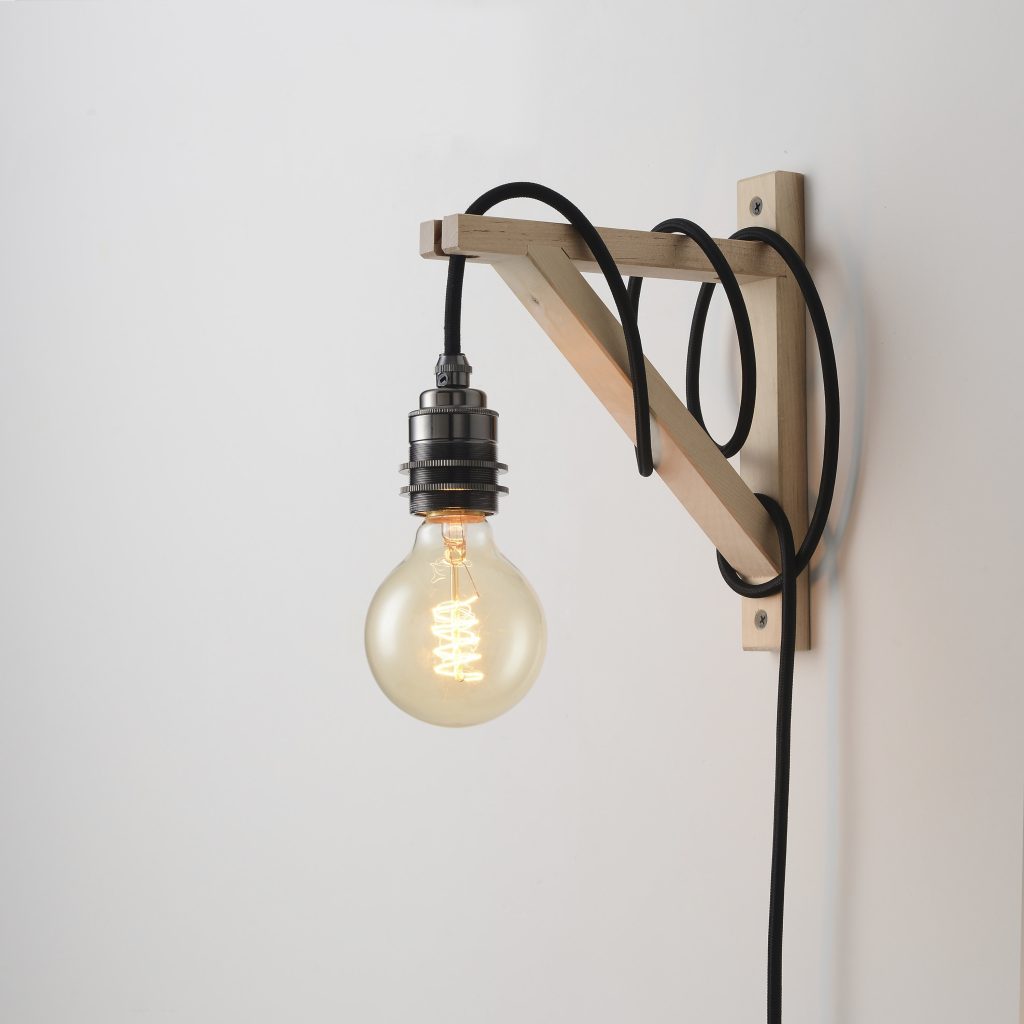
Pendant Lights
Pendant lights are a versatile option for corded ceiling lights, featuring a single light fixture that hangs down from the ceiling. They come in a wide range of styles, from sleek and modern to rustic and industrial, making them suitable for any interior design theme. Pendant lights are ideal for lighting specific areas such as kitchen islands or dining tables.
Flush Mount Lights
Flush mount lights are a practical and space-saving option for corded ceiling lights, as they sit close to the ceiling and don’t take up much space. They come in a variety of styles, from simple and understated to more decorative and ornate. Flush mount lights are perfect for rooms with low ceilings or for providing ambient lighting in hallways and entryways.
Semi-Flush Mount Lights
Semi-flush mount lights are similar to flush mount lights but hang slightly lower from the ceiling, allowing for more visual appeal and design options. They offer the best of both worlds, providing the functionality of a flush mount light with the style of a pendant light. Semi-flush mount lights are a popular choice for foyers, bedrooms, and living rooms.
Track Lighting
Track lighting is a versatile and customizable option for corded ceiling lights, featuring multiple light fixtures mounted on a track that can be adjusted to point in different directions. This makes track lighting ideal for highlighting specific areas or objects in a room, such as artwork or architectural features. Track lighting is often used in modern and contemporary interiors.
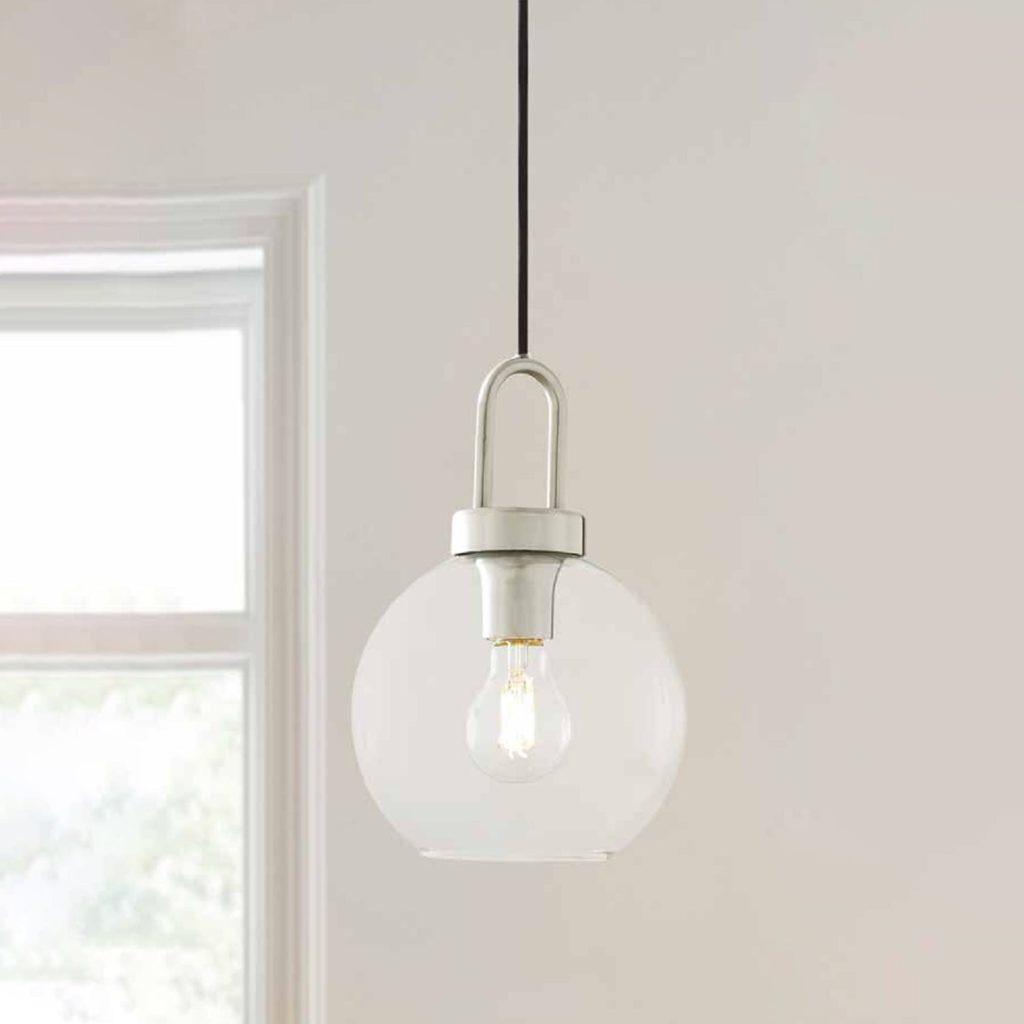
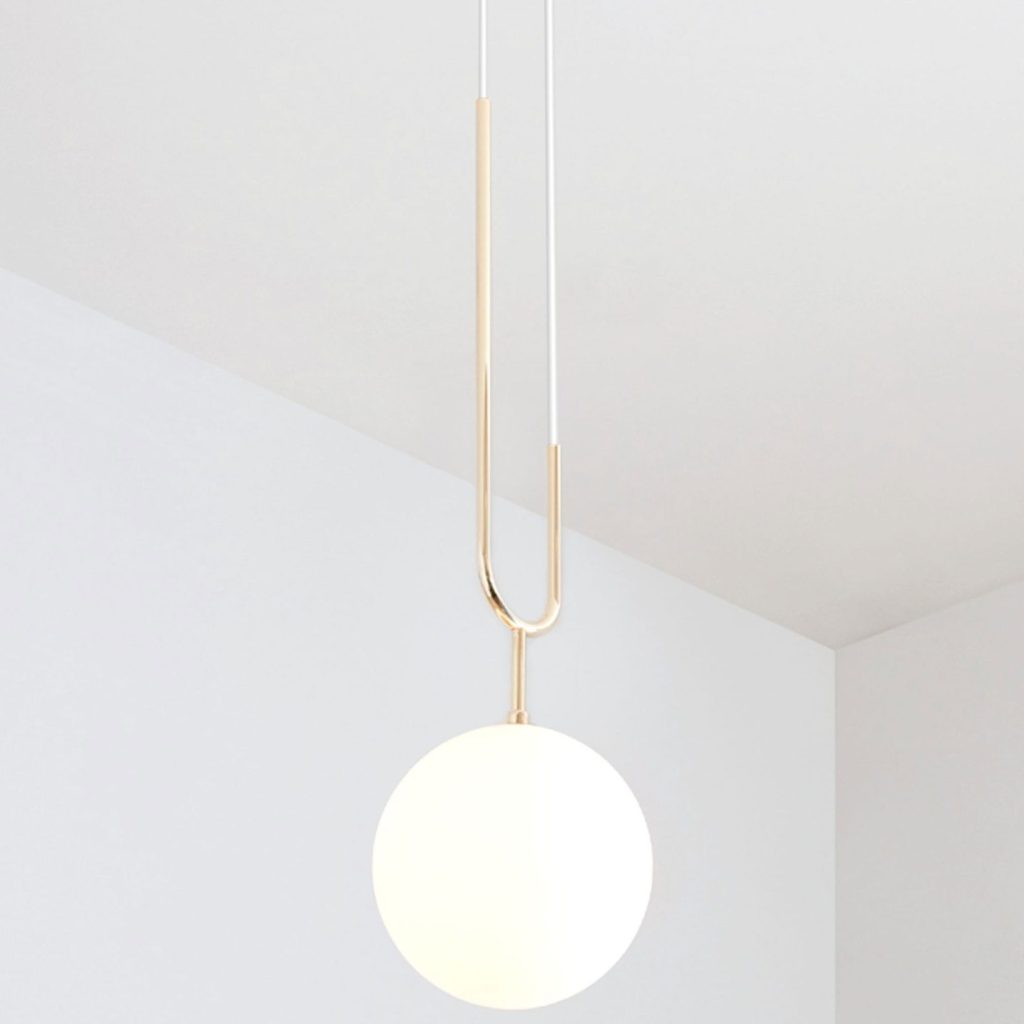
Globe Lights
A stylish and contemporary option for corded ceiling lights, featuring a spherical light fixture that can be made from glass, metal, or other materials. Provide a soft and diffused light, making them perfect for creating a cozy and inviting atmosphere. They come in a variety of sizes and can be grouped together for a dramatic effect.
How to install corded ceiling light
Ceiling lights are a great way to brighten up a room and add a decorative touch to your home. Installing a corded ceiling light can seem daunting at first, but with the right tools and a step-by-step guide, you can easily complete the installation process.
Gathering the Necessary Tools and Materials
Before you begin the installation process, it is important to gather all the necessary tools and materials. Here’s what you will need:
- Corded ceiling light fixture
- Screwdriver
- Wire stripper
- Wire nuts
- Electrical tape
- Ladder
- Circuit tester
- Pliers
- Safety goggles
- Power drill (if necessary)
Once you have all the required tools and materials, you can proceed with the installation process.
Step 1: Turn Off the Power
The first and most important step before installing a corded ceiling light is to turn off the power to the existing light fixture. You can do this by switching off the circuit breaker that controls the power to the light fixture. Use a circuit tester to ensure that the power is completely turned off before proceeding with the installation.
Step 2: Remove the Existing Fixture
Once the power is turned off, use a screwdriver to remove the existing light fixture from the ceiling. Carefully disconnect the wires that are connected to the fixture and set the old fixture aside.
Step 3: Prepare the New Fixture
Before installing the new corded led ceiling lights, you will need to prepare the fixture. This may involve removing any packaging materials, attaching the mounting bracket, and connecting the wires. Read the manufacturer’s instructions carefully to ensure that you are preparing the fixture correctly.
Step 4: Install the Mounting Bracket
Next, you will need to install the mounting bracket that came with the new corded ceiling light. Use a power drill and screws to attach the mounting bracket to the electrical box in the ceiling. Make sure that the mounting bracket is securely in place before proceeding to the next step.
Step 5: Connect the Wires
Once the mounting bracket is installed, you can begin connecting the wires of the new corded ceiling light. Use a wire stripper to remove about 1/2 inch of insulation from the ends of the wires. Match the color-coded wires (black to black, white to white, and green or bare copper to the grounding wire) and twist them together. Secure the connections with wire nuts and wrap each connection with electrical tape for added safety.
Step 6: Attach the Fixture
After connecting the wires, you can attach the new corded ceiling light to the mounting bracket. Follow the manufacturer’s instructions to ensure that the fixture is securely attached and aligned properly. Once the fixture is in place, tighten any screws or bolts to secure it to the mounting bracket.
Step 7: Test the Light
Before completing the installation, it is essential to test the new corded ceiling light to ensure that it is functioning properly. Turn the power back on at the circuit breaker and switch on the light. If the light is working as expected, you can proceed with securing the fixture in place.
Step 8: Secure the Fixture
Once you have confirmed that the light is working, use a screwdriver to secure the fixture in place. This may involve tightening any screws or bolts that hold the fixture to the mounting bracket. Make sure that the fixture is stable and aligned properly before completing the installation process.
Step 9: Clean Up and Dispose of Old Fixture
After the new corded ceiling light is installed, clean up any debris and packaging materials from the installation process. Properly dispose of the old fixture and any other waste materials in accordance with local regulations.
Step 10: Enjoy Your New Light
Congratulations, you have successfully installed a corded ceiling light in your home! Take a step back and admire your handiwork. Turn on the light and enjoy the new illumination and decorative touch that it adds to your living space.
Installing a corded ceiling light may seem challenging at first, but by following these step-by-step instructions and using the right tools, you can easily complete the installation process. Remember to always prioritize safety when working with electrical fixtures and consult a professional if you are unsure about any aspect of the installation.
Conclusion
Corded ceiling lights come in a variety of styles, each offering different features and aesthetics to suit the needs of any homeowner. Whether you prefer the classic elegance of a chandelier, the versatility of pendant lights, or the modern appeal of track lighting, there is a corded ceiling light style to fit your personal taste and interior design theme. Finding the perfect corded ceiling light for your home can enhance both the functionality and visual appeal of your living space.