How to solder led strip lights? Soldering LED strip lights is a delicate yet rewarding process that allows for customization and repair of these versatile lighting solutions. Whether you’re looking to extend the length of your strips, replace faulty LEDs, or create a custom light arrangement, mastering the art of soldering LED strips is a valuable skill. Below is a detailed guide on how to solder LED strip lights safely and effectively, ensuring a professional finish for your lighting projects.
Preparation and Safety
Before starting, gather the necessary tools and equipment:
- Soldering iron with a fine tip (ideally 25W to 60W)
- Rosin-core solder wire (preferably with a diameter of 0.032 inches or 0.8mm)
- Flux pen or liquid flux
- Wire cutters/strippers
- Helping hands or a vice to hold the strip in place
- Heat shrink tubing (to insulate connections)
- Safety goggles
- Anti-static mat (recommended for handling electronic components)
- Soldering stand
Ensure you are working in a well-ventilated area and wear appropriate safety gear, including safety goggles to protect your eyes from flying solder debris and heat. An anti-static wrist strap can also help prevent static discharge damage to sensitive LED components.
Understanding LED Strips
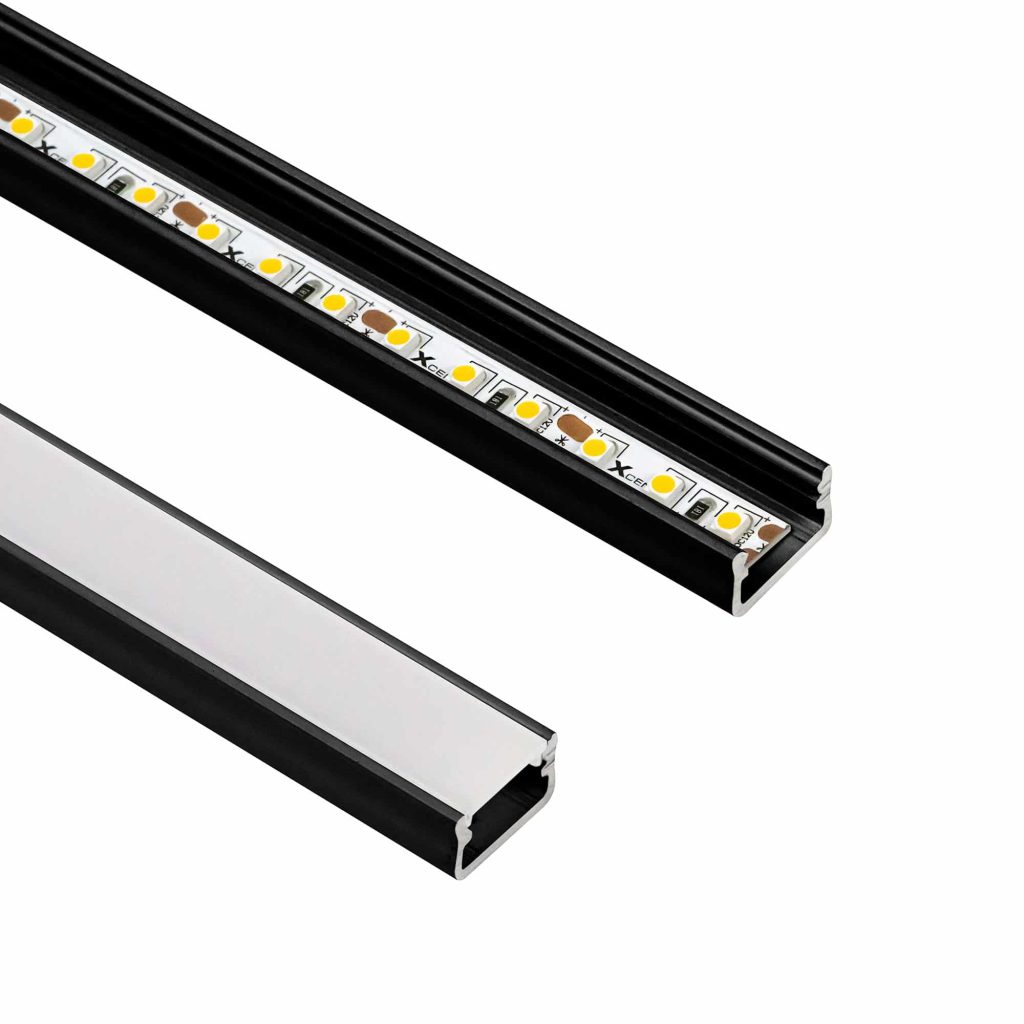
LED strips typically consist of a flexible circuit board with series of tiny SMD (Surface Mounted Device) LEDs soldered onto it, alongside copper pads for power and data connections (in the case of addressable LED strips). Familiarize yourself with the strip’s layout, identifying the positive (+), negative (-), and any data pins (if present).
Cutting the Strip
Using the scissors icon printed along the strip as a guide, cut the LED strip to the desired length. Ensure the cut is clean and straight, avoiding damage to neighboring copper pads or LEDs.
Preparing the Connection Points
- Use wire strippers to expose a small section of copper wire if you are attaching wires instead of joining strips directly.
- Clean the connection points on the LED strip using alcohol wipes to remove any dirt, oil, or oxidation. This step ensures a better solder bond.
- Apply a small amount of flux to the copper pads. Flux helps the solder flow smoothly and adheres to the metal surfaces, improving the quality of the joint.
Soldering Process
- Plug in and heat up your soldering iron to the recommended temperature (usually around 350°F to 400°F for LED work).
- Hold the soldering iron tip against one of the copper pads and the end of the solder wire against the pad until the solder melts and flows smoothly, filling the gap between the wire and pad. Avoid using too much solder; a small, neat blob is sufficient.
- Repeat this process for the remaining connection points (positive, negative, and data if applicable). Ensure each joint is clean, shiny, and has a concave appearance, indicating a proper solder fill.
- Work quickly to avoid overheating the LED strip, which can damage the LEDs or circuit board.
Insulating Connections
Once the solder has cooled, slide heat shrink tubing over each solder joint and use a heat gun or the soldering iron (carefully) to shrink the tubing, providing insulation and protection for the connections.
Testing
Before installing the LED strip permanently, connect it to a power source (ensuring correct polarity) and test the lights. This step verifies that all connections are secure and no led lights have been damaged during the soldering process.
Cleaning Up
After completing the soldering, allow the strip to cool completely. Dispose of used flux and clean your tools to prevent corrosion and maintain their longevity.
Advantages of LED Strip Lights
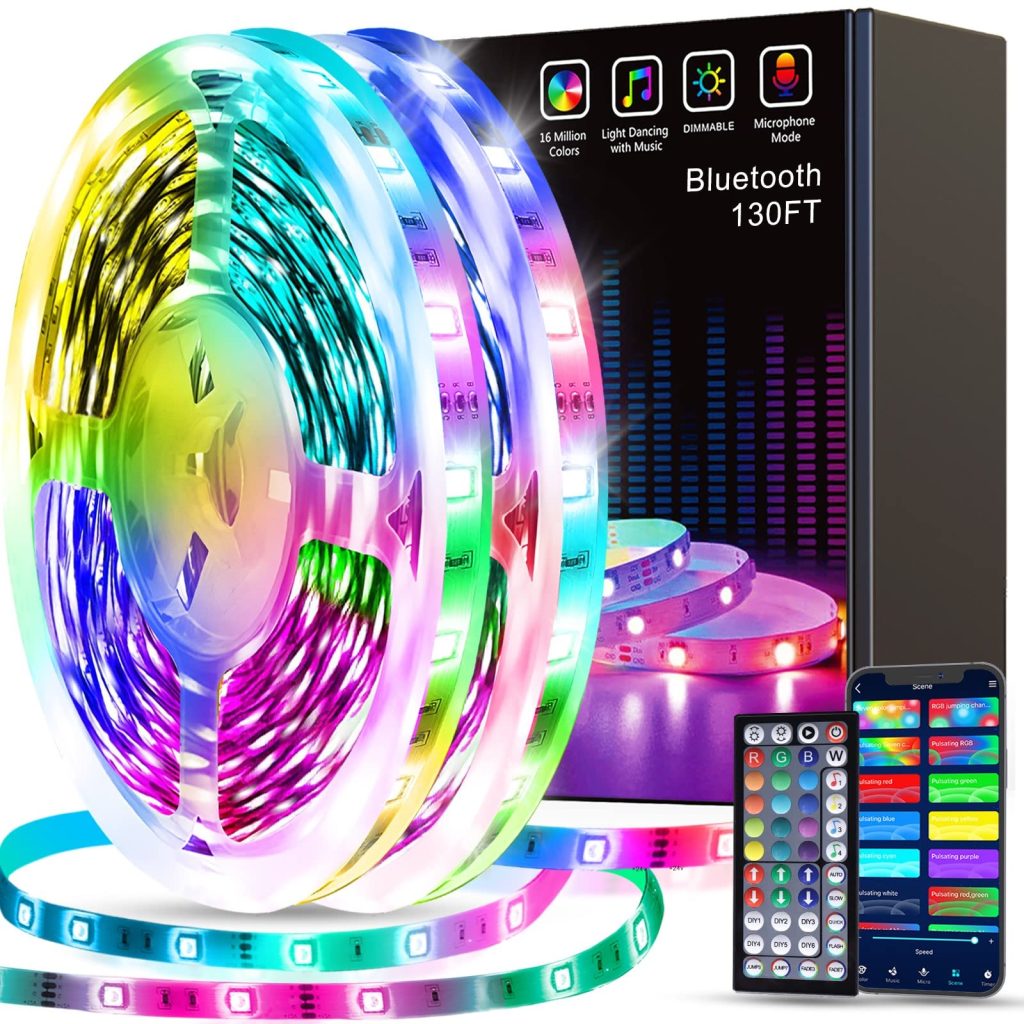
LED strip lights, also known as LED tape lights, have revolutionized the way we illuminate spaces, offering a versatile, energy-efficient, and aesthetically pleasing solution for a wide range of applications. These flexible ribbons of light, embedded with rows of tiny Light Emitting Diodes (LEDs), bring a touch of modernity and creativity to homes, businesses, and public spaces alike.
1. Versatility in Design
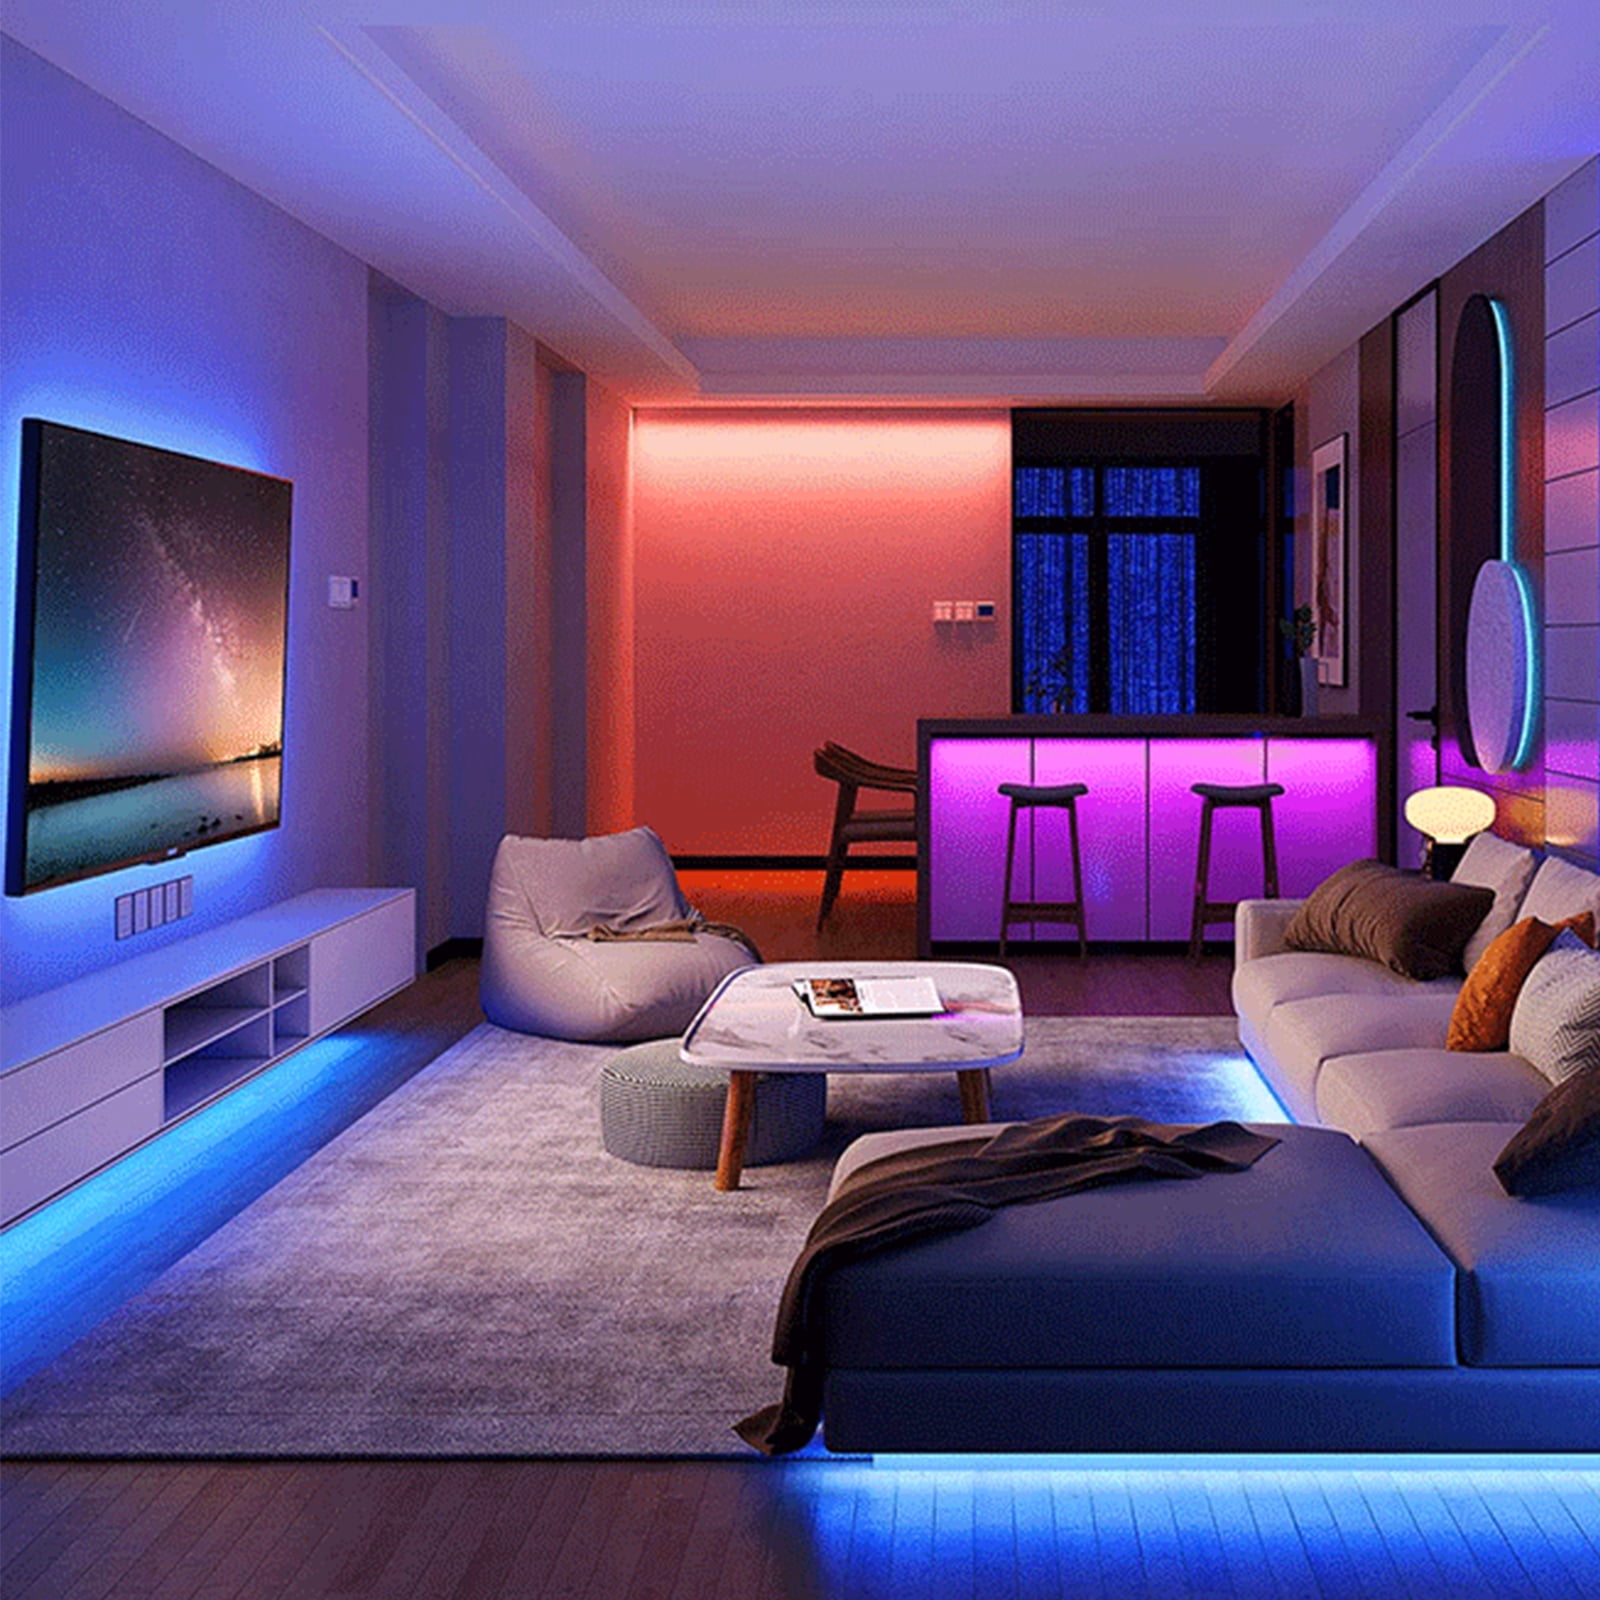
One of the most significant advantages of LED strip lights is their adaptability to virtually any space or object. Thanks to their slim profile and flexibility, they can be effortlessly contoured around corners, wrapped around furniture, tucked under cabinets, or even woven through architectural elements. This versatility enables designers to create ambiance, highlight features, or add a subtle glow to areas that would otherwise be challenging to illuminate.
2. Energy Efficiency
LED technology, renowned for its energy-saving properties, makes LED strip lights highly efficient compared to traditional lighting options. They consume significantly less power to produce the same level of brightness, translating into reduced electricity bills and a lower carbon footprint. Additionally, since they generate minimal heat, they contribute to a cooler environment, which is particularly beneficial in enclosed spaces.
3. Customizable Lighting Effects
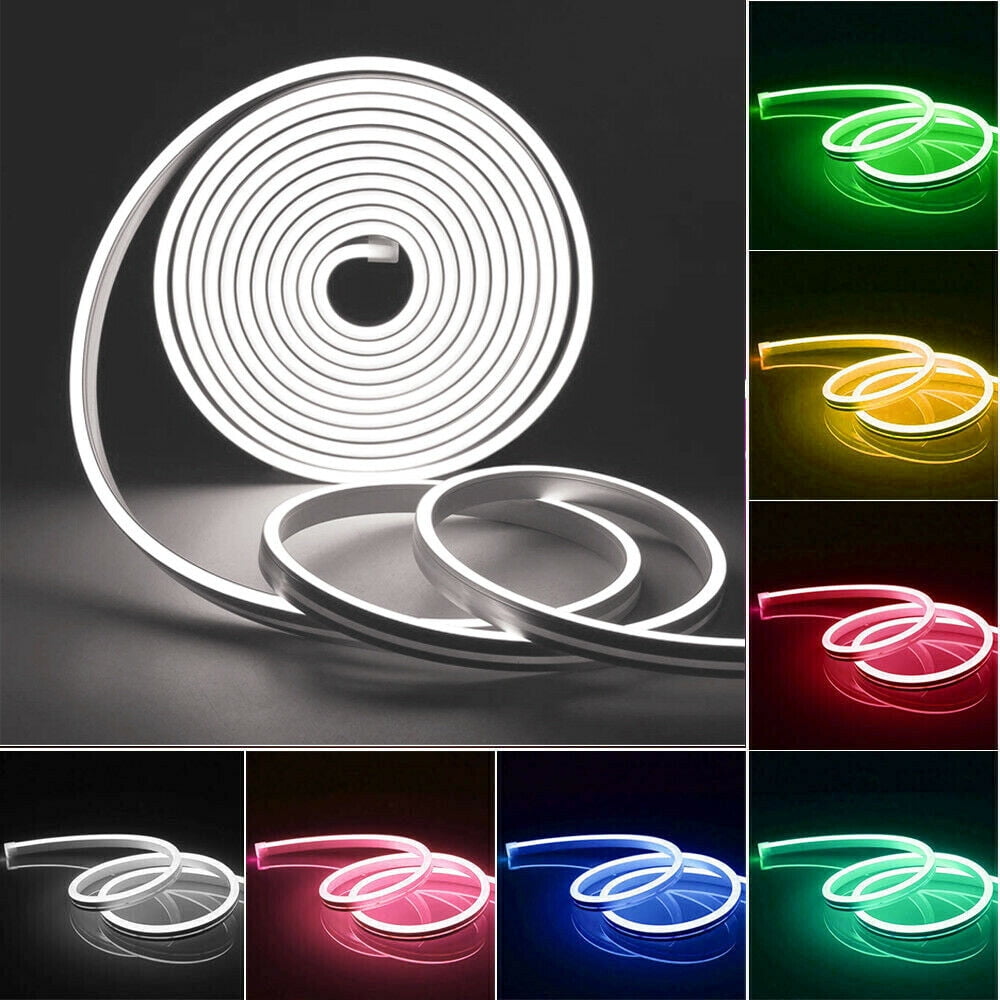
LED strip lights offer a broad spectrum of color options, from warm white to cool daylight hues and a rainbow of RGB colors. This variety permits the creation of mood lighting, matching the ambiance to specific occasions or personal preferences. Moreover, with the advent of smart LED strips, users can control color temperatures, brightness levels, and even synchronize lighting patterns with music or voice commands, adding an interactive dimension to their lighting setup.
4. Easy Installation and Maintenance
Installation of LED strip lights is generally straightforward, requiring basic tools and little to no prior electrical knowledge. They often come with self-adhesive backing, allowing for peel-and-stick application, making them DIY-friendly. Maintenance is equally hassle-free, as LEDs have a long lifespan, typically lasting up to 50,000 hours or more, which means infrequent replacement needs.
5. Cost-Effectiveness
While the initial investment in led ceiling lights may be slightly higher than conventional lighting, their long-term cost savings due to energy efficiency and durability make them a cost-effective choice. Reduced energy consumption and the need for infrequent replacements offset the upfront costs, leading to substantial savings over the life of the product.
6. Enhancing Ambiance and Mood
LED strip lights excel in creating atmospheric lighting effects, transforming mundane spaces into inviting and cozy environments. They can be used to accentuate architectural details, highlight artwork, or create dramatic backlighting for televisions or mirrors. This capability makes them a favorite among interior decorators seeking to elevate the mood and character of a room.
7. Safe and Cool to the Touch
Unlike incandescent bulbs, LED strip lights emit negligible amounts of heat, rendering them safe to handle even after prolonged use. This characteristic is especially important in children’s rooms, kitchens, and other areas where accidental touch is more likely, minimizing the risk of burns or fires.
8. Durability and Resilience
LEDs are built to withstand vibrations, shocks, and varying temperatures, making LED strip lights suitable for outdoor applications, as well as in rugged or high-traffic indoor settings. Their robustness ensures continued performance even in harsh conditions, contributing to their longevity and reliability.
Conclusion
Soldering LED strip lights may seem daunting initially, but with the right tools, patience, and attention to detail, it can be a straightforward and fulfilling process. Remember, practice makes perfect – the more you solder, the more comfortable and proficient you’ll become. By following this guide, you can customize your LED lighting installations, repair damaged strips, or create unique lighting arrangements that perfectly suit your needs. Not only does this skill empower you to enhance your living spaces, but it also opens doors to a world of creative possibilities in home automation and decorative lighting design.