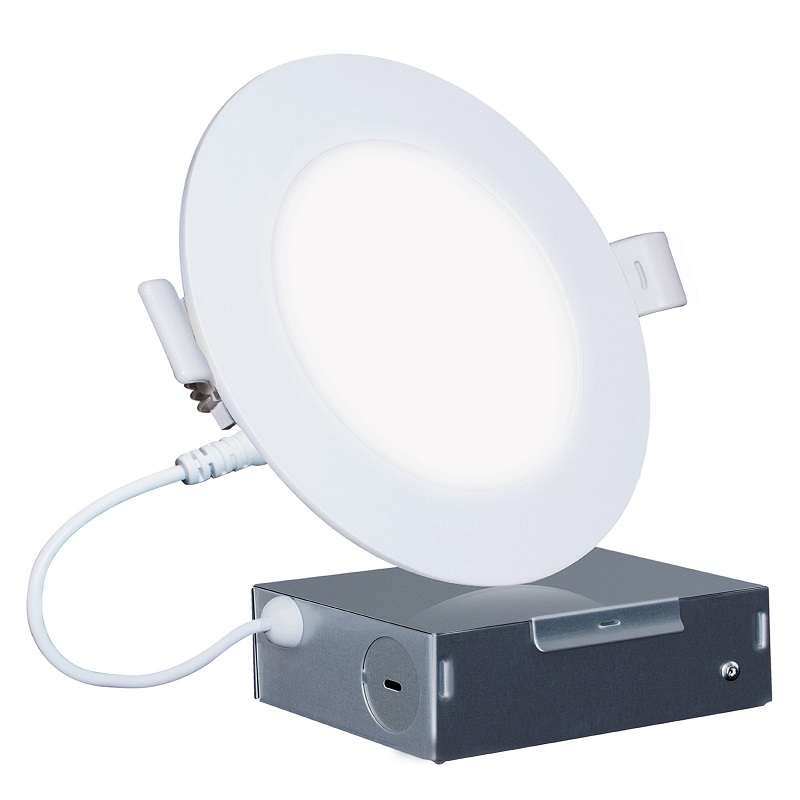
How to install canless recessed lighting? Canless recessed lighting has gained popularity in recent years due to its sleek design, energy efficiency, and ease of installation. Unlike traditional recessed lighting that requires a can housing, canless recessed lighting fixtures fit directly into the ceiling, providing a seamless and modern look. In this step-by-step guide, we will walk you through the process of installing canless recessed lighting, including preparation, wiring, fixture installation, and finishing touches. Let’s delve into the world of canless recessed lighting installation and illuminate your space with style.
Preparation:
Before beginning the installation process, gather the necessary materials and tools. This includes canless recessed lighting fixtures, a voltage tester, wire strippers, wire connectors, a screwdriver, a drill with an appropriate bit, and safety equipment such as goggles and gloves. Ensure that you have turned off the power to the circuit you will be working on at the electrical panel.
Determine Fixture Placement:
Decide on the placement of your canless recessed lighting fixtures. Measure and mark the desired locations on the ceiling, considering factors such as room layout, desired led strip lights coverage, and any obstructions within the ceiling space.
Cut the Ceiling Openings:
Using a drill with an appropriate bit, carefully create pilot holes in the marked locations on the ceiling. Insert a drywall saw or keyhole saw into the pilot holes and cut along the marked lines to create the openings for the canless recessed lighting fixtures. Take caution to avoid damaging any electrical or structural components within the ceiling.
Electrical Wiring:
Turn off the power at the main electrical panel to ensure safety. Confirm the power is off by using a voltage tester at the electrical box where you will be connecting the new wiring. Run electrical wires from the electrical box to each lighting fixture location, following local electrical codes and regulations. Strip the wire insulation using wire strippers, leaving approximately 6 inches of bare wire exposed.
Connect the Wiring:
Using wire connectors, join the wires from the lighting fixtures to the corresponding wires in the electrical box. Connect the black (hot) wire from the fixture to the black (hot) wire from the electrical box, the white (neutral) wire to the white (neutral) wire, and the green or bare copper (ground) wire to the green or bare copper (ground) wire. Ensure that the wire connectors are secure and that there is no exposed copper wire.
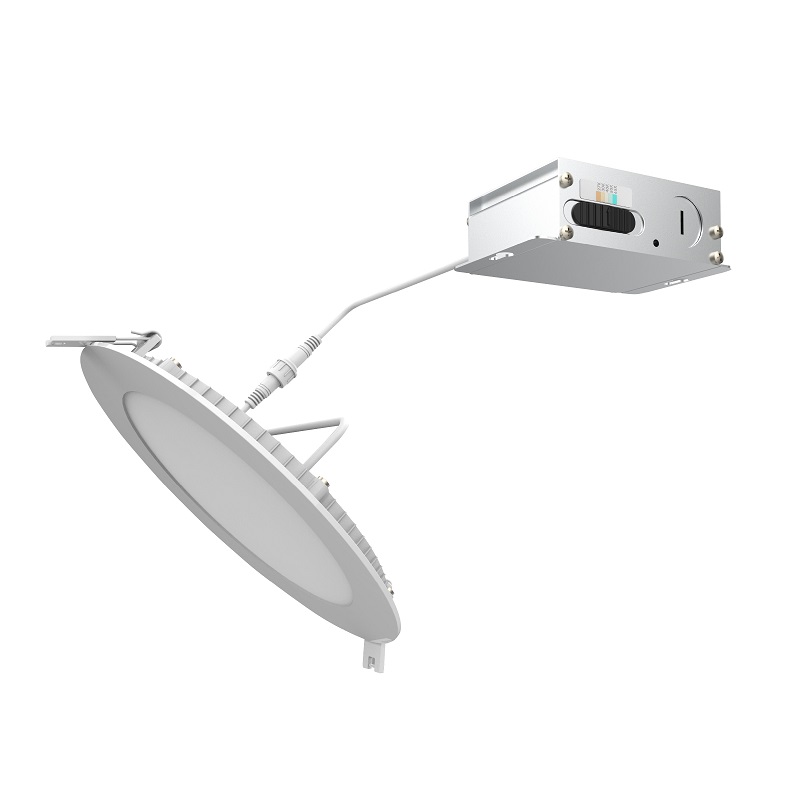
Secure the Lighting Fixtures:
Follow the manufacturer’s instructions for installing the canless recessed lighting fixtures into the ceiling openings. Typically, this involves inserting the fixture into the opening and pushing it towards the ceiling until it clicks into place. Ensure that the fixture’s mounting clips or springs firmly secure it to the ceiling.
Make Electrical Connections:
Make the necessary electrical connections within each canless recessed lighting fixture. This involves connecting the corresponding wires from the fixture to the wires within the electrical box. Again, connect the black (hot) wires, white (neutral) wires, and green or bare copper (ground) wires using wire connectors.
Installation and Finishing Touches:
Repeat the fixture installation and electrical connection steps for each canless recessed lighting fixture. Once all fixtures are installed and electrical connections are made, turn on the power at the electrical panel to test the lights. Use the switch or dimmer to ensure the fixtures are functioning properly.
Patch and Paint:
If necessary, patch any visible gaps or holes around the installed canless recessed ceiling lights using patching compound or drywall tape and joint compound. Sand the patched areas smooth and touch up with paint to match the surrounding ceiling.
Final Inspection:
Once the patching and painting are complete, inspect the installed canless recessed lighting fixtures for proper function and safety. Ensure that the fixtures are secure, the wiring is tidy and properly connected, and there are no visible signs of damage or exposing wires.
Precautions for installing canless recessed lighting
Installing canless recessed lighting is increasingly popular due to its sleek design, energy efficiency, and ease of installation. While the process of installing canless recessed lighting is relatively straightforward, it is important to consider various factors to ensure both safety and optimal functionality.
Planning and Design:
Before installing canless recessed lighting, careful planning is crucial for a seamless installation. Consider the purpose of the lighting, the desired placement, and the layout of the room. Determine the number and spacing of the fixtures to ensure adequate lighting coverage. Additionally, develop a detailed plan that includes measurements, wiring routes, and the specific locations for each fixture.
Electrical Safety:
Safety should be a top priority when installing any electrical fixture, including canless recessed lighting. Follow these electrical safety guidelines:
- Turn off the power at the main electrical panel and test the circuit to ensure it is de-energized before starting any work.
- Use a voltage tester to confirm that the power is off at the electrical box where you will be working.
- Follow all local electrical codes and regulations when running wiring and making electrical connections.
- If you are unsure about any aspect of the electrical wiring or installation, consult a licensed electrician for assistance.
Proper Placement:
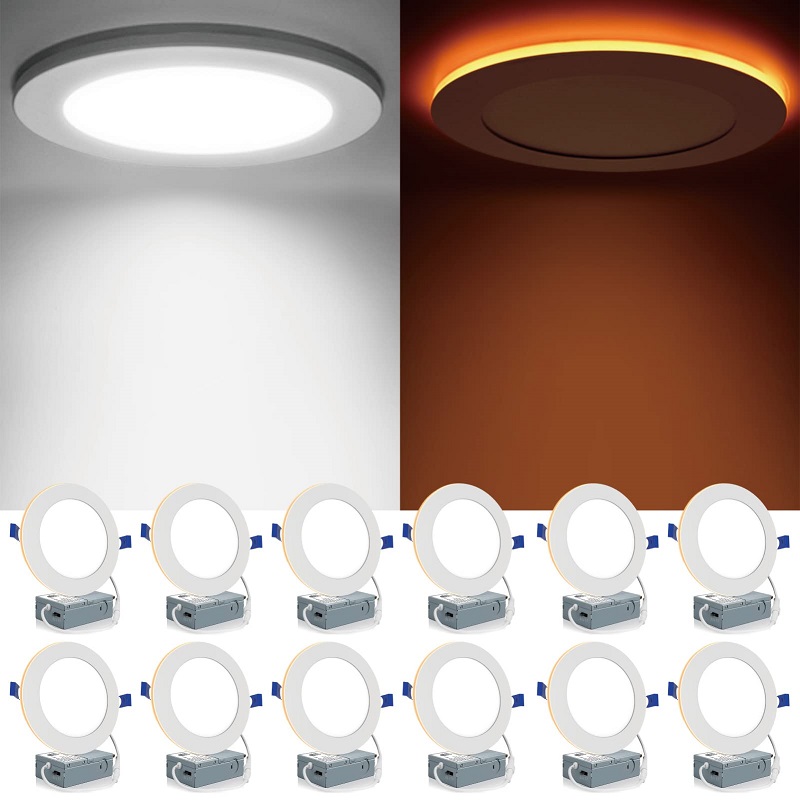
Careful consideration should be given to the proper placement of canless recessed lighting fixtures. Factors to consider during placement include the room’s layout, ceiling height, and the led lights in bedroom effect. Aim for even distribution of light, avoiding shadows or dark spots. Take into account any obstructions, such as joists or ductwork, in the ceiling space. Planning for proper placement enhances functionality and ensures a visually appealing lighting layout.
Insulation Compatibility:
When installing canless recessed lighting, it is important to consider insulation compatibility, especially in ceilings with insulation. Many canless fixtures are IC (insulation contact) rated or designed to be installed directly against insulation, maximizing energy efficiency. However, confirm the compatibility of the canless recessed lighting fixtures with the specific type of insulation used in the ceiling. Check the manufacturer’s guidelines to ensure safe installation and prevent any potential fire hazards.
Clearance Requirements:
Canless recessed lighting fixtures require proper clearance from combustible materials to prevent overheating or fire hazards. Ensure that there is adequate clearance between the fixture and any surrounding insulation, joists, or other combustible materials. Check the manufacturer’s specifications for the specific clearance requirements of the chosen canless recessed lighting fixtures. Adhering to these clearance requirements is essential for safe and optimal operation.
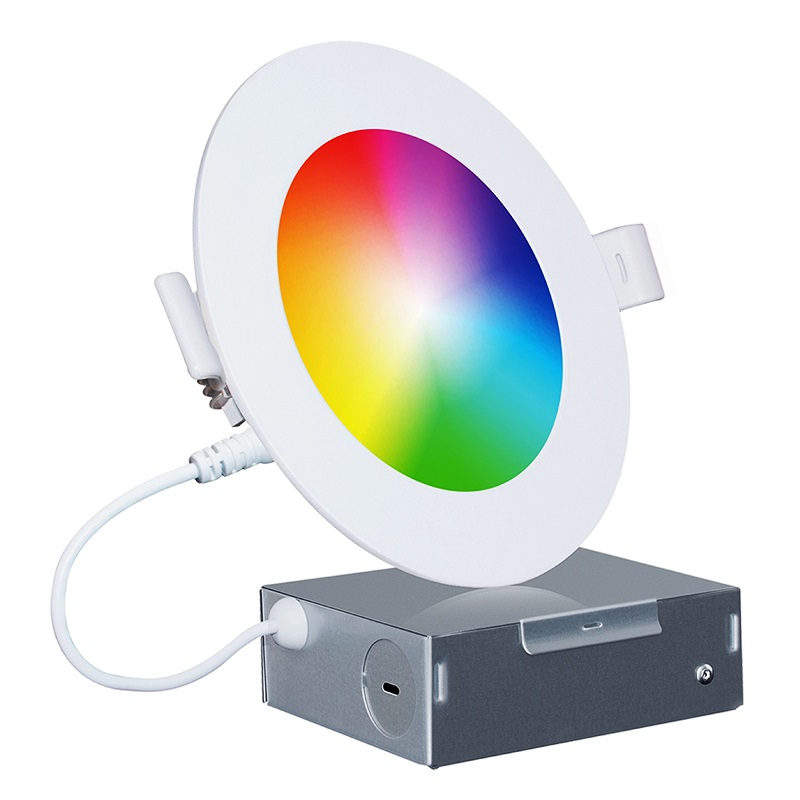
Compatibility with Dimmers and Controls:
Consider the compatibility of canless recessed lighting fixtures with dimmers or lighting controls. Not all fixtures are compatible with dimming systems or specific control types. Ensure that the chosen canless fixtures are designed to work with the dimmer switches or control systems you plan to use. Consult the manufacturer’s instructions or specifications to guarantee proper compatibility and functionality.
Proper Ventilation:
Ventilation is essential to ensure the longevity and optimal performance of canless recessed lighting fixtures. Adequate ventilation helps dissipate heat generated by the fixtures, preventing overheating and potential damage. Ensure that the fixtures are installed in a way that allows for proper airflow around and above them. Avoid blocking the ventilation holes or covering the fixtures with insulation.
Conclusion:
Installing canless recessed lighting is a relatively straightforward process that can dramatically enhance the aesthetics and functionality of your space. By following this step-by-step guide, you can successfully install canless recessed lighting fixtures, providing a modern and seamless lighting solution. Remember to exercise caution, follow electrical safety guidelines, and comply with local electrical codes when undertaking any electrical installations. With careful planning, preparation, and execution, you can transform your space with the stylish and energy-efficient illumination of canless recessed lighting.